Post-Harvest Handling of Medical Cannabis
Royal King Seeds Editorial Team
The plants are down, and this is the point at which the most value gets destroyed. Ten weeks of careful growing can be undone in five days by drying too fast, trimming warm resin, curing in plastic, or storing in the light. For a grower producing their own supply under a state medical program, there is a fifth failure mode that outranks all of those, because it is a safety problem rather than a quality one: jarring flower before it is dry, and finding mold in the jar a week later.
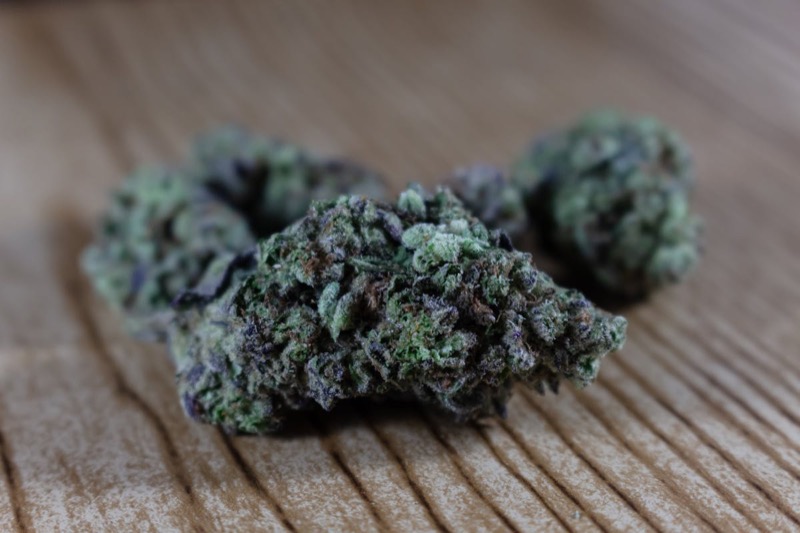
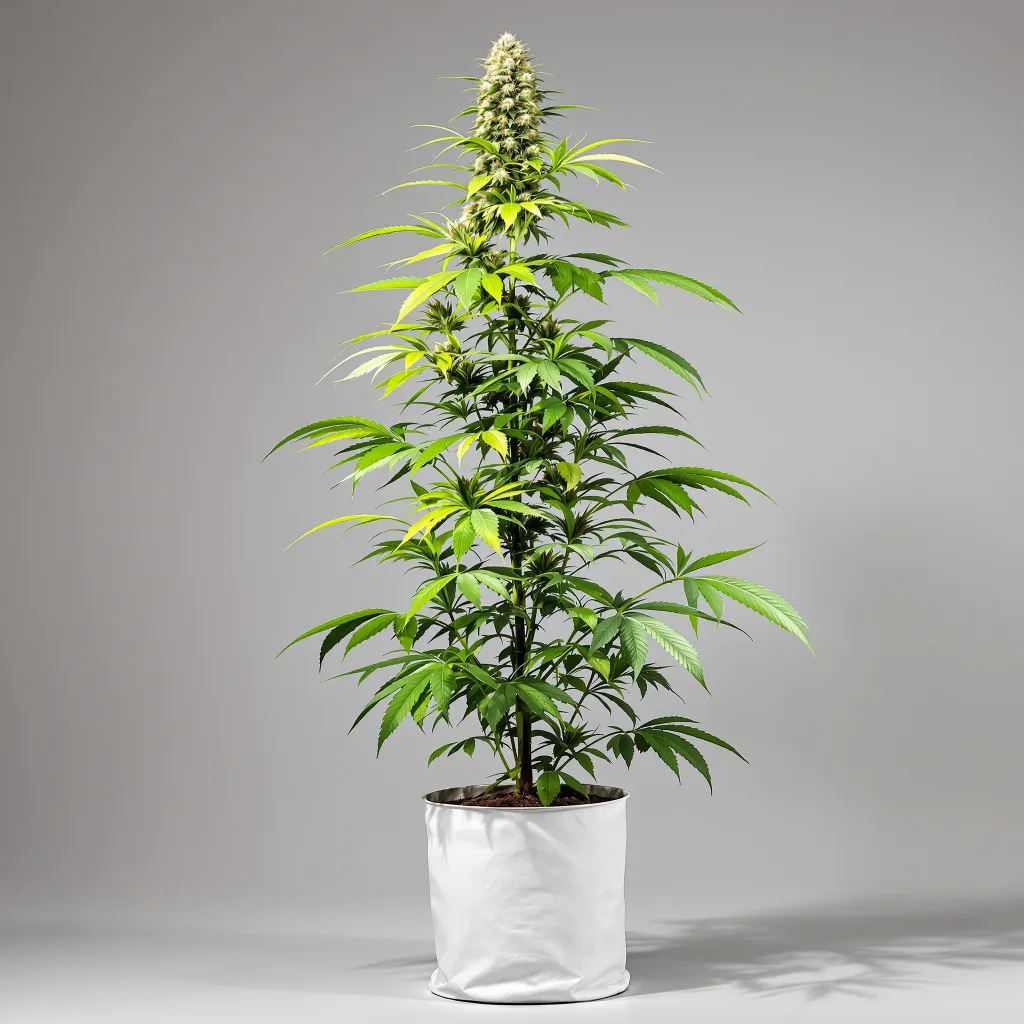
What a slow dry and a full cure are meant to produce. Everything below is about getting from a hanging plant to this without losing the batch on the way.
Jump to Section
The First Two Hours
Once the plant is cut, the chemistry it was maintaining starts to shift. Chlorophyll breakdown begins, oxidation of cannabinoids starts, and the most volatile terpenes begin leaving at room temperature. What you do in the first couple of hours sets the trajectory for the next month.
Get the material into the dark. Light exposure degrades cannabinoids, and it is visible light doing most of that work rather than ultraviolet specifically; a bright fluorescent trim room is not a safe place to leave flower for hours. Harvest in a space you can keep dim, and move plants to the drying room promptly.
Keep it cool. Below about 70°F. Heat speeds terpene loss and the enzymatic changes you are trying to control. If a harvest takes a long time, work in small batches and hang each one before cutting the next rather than leaving cut plants piled on a warm table.
Handle by the stem. Ruptured trichome heads transfer resin to gloves, tables and each other instead of staying on the flower. Grip branches, not buds; move plants so that nothing brushes against a surface.
The Drying Room Is the Whole Game
Drying conditions are the most controllable variable in post-harvest quality, and slow drying at moderate temperature and humidity is consistently recommended over fast drying. The reasoning is that a slower dry gives chlorophyll breakdown time to finish while keeping the evaporation rate low enough that the volatile aromatic fraction is not simply carried away.
Drying room targets
| Parameter | Target | Why |
| Temperature | 60–65°F | Cooler slows the enzyme work you want; warmer accelerates terpene loss |
| Humidity | 55–65% RH | Below 55% dries too fast; above 65% is where mold gets its opening, especially on whole-plant hangs |
| Airflow | Gentle, indirect, constant | Air has to keep moving or humid pockets form inside the hang. It must not blow onto the buds, which dries the outside while the core stays wet |
| Light | Dark | Light exposure continues cannabinoid degradation through the whole dry |
| Duration | 10–14 days | Chlorophyll breakdown and moisture equalization both take time |
Those two middle rows are in tension, and managing that tension is the actual skill. You need enough humidity to slow the dry and enough air movement to stop that humidity sitting still inside a dense hang. A dehumidifier plus a low oscillating fan aimed at a wall, not at the plants, is the usual answer. Our VPD and humidity guide covers the same physics on the growing side, and how to dry harvested cannabis plants covers the drying room setup in more detail.
Why the Fast Dry Costs More Than It Saves
Plenty of growers produce excellent flower and then spoil it in a five-day turbo dry. The impatience is understandable and the cost is not subtle.
Two mechanisms are usually offered. The first is that chlorophyll breakdown, which most growers hold responsible for the harsh grassy taste of rushed flower, needs time and does not finish in five days. The second is simply evaporation: the compounds that carry aroma are volatile, and a hot, fast, high-airflow dry carries more of them off. The first of those is grower convention more than settled science, and worth treating as such. The second is straightforward physics, and it is the one to plan around.
Either way the practical conclusion is the same, and it is not recoverable later. Curing improves texture and smooths out a flower that dried well. It cannot put back an aromatic fraction that evaporated in week one.
Trimming: Wet or Dry
For a grower whose priority is potency and aroma per gram, dry trimming is the better default. Warm, pliable resin on freshly cut flower sticks to every blade and glove it touches, whereas trichome stalks on dried material are more brittle and break away less readily onto tools.
The counter-argument is real, though, and it is about mold rather than convenience. Wet trimming removes leaf material, which speeds the dry and reduces the amount of wet tissue trapped against the bud. In a humid environment without dehumidification, that reduction in rot risk outweighs the resin you lose to the scissors. Choose by your climate, not by principle: dry trim if you can hold 55 to 65% RH, wet trim if you cannot.
Trim room. Keep it at or below about 68°F, because warm resin transfers more. Take a break every 45 to 60 minutes: once scissors are loaded with resin they drag across flower instead of cutting it, which costs more trichomes than the trimming does. Isopropyl alcohol cleans the blades and the residue is worth collecting, but it is highly flammable, so clean scissors away from any heat or ignition source, keep the container closed, and work with ventilation.
The Cure
Curing is not storage. Inside a sealed jar, remaining moisture redistributes from the core of the bud to its surface, chlorophyll breakdown continues, and the flavor settles. Growers commonly describe further chemical development during the cure as well; that part is craft consensus rather than something with a firm published basis, and the redistribution of moisture is the part you can actually observe.
The protocol: after dry trimming, fill wide-mouth glass jars loosely, two thirds full, never packed. For the first week, open them twice a day for ten to fifteen minutes. If the flower feels damp when you move it around, leave the jar open for half an hour or more. If it feels brittle, a 62% humidity pack will bring it back. After a week with no moisture problems, drop to once a day, then twice a week, then weekly.
Two weeks is the minimum worth bothering with, four weeks is a sensible standard, and many cultivars keep improving through six to eight. Judge by aroma and smoothness rather than by the calendar.
If the jar smells of ammonia, act on it. A sharp ammonia note during the cure means the flower went into the jar too wet and is decomposing anaerobically rather than curing. It is a process failure, not a stage the material passes through. Take the flower out, spread it in a single layer on drying racks in a dark room at moderate humidity for 24 to 48 hours until the small stems snap rather than bend, then re-jar and resume burping. Material that smells of ammonia and also shows any grey or fuzzy growth is a different problem: see the mould section below and discard it.
Longer-Term Storage
Four things degrade stored cannabis: heat, light, oxygen and unstable humidity, and they compound. Use amber glass or a stainless steel container with a humidity pack, keep it at 58 to 62% RH, and store it somewhere cool and genuinely dark rather than on a shelf that catches afternoon sun. Vacuum sealing with an oxygen absorber is worth it for anything you are putting away for more than six months.
Avoid plastic bags, which are gas permeable and generate static that strips trichomes, and avoid clear glass anywhere light reaches. Our storage and preservation guide goes further into the chemistry.
If you are keeping a personal supply going, staggering harvests is more effective than perfecting storage. Growing two or three cultivars on an offset schedule from our feminized cannabis seeds range means fresher flower more often and less material sitting in a jar past its best.
Why 58 to 62% is the range. What actually matters is water activity — the free, available moisture the flower holds, written as aw — because that is what mould needs to grow, not total water content. The 58 to 62% RH range on a humidity pack corresponds to roughly 0.55 to 0.65 aw at equilibrium. Below that band the flower dries out, gets brittle and sheds trichomes when handled; above it you move into the range where Aspergillus and other spoilage organisms can establish. This is also the practical difference between the two common humidity packs: a 58% pack suits flower you intend to keep for a long time or that went in slightly damp, while a 62% pack better preserves aroma and texture in flower you will use sooner.
Freezing, if you are storing for a year or more. Freezing slows every degradation pathway, but it makes the flower's trichomes brittle, so it only works if you accept two rules. Handle the container as little as possible while frozen, since agitating brittle trichomes knocks them off. And when you take it out, let the sealed container come all the way back to room temperature before opening it — opening a cold jar pulls warm room air onto cold flower, condenses moisture directly onto it, and hands you exactly the wet surface the storage regime existed to prevent. Vacuum sealing before freezing helps; repeated freeze-thaw cycles do not, so freeze in portions you will actually finish.
Mold: Detection, Handling and Disposal
This is the part of post-harvest that is a health question rather than a quality question, and for anyone growing because they use cannabis medically it is the part that matters most. The two windows where mold appears are the hang, if the room runs above about 65% RH or has dead air, and the jar, if flower goes in before the stems snap.
Detection. Look inside dense colas rather than at them; growth starts in the interior. Gray or brown collapsed tissue, white fuzz that is not trichomes, a sugar leaf that has gone brown and pulls out with no resistance, and above all a musty or stale smell that was not there yesterday. Check every two or three days during the dry, and open every jar during the first week of cure and smell it.
What is growing. Bud rot on cannabis is most often Botrytis cinerea. Powdery mildew is a different, surface-dwelling organism. Neither is the reason for the strictness here. Aspergillus species also colonize cannabis, and Aspergillus can cause invasive lung infection in people whose immune systems are suppressed, which includes many people using cannabis under a medical program, and can cause serious disease in people with existing lung conditions such as asthma, COPD or cystic fibrosis. The CDC's overview of aspergillosis sets out who is at risk and how it presents, and its Emerging Infectious Diseases study on cannabis use and fungal infections reports a higher rate of diagnosed fungal infection among cannabis users in an insured US population, with contamination and smoking-related lung damage among the proposed explanations.
The rules, and they do not have exceptions
- Do not consume visibly moldy cannabis. Not smoked, not vaped, not made into edibles, not extracted. Extraction concentrates whatever is in the input material.
- Removing the visible growth does not establish that the rest is safe. Fungal growth runs further through the tissue than what you can see, so a cola that looks clean an inch away from a rotted patch has not been shown to be clean.
- Drying, curing, heating and trimming are not decontamination steps. None of them make contaminated flower usable. Finishing the dry on a moldy batch just gives you dry contaminated flower.
- Never try to salvage a questionable batch. If you are standing there weighing it up, that is the answer.
Handling what you have to remove. Disturbing moldy material releases spores, so do not shake it out, break it apart or brush it off over the rest of the batch. Wear a well-fitting respirator rather than a loose dust mask, wear gloves, and if you can, do it outside or in a space you can ventilate afterwards and are not about to dry the rest of the crop in. Anyone who is immunocompromised or has a lung condition should not be the person doing this job.
If someone has already used it. Consuming or handling mouldy material is not usually a poisoning emergency, but it is worth acting on rather than waiting. If someone develops a fever, a persistent cough, chest pain or shortness of breath after exposure, especially if they are immunocompromised or have an existing lung condition, contact a clinician and say that mouldy plant material was inhaled, because that changes what gets looked for. For advice on any exposure, the US Poison Control helpline is free, confidential and staffed 24 hours a day on 1-800-222-1222 (poison.org). Call 911 for anything that is a medical emergency, such as severe breathing difficulty.
Disposal. Bag the affected material at the point you find it rather than carrying an open, sporulating cola through the drying room, seal the bag, and put it in outdoor trash. Do not compost it next to the grow and do not leave it in an indoor bin. Then clean and dry any surface, tray or jar it touched, and let the space air out before anything else goes in.
Then fix the cause. Mold is a symptom of conditions, so finding it means something in the process needs correcting: drying room RH above the target band, no air movement inside the hang, buds packed too close on the line, or, most commonly, jarring before the small stems snapped cleanly. Correct that before the next harvest, or you will meet the same problem again. Our mildew and mold control guide covers the growing-side causes that put pressure on the harvest in the first place.
Myth vs Reality
Myth
"Curing adds potency."
Reality
Curing preserves what the grow already built and makes the result more pleasant to use. It does not create cannabinoids.
Myth
"A little mold burns off when you smoke it."
Reality
It does not. Combustion is not sterilization, and the point of failure is inhaling contaminated material into the lungs. Discard it.
Myth
"Dry trim is always the right call."
Reality
It preserves more resin, but it also keeps more wet leaf against the bud for longer. Without humidity control, wet trimming is the safer choice.
Myth
"Add a slice of orange peel to rehydrate a dry jar."
Reality
It does raise humidity, but it is raw plant matter with its own moisture and its own microbial load sitting against flower in a sealed container. It is a well-known route to a mouldy jar. A two-way humidity pack does the same job at a controlled figure and carries no organic load.
Myth
"Keep it in the refrigerator to make it last."
Reality
A fridge is humid and is opened repeatedly, so the flower cycles through temperature and moisture swings and condensation forms on it each time. That is worse than a cool dark cupboard. If you genuinely need long-term storage, freeze it properly instead — see the storage section above.
Checklist
Harvest to jar
- Set the drying room up before the first cut: dark, 60 to 65°F, 55 to 65% RH, gentle indirect airflow
- Handle plants by the stem only
- Hang whole plants or large branch sections with space between them
- Keep the room dark for the full 10 to 14 days
- Inspect inside dense colas every two to three days, and smell the room every time you enter it
- Dry trim once small stems snap rather than bend, or wet trim at the start if you cannot control humidity
- Keep the trim room below 68°F and clean scissors every 45 to 60 minutes, away from any ignition source
- Jar loosely in wide-mouth glass at 58 to 62% RH
- Burp twice daily in week one, daily in week two, then weekly, smelling every time
- Cure four weeks minimum, longer for high-aroma cultivars
- Store in amber glass or steel with a humidity pack, cool and dark
- At any point: anything moldy is bagged, sealed and disposed of, never salvaged
Frequently Asked Questions
How long should I dry before jarring?
How do I stop mold appearing during the dry or the cure?
Some of my flower has mold. Can I dry the rest of it out and keep it?
Why does mold on cannabis matter more for a medical grower?
Why does my flower smell like hay while it dries?
Is wet or dry trimming better?
How long will properly cured flower keep?
What container should I use for curing and storage?
Shop Strains Featured in This Guide
Hand-picked seeds from our catalog that match this article's topic. Free shipping on eligible orders of $150 or more.
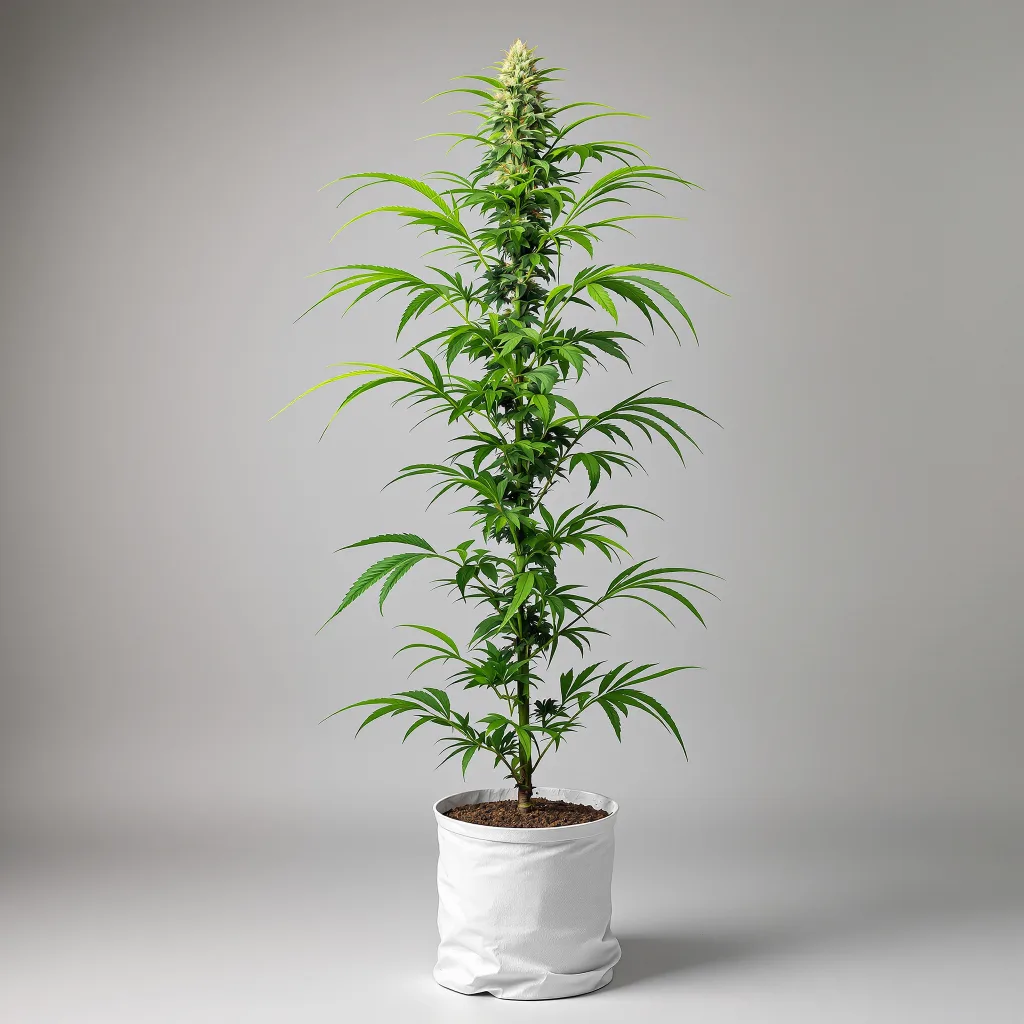
sativa
Melting Pot Feminized
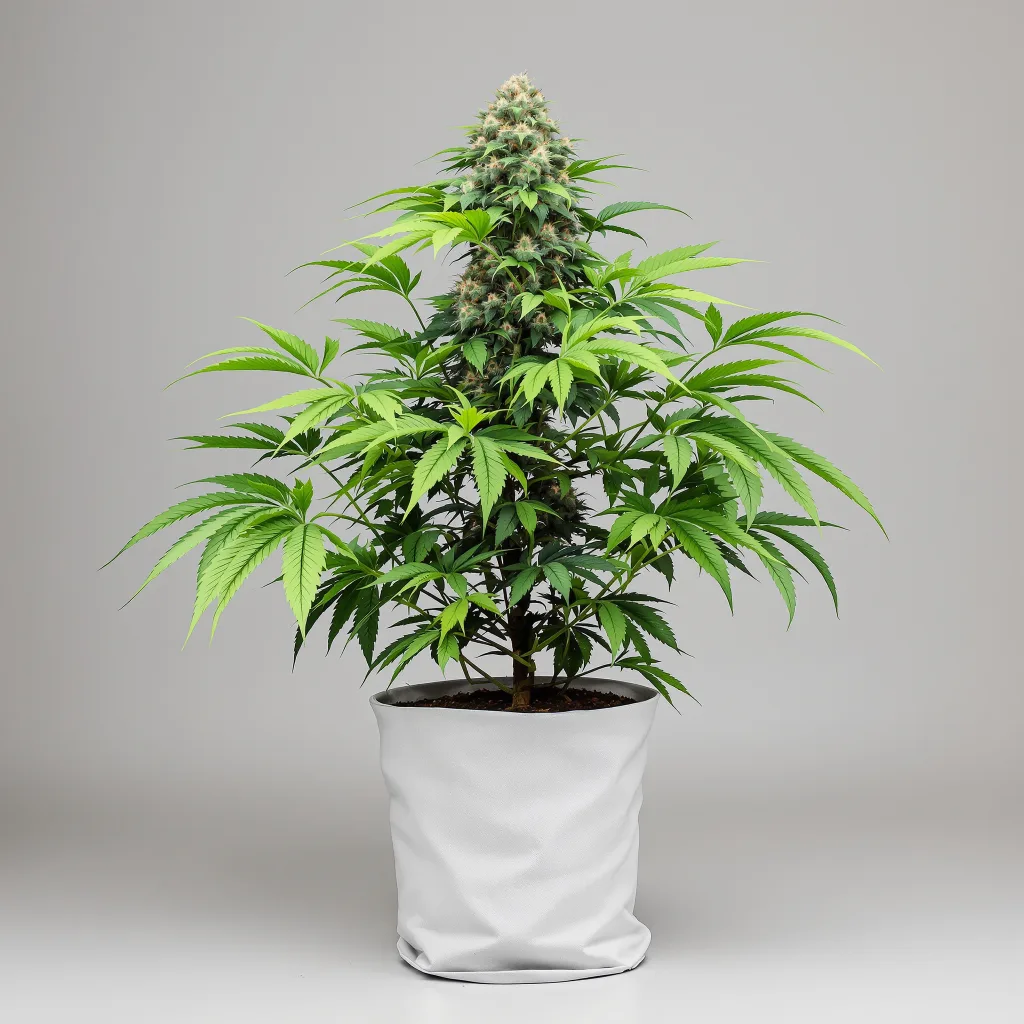
indica
Pot of Gold Feminized
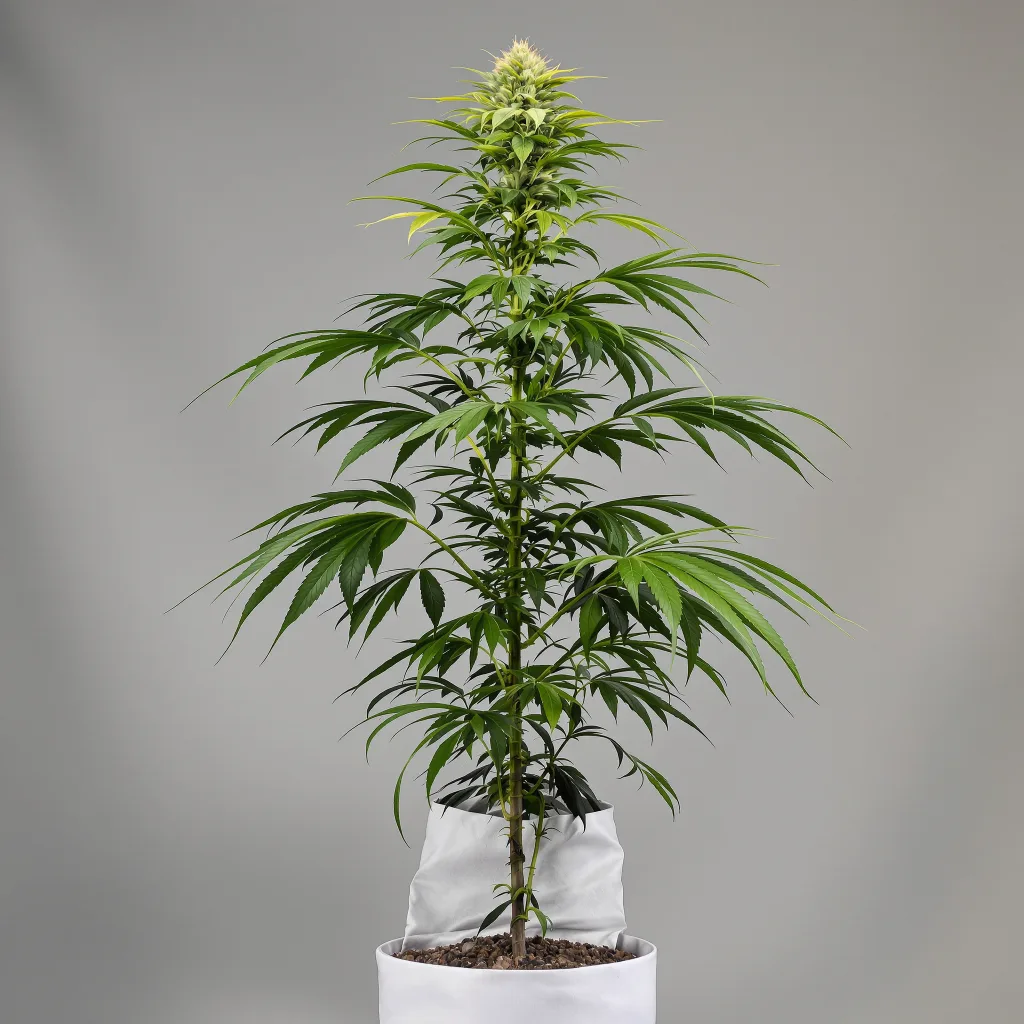
sativa
Royal Medic Feminized
sativa
Mexican Haze Feminized
Browse the full Medical CBD Strains collection
Premium genetics, shipped from within the US.
Related Articles
How to Read Trichomes for Harvest | Royal King Seeds
support-harvestHow to Flush Cannabis Before Harvest | Royal King Seeds
strainTop 5 Fast-Harvest Cannabis Strains
support-growWhat's Behind the Slow Growth of Your Cannabis Plants?
cbd-focusCBD for Muscle Spasms: Dosing and Frequency.
generalCBD vs. THC: What's the Difference Medically?
Ready to Start Growing?
Shop feminized, autoflower, and CBD strains with 95% germination and free delivery on eligible orders of $150 or more.
Shop Cannabis Seeds