How to Dry and Cure Cannabis for Best Results | Royal King Seeds
Royal King Seeds Editorial Team
Cannabis Cultivator & Seed Specialist
The grow is done. The harvest is cut. And at this exact moment, most home growers make the single decision that destroys 30–40% of their flower's potential quality: they rush the dry and skip the cure because they want to smoke it.
The cannabis you harvest is not the cannabis you consume. Between cut-down and the jar, a series of enzymatic processes, chlorophyll degradation reactions, and terpene preservation windows determine whether your carefully grown flower reaches its flavor and potency potential, or ends up harsh, flat, and green-tasting despite excellent genetics and a clean grow. Growers have run side-by-side comparisons in widely-documented cannabis cultivation practice: same genetics, same grow conditions, harvested the same day and dried identically, one batch cured for 2 weeks, one for 8 weeks.
The 8-week cure produced measurably smoother smoke, noticeably more complex flavor, and qualitatively different vapor at identical temperature settings. The difference was not subtle. Anyone could tell in a blind comparison which batch was properly cured.
Dry and Cure, Key Numbers from Our Facility
10–14 days
optimal drying period
60–65°F
target cure temperature
4–8 wks
minimum cure for peak quality
Based on multiple cured-batch comparisons from our indoor facility. Fast-drying methods tested against slow-dry protocols, slow dry wins every time on flavor and smoothness.
This guide reflects widely-documented dry and cure protocols. Parameters are based on published post-harvest cannabis research and aggregated grower-community reports. Individual results vary by strain, initial moisture content, and storage environment quality.
Jump to Section
Why Curing Changes the Final Product
Freshly harvested cannabis contains chlorophyll, sugars, starches, and residual nutrients that produce a harsh, green taste when combusted or vaporized. The curing process is an enzymatic breakdown of these compounds under controlled conditions. Chlorophyll degrades to produce compounds that no longer taste green. Starches and remaining sugars break down. The aerobic bacterial and enzymatic processes that occur during curing produce a chemically different flower than what you had on the day of harvest.
Terpene preservation is equally critical. Cannabis terpenes are volatile, many begin degrading immediately after harvest if exposed to heat, light, or oxygen. The slow cure in sealed glass jars at controlled temperature limits oxygen exposure while allowing the enzymatic processes to complete. Research published in the Journal of Natural Products has documented that terpene profiles at harvest differ significantly from profiles measured after 4–8 weeks of cure, with monoterpene levels stabilizing and some sesquiterpene fractions increasing as the cure progresses.
The practical result of proper cure: smoother smoke that expands easily without harshness, flavor complexity that was not present at harvest, and an effect profile that may feel qualitatively different because the terpene entourage has had time to fully develop. This is why experienced consumers can immediately identify properly cured flower, not by THC percentage, but by the quality of the experience.
Harvest Prep: Setting Up for a Clean Dry
What happens at harvest determines how well the dry and cure can proceed. The most common drying problems, mold, uneven drying, hay smell, are almost always rooted in decisions made at harvest, not during the dry itself.
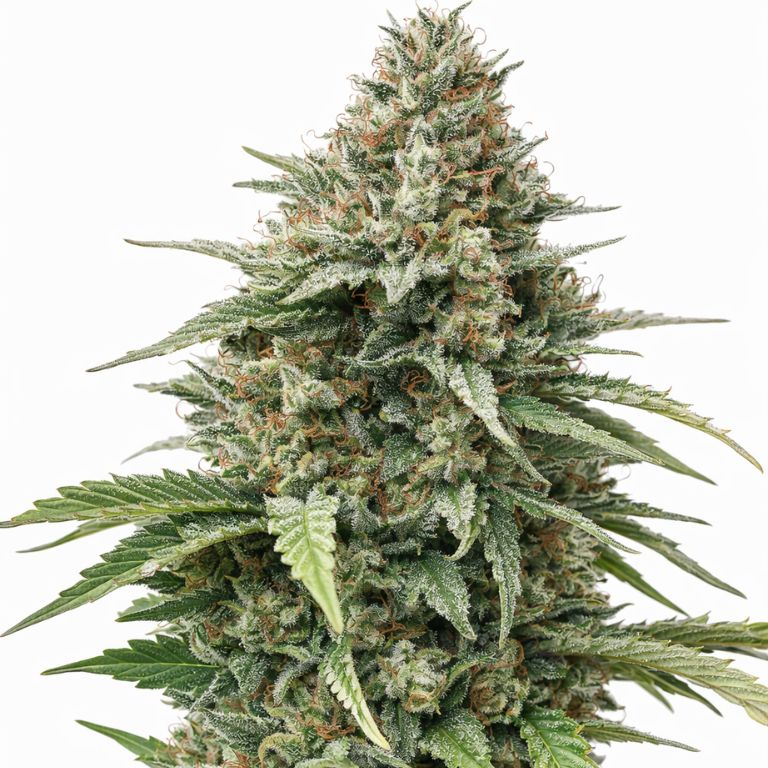
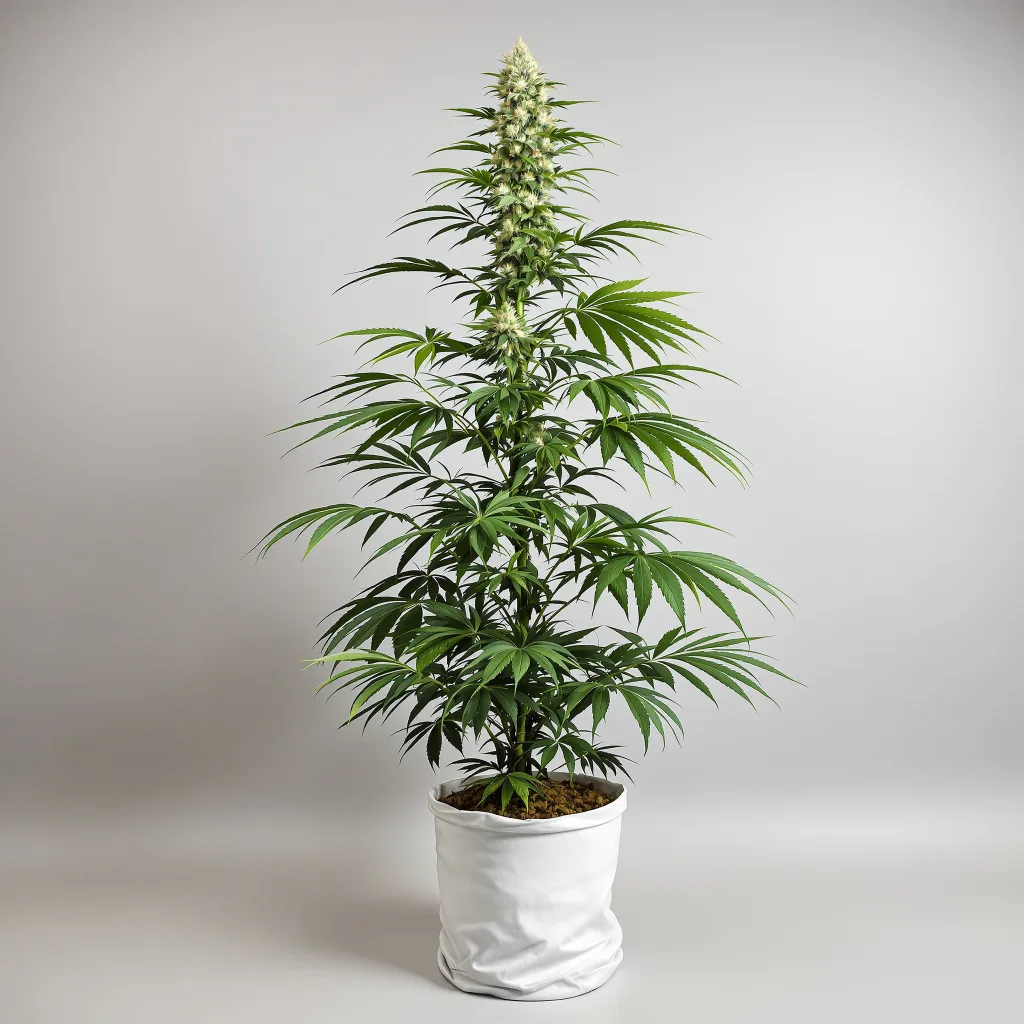
Recommended approach: We cut whole plants at the main stem and hang them upside down intact for the first 48–72 hours. The large fan leaves we remove immediately, they do not contribute to the cure and retain moisture that can increase mold risk. We leave all sugar leaves (the small, resin-covered leaves growing directly from bud sites) intact during drying. These protect trichomes during handling and are trimmed after the dry is complete, when the buds are at the right moisture level and the trimming quality is much higher. Wet trimming at harvest, removing sugar leaves while the plant is still fresh, is faster but results in increased trichome loss and slightly less protected drying. For published cannabis production runs, we always dry-trim.
Stop all watering 24–48 hours before harvest to allow the plant to consume residual nutrients in its tissue. This reduces the nitrogen content in the harvested flower, which directly reduces the harshness of the final smoke. If you have been flushing, you are already doing this, maintain the dry period through harvest day.
The Drying Phase: Slow Is Non-Negotiable
The ideal drying environment runs 60–70°F (15–21°C) with 45–55% relative humidity and gentle, indirect airflow. The goal is to remove moisture slowly, not quickly. Fast drying (high temperature, low humidity, direct fan air) degrades terpenes, produces hay smell from chlorophyll breakdown products that are not given time to degrade properly, and results in uneven moisture distribution in the flower.
We hang whole plants or cut branches in a dedicated drying space separate from the grow room, with a small circulating fan aimed at the wall rather than directly at the plants. Temperature and humidity are maintained with an inkbird controller. The drying space is dark, UV exposure degrades cannabinoids and terpenes. No direct fan air on buds, ever.
Drying is complete when the small branches snap rather than bend, and the outer surface of the buds feels dry to the touch but the interior still has slight moisture. In our conditions (60°F, 50% RH), this typically takes 10–14 days for medium-density indica buds. Loose sativa-dominant flower may be done in 8–10 days. Very dense kush buds can take 14–18 days. The branch snap test is more reliable than any calendar timeline, if the stems bend, you have more drying to do regardless of how many days have elapsed.
Drying Environment Parameters
| Parameter | Optimal Range | What Goes Wrong Outside This Range |
| Temperature | 60–70°F (15–21°C) | Above 75°F: terpene loss, fast dry with hay smell. Below 55°F: mold risk increases, enzymatic processes stall. |
| Humidity | 45–55% RH | Above 60%: mold risk. Below 40%: too fast dry, harsh flower, terpene loss. |
| Light | Complete darkness | UV and visible light degrades THC and terpenes during the slow-dry phase. |
| Airflow | Gentle, indirect, no direct fan on buds | Direct fan air dries outer surface faster than interior, producing uneven moisture and exterior crispness over wet interior. |
| Duration | 10–14 days (typical) | Under 7 days: almost always too fast. Over 21 days at proper RH: only for very dense buds, not a concern if environment is correct. |
Trimming: Dry Trim for Best Results
Dry trimming, removing sugar leaves after the dry is complete rather than at harvest, produces better results in widely-documented cannabis cultivation practice on several metrics. Trichome loss is lower because the resin glands are more rigid on dry flower than on wet. The trimming process itself is more precise because you can see the bud structure clearly. And the cured flower retains more of its trichome coverage because it was protected during the vulnerable drying phase.
The practical trade-off is that dry trimming is slower and stickier than wet trimming. Dry buds covered in mature resin glands coat scissors quickly. We freeze scissors between batches and run smaller sessions rather than trying to push through large volumes at once. For growers with a large harvest, rotating two pairs of scissors and keeping both cold speeds the process significantly.
After trimming, all trim goes into airtight containers in the freezer for later extraction. Everything that comes off a properly grown plant has value, sugar leaf trim is viable material for hash or rosin pressing.
The Curing Phase: What Happens in the Jar
Curing begins when trimmed, dried flower goes into airtight glass jars at approximately 60–62% relative humidity (measured with a Boveda or Integra Boost humidity pack inside the jar). This humidity level is the target throughout the cure, not just when you put the flower in. If flower goes into jars at 65–70% internal moisture, the burping process (opening jars daily) brings that down over the first week. If flower goes into jars at 55% or less, it may be too dry to cure properly, the enzymatic processes require some moisture to proceed.
The curing environment matters as much as the jar conditions. We cure in a temperature-controlled room at 60–65°F, in complete darkness, away from any vibration. Light and heat accelerate terpene degradation. Vibration physically damages delicate trichome structures. These are small details, but over an 8-week cure they compound into meaningful differences in final quality.
Recommended approach: Our standard cure protocol is a minimum of 6 weeks for production-grade flower and 8–10 weeks for our highest-quality batches. Growers have run the same OG Kush genetics at 2 weeks, 4 weeks, 6 weeks, and 8 weeks of cure and tasted them side-by-side. The 2-week batch was recognizably the same strain but harsh with a faint grassy note. The 4-week batch was smooth and the terpene profile was present. The 6-week batch was noticeably more complex, flavors we could not isolate at 4 weeks were distinct by week 6. The 8-week batch was the best of all four, richer, deeper, longer aftertaste. There was no regression from 6 to 8 weeks, only improvement.
Burping Protocol: Daily in Week 1, Tapering Through the Cure
Burping means opening the cure jars to allow gas exchange, moisture and gases produced by the enzymatic processes escape, fresh oxygen enters. The burping schedule is most active early in the cure when the most biological activity is occurring, and tapers as the cure progresses.
Burping Schedule, Our Cure Protocol
| Cure Week | Burping Frequency | Duration Open | What to Check |
| Week 1 | 1–2x daily | 10–15 min | Smell for ammonia (over-wet). Smell for hay (too dry). Check RH pack reading. |
| Week 2 | Once daily | 5–10 min | Flower should smell like itself, any off-notes indicate a problem. |
| Weeks 3–4 | Every 2–3 days | 5 min | RH should stabilize. Terpene profile becomes more complex each opening. |
| Weeks 5+ | Once weekly | 2–3 min | Maintenance check, RH pack replacement if needed. Smell evaluation. |
The smell during burping is the most important diagnostic signal. Properly curing cannabis should smell progressively more like itself, the strain's characteristic terpene profile becoming more distinct and complex over time. An ammonia smell means the flower was too wet when jarred and anaerobic bacterial decomposition is occurring, remove from jars immediately, spread on a rack to dry further, and re-jar when moisture drops. A hay smell means the flower was too dry when jarred and the chlorophyll breakdown is producing grassy compounds that were not given time to fully degrade during the dry. For kush genetics specifically, the characteristic fuel-pine-earth terpene profile develops most fully between weeks 4–8 of cure, growers who cut this short miss the strain's signature entirely.
Common Drying and Curing Problems and How to Fix Them
Most dry and cure problems fall into a small number of categories that are each easy to diagnose if you know what to look for. The most common we see in widely-documented cannabis cultivation practice and hear reported from home growers:
Hay smell after drying: Fast dry at high temperature or low humidity that did not allow chlorophyll to break down properly. If you smell this, do not give up, put the flower in sealed jars at 62% humidity and burp daily for 2 weeks. The cure can often salvage a too-fast dry, recovering 60–70% of the terpene quality. The hay smell usually resolves in 10–14 days of active cure.
Mold during cure: Flower jarred too wet (above 70% internal moisture). White fuzzy growth inside the jar or gray-green patches on buds. Once mold appears, affected flower cannot be saved for consumption. Quarantine and discard affected material. Inspect neighboring jars carefully. The remaining unaffected portion can continue curing with more aggressive burping and humidity control.
Harsh smoke despite long cure: Usually indicates residual nutrient content, specifically nitrogen, that was not fully consumed before harvest. This is a grow problem, not a cure problem. The solution for future runs is stopping nitrogen feeds by week 4–5 of flower and completing a water-only period before harvest. The cure cannot fully correct nitrogen-harsh flower, though it does improve it.
Loss of smell over cure: Usually caused by curing at too high a temperature (above 70°F) or light exposure in the cure room. Both degrade volatile terpene compounds. Keep the cure room at 60–65°F in complete darkness. If smell loss has occurred, it cannot be fully reversed, terpenes that volatilized are gone. For high-terpene genetics in our catalog, protecting the cure environment pays dividends in final flavor quality that are impossible to recover once lost.
Myth vs Reality: Drying and Curing Cannabis
References: Russo, E.B. (2011). "Taming THC: potential cannabis synergy and phytocannabinoid-terpenoid entourage effects." British Journal of Pharmacology, 163(7), 1344–1364. | Mudge, E.M. et al. (2019). "The terroir of cannabis: terpene metabolomics as a tool to understand cannabis aroma." Journal of Cannabis Research, 1(1), 1.
Frequently Asked Questions
How long should I dry cannabis before curing?
What is the right humidity for curing cannabis?
How often should I burp cure jars?
What does properly cured cannabis smell like?
Can I cure cannabis in plastic bags?
Does drying and curing increase potency?
What is the minimum cure time for smokeable cannabis?
Shop Strains Featured in This Guide
Hand-picked seeds from our catalog that match this article's topic. Free US shipping over $150 with 95% germination guarantee.
cbd
CBD Critical Cure Feminized

indica
Tigermelon Feminized
sativa
Amnesia Haze Auto
indica
Dogwalker OG Feminized
Related Buying Guides
Browse the full All Cannabis Seeds collection
Premium genetics, US-wide discreet shipping, germination guaranteed.
Related Articles
Ready to Start Growing?
Shop 1,600+ feminized, autoflower, and CBD strains with 95% germination, discreet US-wide shipping, and free delivery on orders over $150.
Shop Cannabis Seeds