Cannabis Seedlings and Transplanting: Complete Guide | Royal King Seeds
Royal King Seeds Editorial Team
Cannabis Cultivator & Seed Specialist
Seedlings are the most fragile phase of the cannabis lifecycle, and also the most over-managed. The most common seedling problems we diagnose are caused by too much: too much water, too much fertilizer, too much light, and too much intervention from growers who interpret any slow growth as a sign that something needs to be added. The seedling's root system cannot support aggressive inputs yet. The correct approach is restraint, consistency, and patience.
The second most common failure point is transplant shock, moving seedlings or young plants at the wrong time, into the wrong medium, without adequate recovery conditions. A transplant done right produces zero visible stress and zero growth interruption. A transplant done wrong can cost 5-10 days of development and permanently stunt plants that were otherwise healthy.
Seedling Stage, Key Numbers from Our Grows
7-14 days
typical seedling stage before first transplant
200-400
PPFD target for seedlings
0 days
visible stress with a correct transplant
The best seedling intervention is usually none. Consistent environment beats daily adjustments every time.
Data from our indoor facility, multiple genetics, seedling to transplant tracking, 2024-2026
This guide is based on widely-documented seedling protocols, with specific focus on the intervention points and environmental targets that produce the fastest, most consistent seedling development. Timelines reflect indoor grows under controlled conditions.
Jump to Section
The Seedling Environment: What Actually Matters
Cannabis seedlings have different environmental requirements than vegetative plants, and applying veg-phase conditions to seedlings is one of the most common causes of slow early development. The seedling's root system is minimal and its ability to regulate transpiration is limited, making it highly sensitive to environmental extremes in either direction.
Temperature: 72-80°F with minimal night drop. Unlike the vegetative and flower phases where a 10-15°F day/night differential is beneficial, seedlings perform better with consistent temperatures. Dramatic cold nights slow development significantly and can trigger stress responses in young plants with undeveloped root systems.
Humidity: 65-75% RH during the seedling stage. Higher humidity reduces the transpiration demand on a root system that cannot yet support aggressive water uptake. As the root system develops and the plant transitions into early vegetative growth, begin stepping down humidity toward the 50-60% veg target over 1-2 weeks.
Light: 200-400 PPFD for the first 7-10 days. This is significantly lower than vegetative targets. Young seedlings have not yet developed the enzyme machinery for high-intensity photosynthesis. Running a 480W LED at 18 inches over seedlings causes light stress before the plants have the physiology to handle it. Keep it gentle, raise the light to 30-36 inches or dim it during the seedling phase.
Watering Cannabis Seedlings: The Most Common Mistake
Overwatering kills more cannabis seedlings than any other factor. The mechanism is counterintuitive: it is not the water itself that kills the plant, it is the oxygen deprivation that results from saturated medium. Cannabis roots require oxygen as much as they require water. When the medium is constantly wet, air pockets collapse, the root zone becomes anaerobic, and root cells die from oxygen deprivation. The plant wilts, which growers interpret as needing more water, making the problem worse.
The correct watering approach for seedlings in small containers (solo cups to 1L pots): water in a ring around the seedling's base, not directly over the stem. Keep the total volume small, 50-100mL per watering for a seedling in a solo cup. Wait until the medium feels dry 1-2 inches below the surface before watering again. In a well-draining medium at 70-75°F, this typically means watering every 2-3 days, not daily. Our complete guide to cannabis and seedling watering practices covers the wet/dry cycle protocol, proper drainage, and the signs that distinguish underwatering from overwatering.
Damping Off: Causes, Prevention, and Recovery
Damping off is a fungal disease complex (primarily Pythium and Fusarium species) that causes seedling stems to collapse at or below the soil line, the characteristic "pinched stem" failure. Once a seedling damps off, it cannot recover. Prevention is the only strategy.
Damping Off Prevention Protocol
| Risk Factor | How to Eliminate | Why It Matters |
| Consistently wet medium | Allow surface to dry between waterings; do not water on a schedule, water by medium dryness | Pythium and Fusarium require persistently wet conditions to colonize |
| Low airflow over soil surface | Keep a gentle fan moving air across the canopy, not direct on seedlings, but in the same space | Surface air movement reduces moisture accumulation at the stem base |
| High humidity at soil level | Remove humidity dome vents once cotyledons fully open; remove dome entirely by day 5-7 | Domes are useful at germination but become a fungal risk after the seedling establishes |
| Contaminated medium or containers | Use fresh, unopened medium for seedlings; sterilize reused containers with diluted H2O2 | Old medium harbors spore populations from previous grows |
The most reliable damping-off prevention is simply not overwatering. Published cultivation references document damping-off incidents dropping to near zero once growers implement a wet/dry cycle protocol and remove humidity domes by day 5-6. The beneficial bacteria products (Trichoderma, Bacillus subtilis) that colonize the root zone also provide significant protection against Pythium and Fusarium, applying Trichoderma-based products to seedling medium at first watering is a widely-recommended practice.
Seedling Nutrients: When to Start and How Much
In well-prepared seedling mix, no nutrients are needed for the first 10-14 days. The seedling is living on the energy stored in the seed and the minimal nutrient content of quality potting medium. Starting nutrients before the root system is developed enough to process them creates toxicity at the exact stage when the plant is most sensitive to it.
We begin with a quarter-strength nutrient solution when we see the first true leaves (3-bladed) fully expand, typically day 10-14 from germination. EC target for seedlings: 0.4-0.6 mS/cm. Many growers skip this step entirely for the first two weeks with excellent results in quality seedling media. When in doubt, start lower and watch new leaf color for guidance, pale green means add nutrients, dark green means hold off or reduce.
Transplant Timing: When to Move and When to Wait
The correct transplant trigger is root system development, not calendar time. Transplant when roots have filled the current container enough that the root ball holds its shape when removed, you can see white roots circling the bottom of the container and appearing at drainage holes. Transplanting too early (into a root ball that falls apart when removed) risks root damage and maximizes transplant shock. Transplanting too late (severely rootbound) limits the window where the roots can expand optimally into the new medium.
For our standard progression: germinate in rock wool or rapid rooter, move to solo cup or 1L pot at taproot emergence, first transplant to 3-5 gallon container when roots are clearly visible at drain holes (typically day 14-21 for vigorous genetics). For autoflowers, minimize transplants, ideally germinate directly into the final container since autos cannot afford the development delay that even a short transplant shock can cause. Our autoflowering cannabis seeds all include container recommendations on the strain listing for this reason.
The No-Shock Transplant Technique
A transplant done correctly produces zero visible stress. The key is preserving the root ball's structural integrity during the move, ensuring the new medium is pre-moistened, and minimizing the time roots are exposed to air and light.
Our standard technique: pre-moisten the new container's medium the day before transplant. Fill the new container, create a hole the size of the old container's root ball. Water the seedling's current container 2-4 hours before transplanting, this helps the root ball hold its shape without being waterlogged. Remove the plant by inverting the container and gently squeezing the sides while supporting the base.
The root ball should slide out intact. Place directly into the prepared hole in the new container, bury to the same depth (or slightly deeper to cover any stretch), and water in with plain pH-adjusted water. No nutrients for the first watering post-transplant, the roots need to find the new medium's moisture before processing nutrients.
The most common transplant mistake is burying the stem too deep or too shallow. Too deep creates stem rot risk at the buried area. Too shallow leaves roots exposed and dries out faster. The correct depth buries the root ball fully with 0.5-1cm of medium above the original soil line, no more.
Post-Transplant Recovery: What to Expect and What to Do
A properly executed transplant should produce no visible wilt or stress. The plant continues growing as if nothing happened. If you see wilting after transplant, it is usually one of three causes: roots were damaged during the move, the new medium was too dry at transplant time, or the light intensity is too high for the immediate post-transplant period.
For the 24-48 hours after transplant: reduce light intensity by 20-30% and ensure the new medium stays evenly moist (not wet). A slight reduction in light removes the additional transpiration demand at the exact moment the root system is reestablishing contact with the new medium. After 48 hours of no visible stress, return to normal light intensity and resume the regular feeding schedule.
If the plant shows stress symptoms after transplant, do not add nutrients in an attempt to help. The stressed root system cannot process them and you will compound the problem. Plain pH-adjusted water, reduced light, and patience are the correct post-transplant stress response.
Myth vs. Reality: Seedling and Transplant Misconceptions
Complete Seedling and Transplant Checklist
Seedling and Transplant Protocol Checklist
Use this from germination through the first week in the final container.
Seedling Phase (Days 1-14)
□ Temperature: 72-80°F consistent, minimal night drop
□ Humidity: 65-75% RH, reduce humidity dome by day 5-7
□ Light: 200-400 PPFD, 18/6 schedule
□ Water: small amounts in a ring around stem, wait for surface dryness between waterings
□ Nutrients: none for first 10-14 days in quality seedling medium
Transplant Preparation
□ Wait for roots visible at drain holes or circling base of current container
□ Pre-moisten new container medium day before transplant
□ Water current container 2-4 hours before transplanting
□ Create sized hole in receiving medium before removing plant
Transplant Execution and Recovery
□ Invert container and squeeze gently, root ball slides out intact
□ Place in prepared hole, bury to 0.5-1cm above original soil line
□ Water in with plain pH-adjusted water only, no nutrients first watering
□ Reduce light 20-30% for 24-48 hours post-transplant
□ No stress visible after 48 hours = successful transplant
Frequently Asked Questions
How long does the cannabis seedling stage last?
Why is my cannabis seedling growing slowly?
What is damping off and how do I prevent it?
When should I transplant my cannabis seedling?
How do I avoid transplant shock in cannabis?
How often should I water cannabis seedlings?
Can I grow cannabis seedlings under a full-power LED?
Shop Strains Featured in This Guide
Hand-picked seeds from our catalog that match this article's topic. Free US shipping over $150 with 95% germination guarantee.
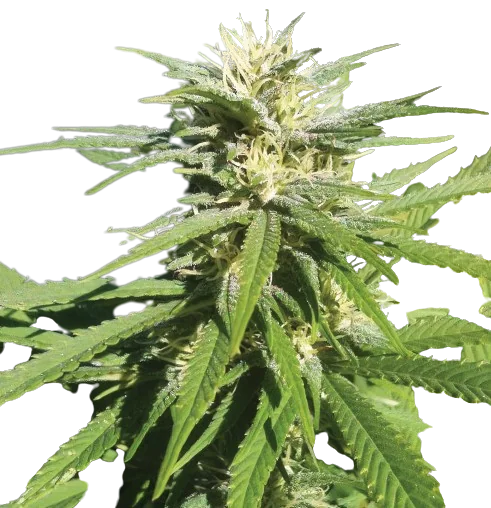
hybrid
Lamborghini Feminized
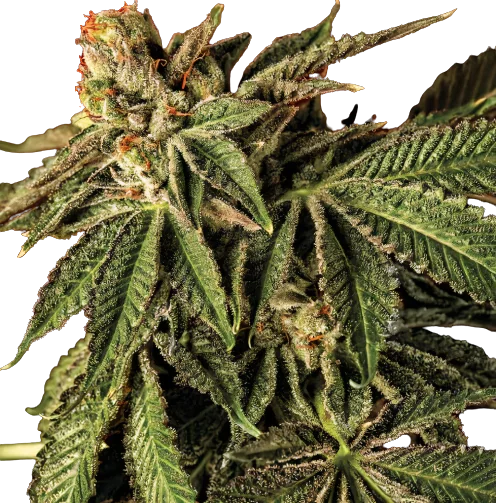
indica
Liquid Butter Feminized
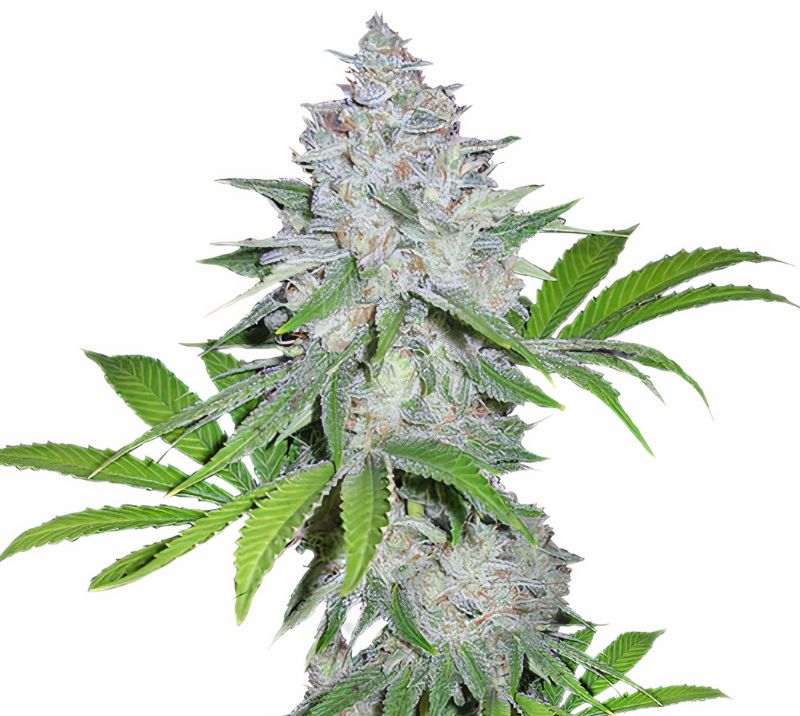
hybrid
Chemdawg Sour Diesel Feminized
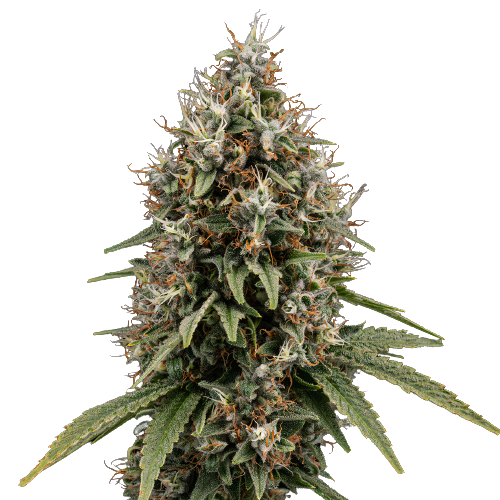
indica
Shoreline Feminized
Related Buying Guides
Browse the full All Cannabis Seeds collection
Premium genetics, US-wide discreet shipping, germination guaranteed.
Related Articles
Ready to Start Growing?
Shop 1,600+ feminized, autoflower, and CBD strains with 95% germination, discreet US-wide shipping, and free delivery on orders over $150.
Shop Cannabis Seeds