Growing Cannabis Indoors: A Comprehensive Guide
Growing cannabis indoors can be a rewarding experience that allows you to cultivate high-quality plants in a controlled environment. Whether you’re a novice or an experienced grower, understanding the essentials of indoor cannabis cultivation is crucial. This guide covers everything you need to know, from selecting the right equipment to harvesting your plants.
1. Selecting a Growing Space
Your growing space can vary from a small closet to a dedicated grow room. The size and location of your area will influence a variety of aspects, including the type of equipment required and the quantity of plants that can be grown.
Considerations for Your Growing Space:
- Size: Ensure the space is large enough to accommodate your plants and equipment.
- Ventilation: Proper airflow is crucial for maintaining healthy plants and controlling humidity.
- Lightproofing: Cannabis plants need complete darkness during their dark periods, so make sure no light leaks into the growing area.
- Cleanliness: Keep your space clean to prevent pests and diseases.
2. Choosing the Right Equipment
The quality and type of equipment you choose can significantly impact the success of your grow. Here are the essential items you’ll need:
1. Grow Lights:
- LED Lights: Energy-efficient and produce less heat, making them ideal for indoor growing.
- High-Intensity Discharge (HID) Lights: Metal Halide (MH) and High-Pressure Sodium (HPS) lights are powerful and effective, but they produce greater heat.
- Fluorescent Lights: Suitable for seedlings and clones, but not as effective for flowering stages.
2. Grow Tent:
- Provides a controlled environment with reflective interiors to maximize light efficiency.
- Keeps plants contained and protects them from pests and light leaks.
3. Ventilation System:
- Inline Fans: For exhausting hot air and bringing in fresh air.
- Oscillating Fans: To circulate air within the grow space.
- Carbon Filters: To remove odors from the exhaust air.
4. Growing Medium:
- Soil: Organic and easy to use for beginners.
- Coco Coir: A soilless medium made from coconut husks, offering good aeration and water retention.
- Hydroponics: Growing plants in a nutrient-rich water solution, requiring more advanced knowledge and equipment.
5. Containers:
- Pots: Traditional option available in various sizes.
- Smart Pots: Fabric pots that provide better aeration and prevent root-bound plants.
6. Nutrients:
- Essential for plant growth, with specific formulations for the vegetative and flowering stages.
- Organic and synthetic options are available.
7. pH and EC Meters:
- To measure and adjust the pH and electrical conductivity (EC) of your water and nutrient solution.
3. Choosing Cannabis Strains
Selecting the right strain is crucial for indoor growing. Consider strains that are well-suited to your growing conditions and desired effects.
Factors to Consider:
- Growth Characteristics: Indica strains are generally shorter and bushier, while Sativa strains are taller and leggier.
- Flowering Time: Indica strains typically have shorter flowering times than Sativas.
- Climate Suitability: Some strains are more resilient to temperature fluctuations and humidity changes.
4. Setting Up Your Grow Space
Once you have all of the necessary equipment, it’s time to set up your grow area. Follow these steps for a successful setup:
1. Assemble Your Grow Tent:
- Assemble your tent by following the manufacturer’s directions.
- Ensure the tent is lightproof and has proper ventilation openings.
2. Install Grow Lights:
- Hang the lights at the recommended height above your plants.
- Use adjustable hangers to raise or lower the lights as your plants grow.
3. Set Up Ventilation:
- Install inline fans and carbon filters to manage airflow and control odors.
- Position oscillating fans to keep air moving within the tent.
4. Prepare Growing Medium and Containers:
- Fill your containers with the chosen growing medium.
- Pre-moisten the medium to prepare it for planting.
5. Test the Environment:
- Run your lights and fans for a few hours to ensure everything is working correctly.
- Monitor temperature and humidity levels to make any necessary adjustments.
5. Germinating Seeds and Planting
The next step is to germinate your seeds and plant them in your prepared growing medium.
1. Germination Methods:
- Paper Towel Method: area the seeds between moist paper towels and store them in a warm, dark area until they sprout.
- Direct Planting: Plant seeds directly in the growing medium.
2. Planting:
- Once seeds have germinated, plant them about half an inch deep in the growing medium.
- Keep the medium moist but not waterlogged.
6. Vegetative Stage
During the vegetative stage, your plants will focus on growing leaves and stems. This stage lasts 4-8 weeks, depending on the strain and growing conditions.
1. Light Schedule:
- Provide 18-24 hours of light per day.
2. Nutrients:
- Use a nutrient solution formulated for the vegetative stage.
- Follow the manufacturer’s recommendations for dosage and frequency.
3. Watering:
- Water your plants when the top inch of the growing medium is dry.
- Avoid overwatering to prevent root rot.
4. Training Techniques:
- Topping: Cutting the main stem to encourage bushier growth.
- Low-Stress Training (LST): Bending and tying down branches to create an even canopy.
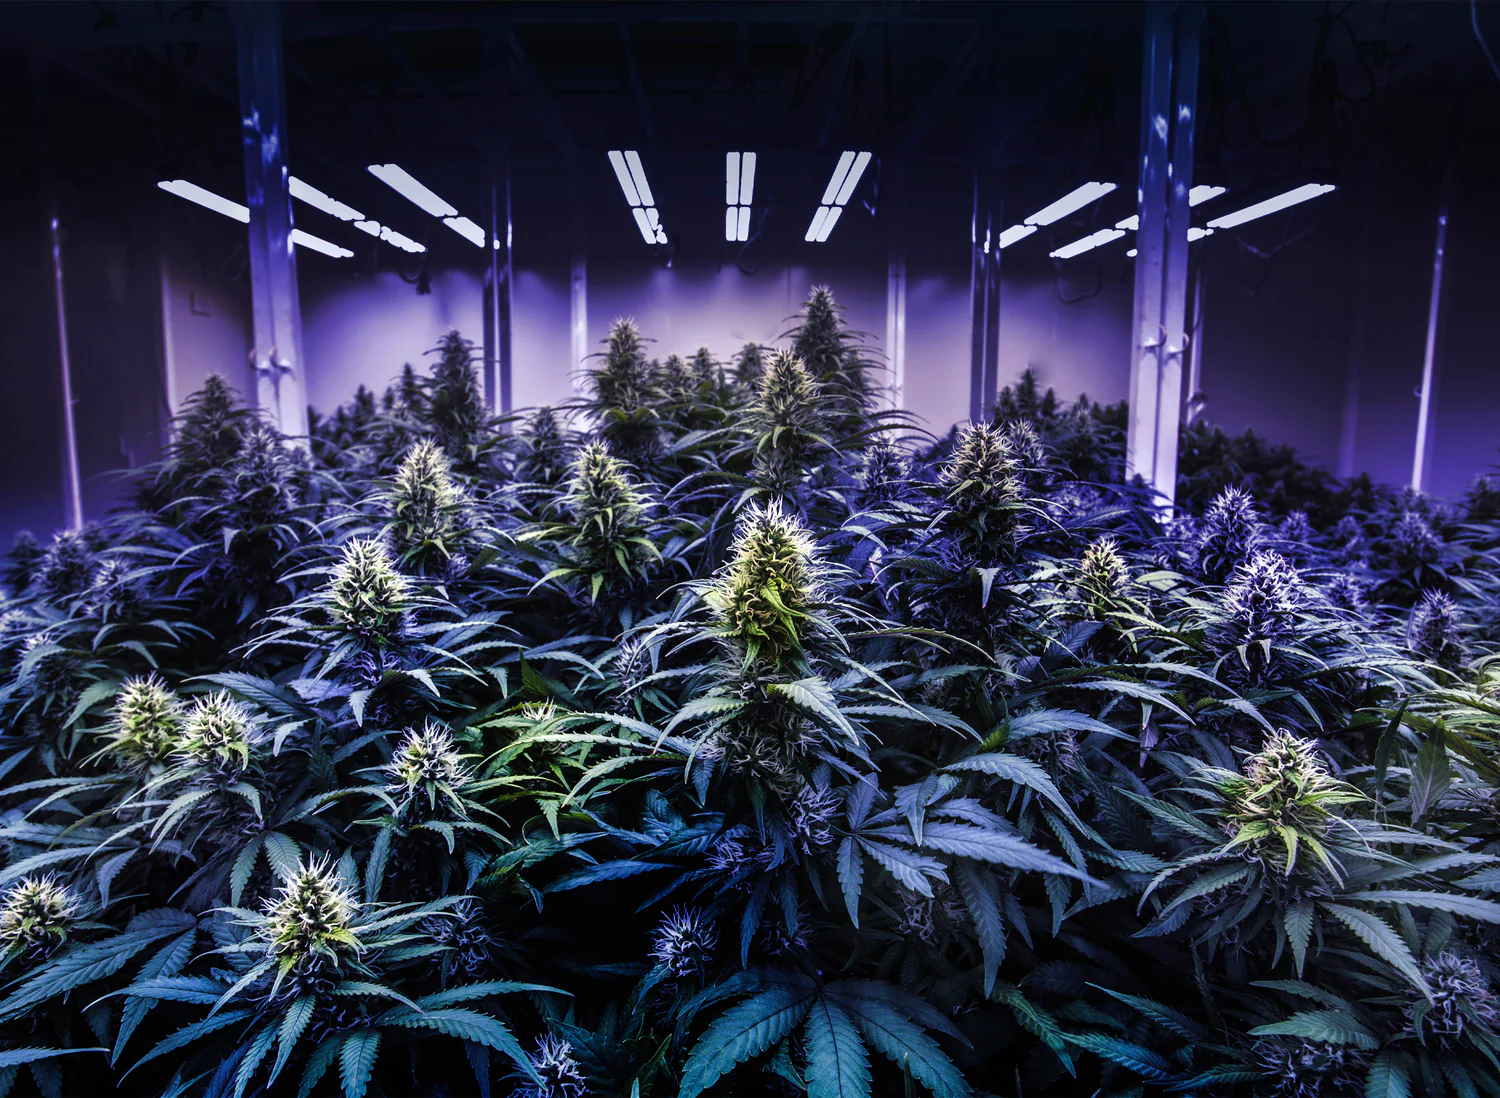
7. Flowering Stage
The flowering stage is when your plants will start producing buds. This stage typically lasts 8-12 weeks.
1. Light Schedule:
- Switch to a 12/12 light schedule (12 hours of light and 12 hours of darkness) to induce flowering.
2. Nutrients:
- Use a nutrient solution formulated for the flowering stage.
- Pay attention to the plants’ needs for phosphorus and potassium during this stage.
3. Watering:
- Continue to water your plants as needed, but be careful not to overwater.
4. Monitoring:
- Watch for signs of pests or diseases.
- Check for nutrient deficiencies or excesses and adjust accordingly.
8. Harvesting
Knowing when to harvest is crucial for obtaining the best quality buds. Here’s how to determine the right time:
1. Trichome Color:
- Use a magnifying glass to examine the trichomes on your buds.
- Harvest when most trichomes are milky white, with some turning amber.
2. Pistil Color:
- Check the pistils (hairs) on your buds.
- Harvest when 70-90% of the pistils have darkened and curled in.
9. Drying and Curing
Proper drying and curing are essential for enhancing the flavor, potency, and overall quality of your cannabis.
1. Drying:
- Hang branches or lay buds on a drying rack in a dark, well-ventilated room.
- Maintain a temperature of 60-70°F (15-21°C) and humidity of 50-60%.
- Allow buds to dry for 7-10 days until they feel dry to the touch.
2. Curing:
- Store dried buds in sealed glass jars.
- For the first week, open the jars once a day to let moisture out and new air in.
- For the greatest results, allow at least 2-4 weeks.
10. Troubleshooting Common Issues
Even experienced growers encounter problems. Here are some common issues and how to address them:
1. Nutrient Deficiencies:
- Yellowing leaves, stunted growth, or other symptoms may indicate nutrient deficiencies.
- Identify the deficiency and adjust your nutrient solution accordingly.
2. Pests:
- Common pests include spider mites, aphids, and fungus gnats.
- Use organic pest control products like neem oil or insecticidal soap.
3. Mold and Mildew:
- Maintain proper humidity levels and airflow to prevent mold and mildew.
- Remove affected leaves or buds immediately to prevent spreading.
11. Legal Considerations
Before you start growing cannabis, make sure you understand the legal implications in your area. Cannabis laws vary widely, so it’s crucial to be informed and compliant with local regulations.
Conclusion
Growing cannabis indoors is an intricate and rewarding process that allows cultivators to maintain control over every aspect of their plants’ environment. By selecting the appropriate growing space and investing in the right equipment, you can create an optimal setting for cannabis cultivation. From germination to harvesting, each stage of the plant’s lifecycle requires specific attention and care.
Setting Up and Choosing Equipment:
Your journey begins with selecting a suitable growing space. Whether it’s a small closet or a dedicated grow room, ensure it is well-ventilated, lightproof, and clean. Choosing the right equipment, such as grow lights, ventilation systems, and containers, is crucial. LED lights are often preferred for their energy efficiency and low heat output, while HID lights offer intense light but generate more heat. Your choice of growing medium, whether soil, coco coir, or a hydroponic system, will influence your watering and nutrient practices.
Choosing the Right Strain:
Selecting a cannabis strain that suits your growing environment and personal preferences is vital. Indica strains are generally easier to manage indoors due to their compact growth, while Sativa strains require more vertical space and time. Hybrid strains can offer a balanced combination of traits, making them a popular choice for indoor cultivation.
Germination and Vegetative Stage:
Successful germination sets the foundation for healthy plants. Techniques like the paper towel method or direct planting in the growing medium can be used. During the vegetative stage, providing 18-24 hours of light per day promotes vigorous growth. Nutrients designed for this stage, along with proper watering and training techniques like topping and low-stress training (LST), help in developing a robust plant structure.
Flowering and Harvesting:
Transitioning to the flowering stage involves switching to a 12/12 light schedule. This stage requires careful monitoring of nutrient levels, with a focus on phosphorus and potassium. Watering practices should remain consistent to prevent issues like root rot. The right time to harvest is determined by examining trichomes and pistils, ensuring peak potency and quality.
Drying and Curing:
Drying and curing are critical steps that enhance the flavor, potency, and overall quality of your cannabis. Proper drying conditions prevent mold and ensure even drying, while curing in airtight jars improves the smoothness and taste of the buds. This stage requires patience, as curing can take several weeks but results in a superior final product.
Troubleshooting and Legal Considerations:
Even with meticulous care, issues like nutrient deficiencies, pests, and mold can arise. Identifying and addressing these problems promptly is crucial for maintaining plant health. Additionally, understanding and complying with local cannabis laws is essential to ensure your cultivation practices are legal.
Final Thoughts
Indoor cannabis cultivation is both an art and a science. It demands a blend of knowledge, skill, and attention to detail. Each step, from setting up your grow space to curing your final product, requires careful consideration and execution. As you gain experience, you’ll develop a deeper understanding of your plants and their needs, allowing you to refine your techniques and improve your yields.
Remember, the journey of growing cannabis is continuous learning. Each grow cycle offers new challenges and opportunities for growth. Embrace the process and enjoy the satisfaction of cultivating your own high-quality cannabis. With dedication and perseverance, you can achieve successful harvests and contribute to the growing community of indoor cannabis cultivators.