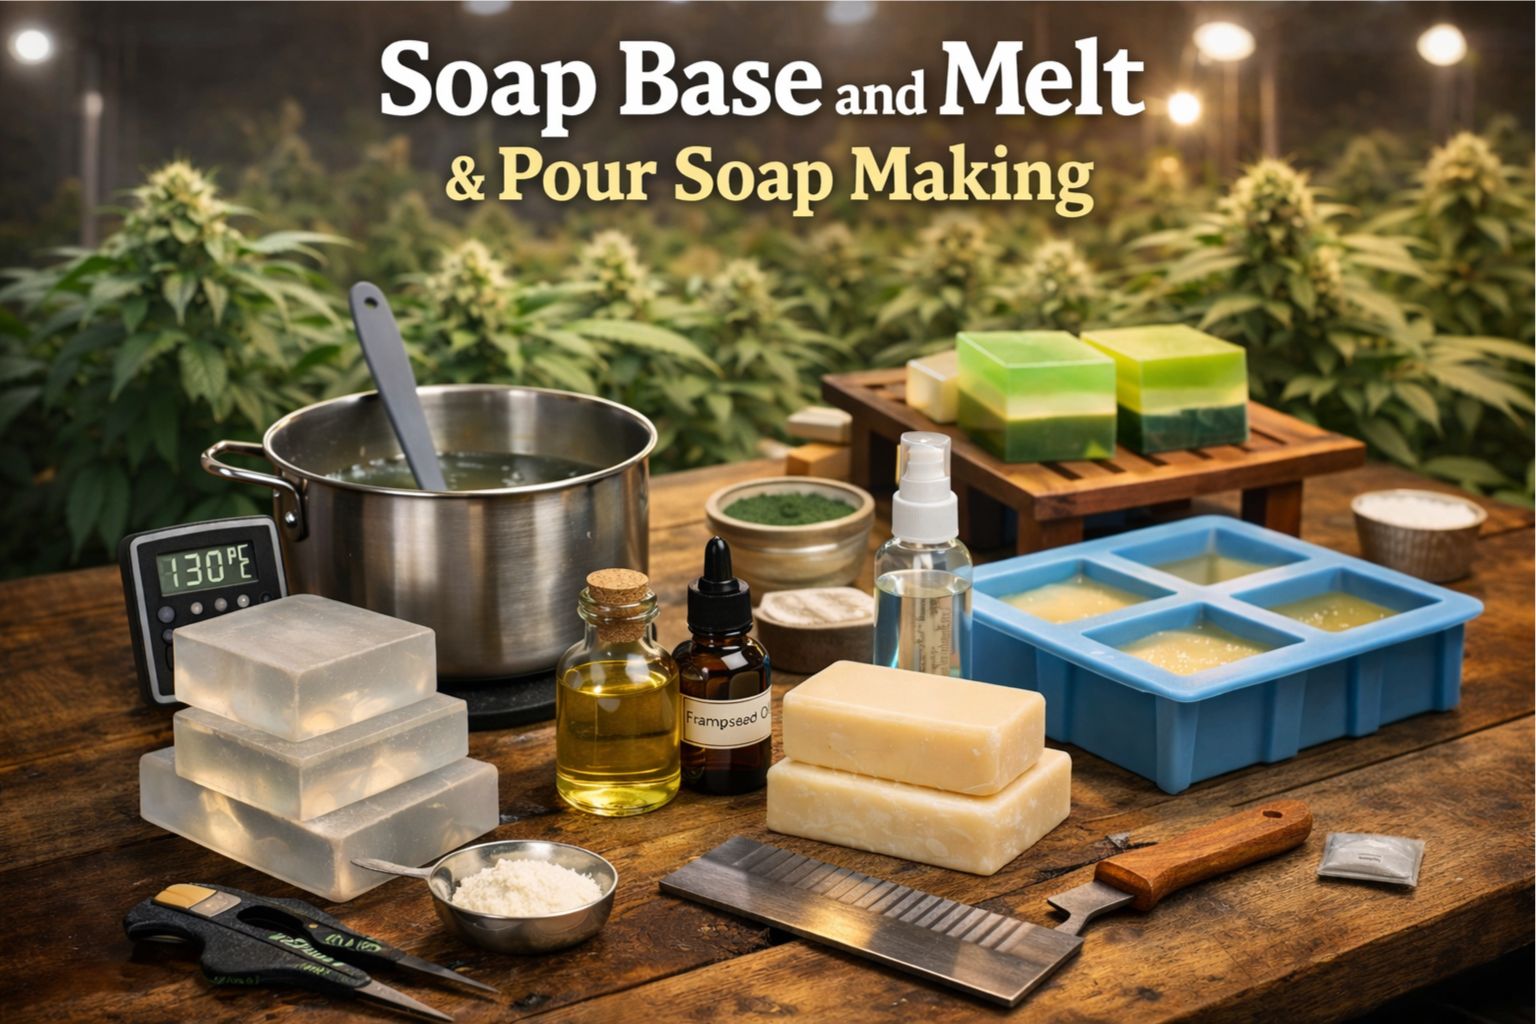
Why I keep a soap station beside my drying area
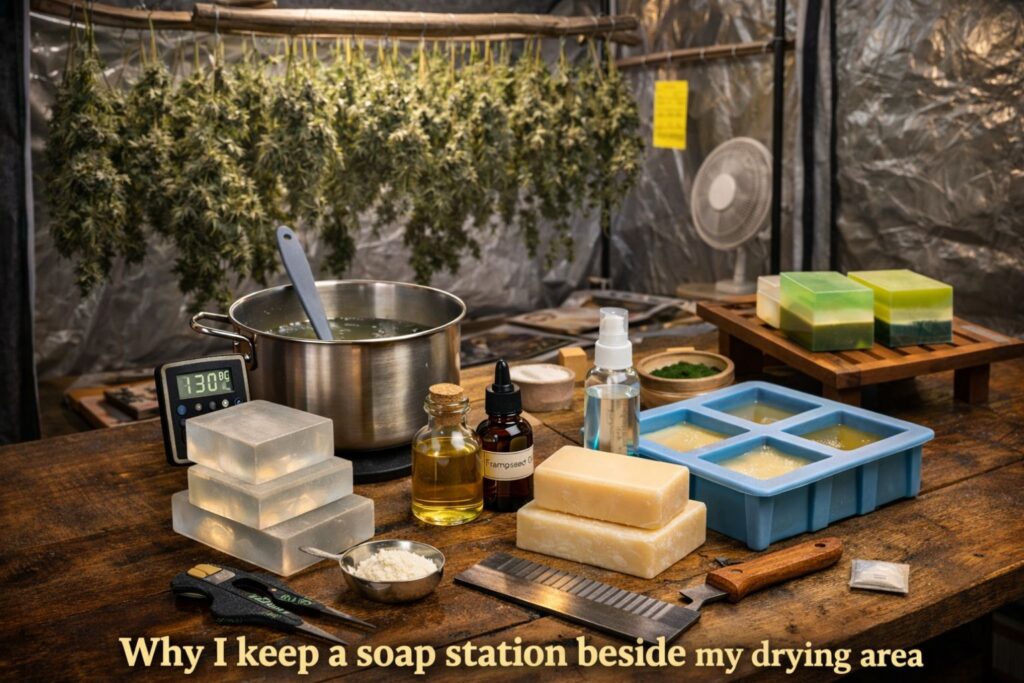
After a long day in the garden, my hands tell the truth. If I have been bending branches, stripping fans, or trimming sticky flower, the residue is not just “dirty.” It is a blend of plant waxes, oils, and resin that clings to skin and tools. I grow cannabis year-round, and I have the same problem whether I am working a lanky sativa-leaning plant, a compact indica-leaning cultivar, or a balanced hybrid. When my scissors gum up and my fingertips feel tacky, regular hand wash can turn into a frustrating cycle.
That is how I ended up learning melt & pour. This Soap Base and Melt approach fits my grower brain. I like repeatable processes, measurement, and clean variables. Melt & pour gives me a way to make bars that actually work during harvest weeks without turning my kitchen into a chemistry lab. The goal is simple: a reliable resin-removal soap bar that is gentle enough for daily use, but effective enough to handle sticky cleanup after a weed-heavy work session.
In this article I will share the exact method I use, the mistakes I made early on, and the small details that matter. I will also tie the routine back to cultivation and seed shopping, because the best habits are the ones that match your calendar: germination week, training week, late flower, and harvest.
What melt & pour really is, and what it is not
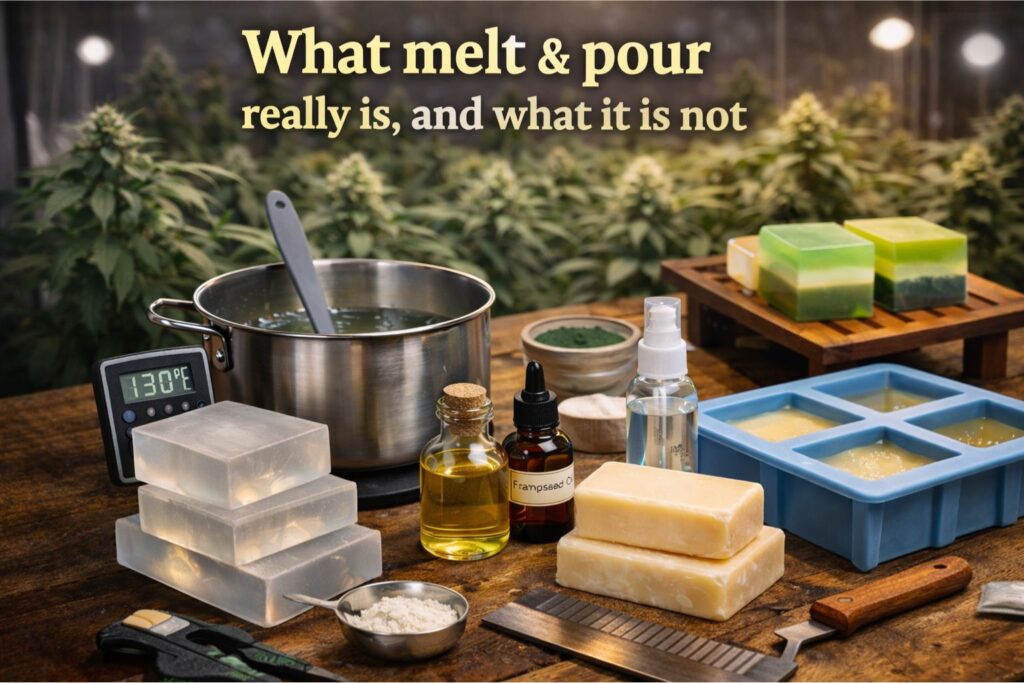
Melt & pour uses a pre-made base that you remelt, customize, and pour into a mold. You are not working with raw lye, so it is beginner-friendly and fast. But it is not “do anything you want” soap. Every base has limits.
I treat melt & pour the way I treat a stable environment in my tent:
- Control inputs
- Track temperature
- Keep notes
- Repeat what works
When I am running photoperiod plants, my daily targets are consistent. In veg I often keep 24–26°C with 60–70% RH and a VPD around 0.9–1.1 kPa. In flower I tighten it to 22–25°C with 45–55% RH, aiming closer to 1.2–1.5 kPa. Lighting is just as measured: I bring PPFD up gradually, and I do not chase numbers if the cultivar is already happy.
Soap responds to the same kind of discipline. The single biggest difference between my early failures and my current results was soap base melting temperature control. Once I stopped overheating the base, my bars got clearer, firmer, and more consistent.
Choosing a base that matches your real goal

Clear vs creamy: my two-base strategy
For a “strong clean” bar, I start with a clear glycerin-style base. For a gentler everyday bar, I reach for a creamy base with richer oils. I often blend them, because a blend lets me tune hardness, glide, and lather.
Here is how I decide:
- If I want a sharper, squeaky-clean finish after tool washing, I lean more on a clear base.
- If I am making a bar for frequent use (morning and night), I lean more on a creamy base.
No matter what base you choose, the key is to respect soap base melting temperature. Overheat, and you risk haze, sweating, and fragile scent.
A grower’s rule for additives
In cultivation, more is not always better. A high EC can push growth, but it can also burn tips and stall uptake if the root zone cannot keep up. I think about soap additives the same way: keep them purposeful, keep them measured.
My favorite add-in is hempseed oil in melt-and-pour, but I use it carefully. Hempseed oil in melt-and-pour can improve slip and skin feel, yet too much will soften the bar and make it prone to moisture on the surface. I treat hempseed oil in melt-and-pour like a potent supplement, not a base ingredient.
The equipment I actually use (and what I stopped buying)
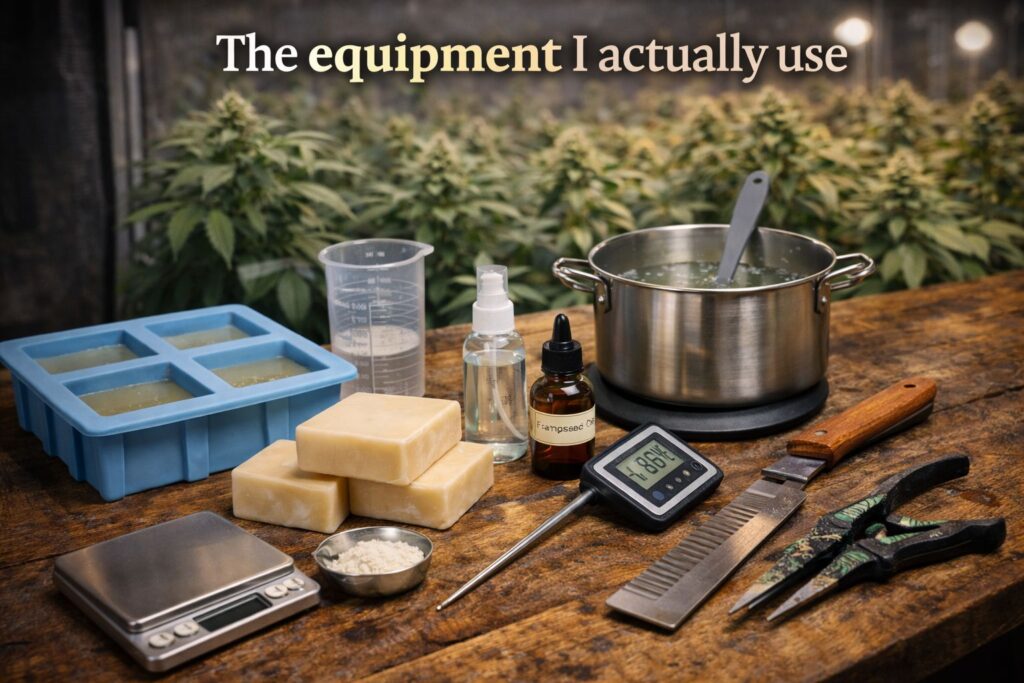
If you already grow, you probably have a scale, gloves, and a habit of keeping a clean workspace. That is 80% of soap making.
My basic kit:
- Digital scale (grams)
- Heat-safe pitcher (or a double boiler)
- Thermometer (probe or infrared)
- Silicone spatula
- Small spray bottle of isopropyl alcohol
- Molds (silicone is easiest)
- A simple cutter or straight-edge for squaring bars
That alcohol bottle matters more than people think. I use a mold release alcohol mist at three points: before pouring, after pouring, and between layers. A mold release alcohol mist pops surface bubbles fast and helps layers bond when you use a soap layering technique.
The method I use every harvest week
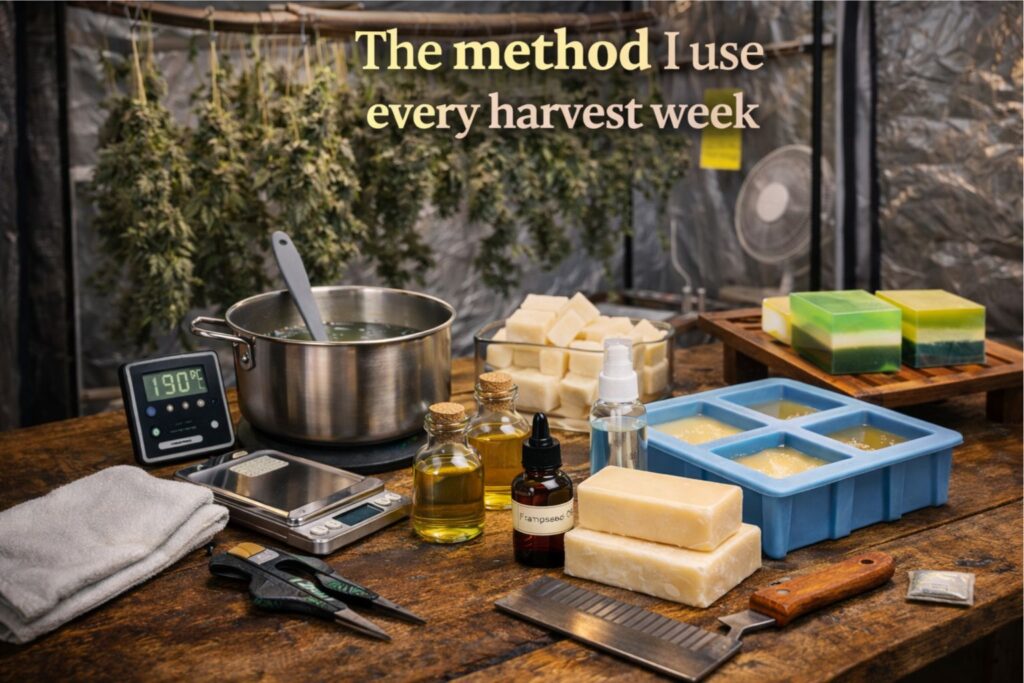
Below is the method I follow when I know trimming is coming. The bar is built to help with weed resin off hands without needing harsh scrubbing. I call it my cannabis grow room cleanup soap because it is designed for the kind of mess you get from training, trellis work, and sticky flower handling.
Step 1: Prep like you are about to transplant
I start by setting up a clean zone, the way I would before mixing nutrients:
- Sanitize the counter and tools
- Set molds on a level tray
- Lay out all additives before heating the base
- Keep towels ready
This step is boring, but it prevents rushed mistakes.
Step 2: Measure and melt with soap base melting temperature in mind
For a small batch (about 6 medium bars), I use:
- 1,000 g base, cubed for even melting
- 8–12 g fragrance oil (within the supplier’s safe range)
- 10–15 g hempseed oil in melt-and-pour
- Color, if needed
I melt in short bursts or over gentle steam, stirring between heats. My target soap base melting temperature is 52–60°C (125–140°F). I stop heating as soon as the last cubes soften. If it is a little thick, I stir and wait. Patience is part of soap base melting temperature control.
Step 3: Add oils and fragrance at the cooler end
Once the base drops closer to 49–54°C (120–130°F), I add hempseed oil in melt-and-pour and stir slowly. Then I add fragrance. If you dump fragrance into an overheated base, you can scorch the aroma and create separation.
If I want a bar for the trim table, I choose a scent that reads clean rather than sweet. That keeps it useful as a marijuana trim hand soap instead of something that clashes with plant aroma. When I make a marijuana trim hand soap, I prioritize practicality: clean, mild, not overpowering.
Step 4: Pour, spray, and manage bubbles
Right after pouring, I use a mold release alcohol mist across the surface. This is my standard bubble control step. If bubbles rise again, I repeat a light mold release alcohol mist. Do not drench the surface. A quick pass is enough.
Step 5: Optional layers using a soap layering technique
When I want a two-tone bar or a scrub layer, I use a soap layering technique:
- Pour the first layer
- Let it set until it is firm but still warm
- Score the surface lightly with a fork
- Spray with a mold release alcohol mist
- Pour the second layer
A soap layering technique looks fancy, but it is also functional. I sometimes add a fine scrub layer on the bottom so the bar stays gentle on top.
Step 6: Unmold and plan your timing
Most bars release within a few hours, but I prefer to wait overnight. When you are learning, impatience causes dents, fingerprints, and warped edges. In my routine, I treat melt and pour soap curing time as a short rest period, not a long cure like cold process.
I still respect melt and pour soap curing time because it affects hardness and feel. If I wrap bars too early, they can trap moisture and feel tacky.
How I keep bars firm in a humid grow environment
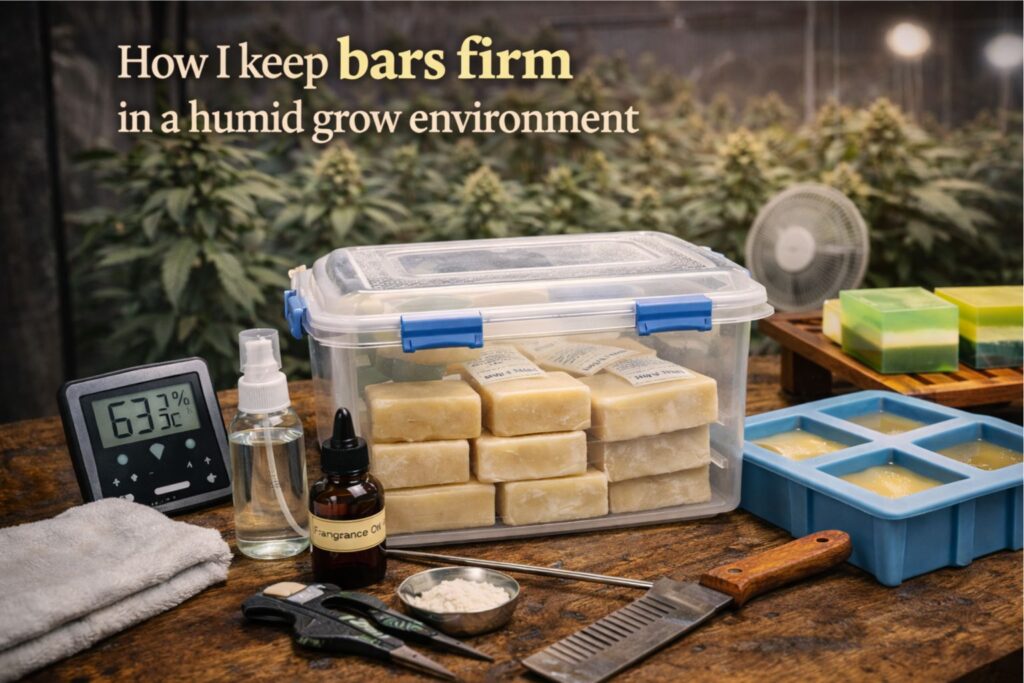
If you run a grow room, you already know humidity moves. Late veg can be 65–70% RH. Drying rooms might sit 55–60% RH. That range is great for plants, but it is not great for glycerin-based soap.
This is where storage to prevent glycerin dew matters. “Glycerin dew” is that sweaty, wet look some melt & pour bars get when they pull moisture from the air. I avoid it by treating soap like a humidity-sensitive input.
My storage routine:
- Cool bars fully before packaging (this is part of melt and pour soap curing time)
- Wrap each bar tightly (plastic wrap or shrink wrap)
- Store in a sealed bin with a desiccant pack
- Keep bins out of the grow room if possible
Storage to prevent glycerin dew is not optional in my house. Without it, bars near my tents will sweat within days. With good storage to prevent glycerin dew, they stay clean and presentable for weeks.
Odor and garden grime: the bar I reach for after messy chores
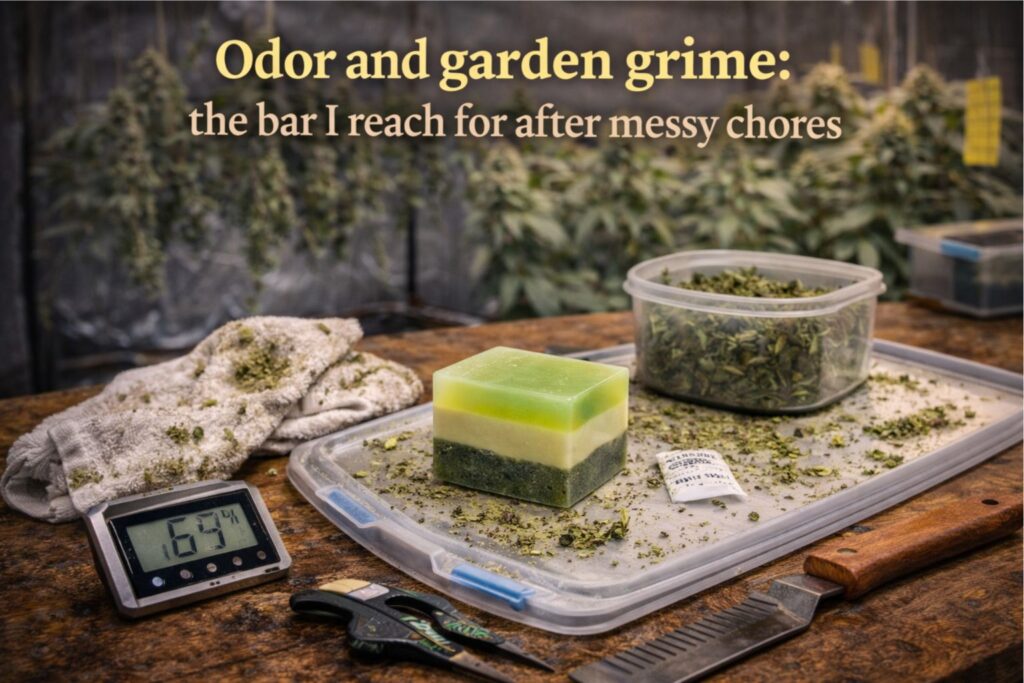
Not every dirty day is a trimming day. Sometimes the smell on my hands comes from mixing nutrients, cleaning a reservoir, or breaking down an old trellis net that has been sitting in a warm room. On those days I prefer an odor-neutralizing soap for gardeners profile: clean, simple, and not too perfumey. An odor-neutralizing soap for gardeners bar is also what I keep by the utility sink when I rinse pots, wipe down fans, and clean up after a long cannabis veg session.
I make this version with the same Soap Base and Melt process, but I keep the fragrance low and choose notes that read fresh rather than sweet. The point of an odor-neutralizing soap for gardeners bar is that it plays well with everything else you do in the grow: feeding, transplanting, and post-harvest cleanup.
Building a resin-removal bar without turning it harsh
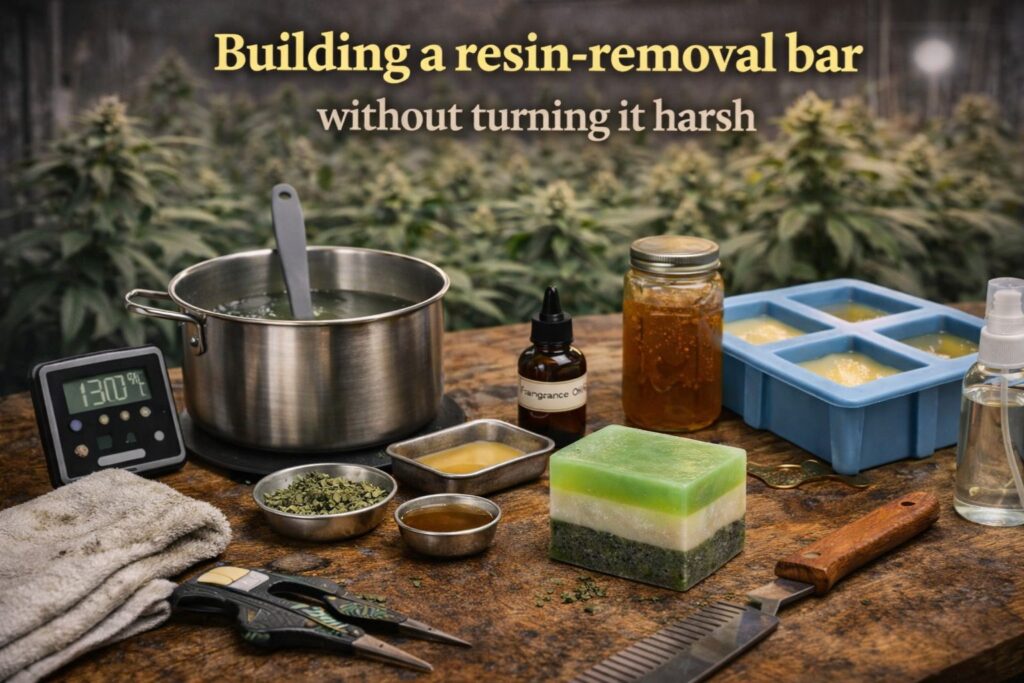
A resin-removal soap bar does not need aggressive grit. In my experience, the best approach is:
- A solid base choice
- Moderate oils for slip
- A clean fragrance profile
- Smart use of light exfoliation only when needed
When I made my first resin-removal soap bar, I overdid the exfoliant. It worked, but it left my hands feeling raw after a few days. Now I keep exfoliation light and let technique do the work: warm water, a longer lather time, and a quick second wash if needed.
If your goal is weed resin off hands, it helps to pair the bar with a simple habit:
- First wash to break down oils
- Second wash to remove the loosened residue
That two-pass method is the soap version of a good flush: you move the old stuff out before you expect clean results.
Where this fits into a cultivation routine
This post is about soap, but I am writing it for people who grow. Here is how it fits into my calendar:
- Germination and early veg: I am not that sticky yet, so I use the gentler bars.
- Training weeks (topping, LST, trellis): hands get plant oils, so I keep a cannabis grow room cleanup soap by the sink.
- Late flower: resin starts showing up on gloves and tools, so I make sure I have a resin-removal soap bar ready.
- Harvest and trimming: this is when marijuana trim hand soap earns its place.
I also keep one bar in my drying space because I am constantly washing after handling hangers, fans, and bins.
Seed buying and grow planning: the link most people skip

When you shop for seeds, you are usually thinking about genetics, plant size, and harvest window. I think about workflow, too. If I order feminized seeds for a photoperiod run, I plan a longer schedule with more training sessions, which means more sticky cleanup. If I plan an autoflower run, the timeline is tighter, and I do more frequent hands-on checks.
Here are a few real questions I hear (and ask) when planning:
- “What should I look for when comparing feminized seeds to autos for my space?”
- “How do I store seeds so they stay viable after delivery if I cannot start right away?”
- “What is the best way to set up soil vs. hydro so maintenance stays manageable?”
- “How do I choose lighting so my canopy hits target PPFD without stressing the plants?”
I cannot tell you what is legal where you live, but I can say this: check your local grow rules before you order or start. A quick check prevents expensive mistakes.
My checklists
Quick melt & pour checklist for growers
- Keep a Soap Base and Melt note card with your ratios and temps
- Clean workspace and level molds
- Measure everything by weight
- Track soap base melting temperature (52–60°C / 125–140°F)
- Add hempseed oil in melt-and-pour at the cooler end
- Use a mold release alcohol mist to control bubbles
- Use a soap layering technique only when the first layer is set but warm
- Respect melt and pour soap curing time (overnight is my default)
- Use storage to prevent glycerin dew (wrap and seal)
Trim-table cleanup checklist
- Gloves for heavy handling
- Warm water ready at the sink
- A dedicated marijuana trim hand soap bar near the sink
- Tool wipe for scissors between plants
- Two-pass wash when you need weed resin off hands
Troubleshooting: what I fixed after early failures

My bars looked cloudy
Usually this was overheating or whipping air in. I fixed it by slowing down and tightening soap base melting temperature control. I also stopped stirring aggressively.
Layers separated
That was my soap layering technique failing. The fix was simple: score the layer, spray a mold release alcohol mist, and pour when the first layer is warm, not cold.
Bars sweated in storage
This was a humidity problem, not a recipe problem. Storage to prevent glycerin dew solved it, and so did keeping bars away from my grow room air.
Scent faded fast
Most of my fade issues came from adding fragrance too hot. Again, soap base melting temperature was the root cause.
FAQ: long-tail questions I actually get from growers
What soap works best after trimming sticky flower?
For me, a resin-removal soap bar with a modest oil add-in works best. I keep it as a marijuana trim hand soap during harvest week, and I use the two-pass wash method when the resin is heavy. If the goal is weed resin off hands, warm water plus time in the lather beats aggressive grit.
Can I use hempseed oil in melt-and-pour without making the bar soft?
Yes, but measure it. I keep hempseed oil in melt-and-pour low and consistent. Too much makes bars soft and can contribute to surface moisture.
Why do my bars get wet on the outside?
That is usually glycerin pulling moisture from the air. Storage to prevent glycerin dew is the fix: wrap bars and keep them in a sealed container.
Do I need alcohol spray, or is it optional?
For clean tops and strong layers, I consider it essential. A mold release alcohol mist removes bubbles and helps layers bond when using a soap layering technique.
How long should I wait before using the bars?
Melt and pour soap curing time is short compared to cold process, but I still wait overnight. I treat melt and pour soap curing time as a “set and stabilize” step so the bar feels firmer and less tacky.
How does this connect to seed choices and grow style?
If you are planning a long photoperiod run from feminized seeds, expect more training sessions and more hands-on work. That is when a cannabis grow room cleanup soap and a resin-removal soap bar save time. If you are running autos, the pace is faster and frequent checks can mean more washing. Either way, plan your workflow, and always check local grow rules before starting.
Closing: why this stays in my routine
I do not make soap to be fancy. I make it because it solves a real grow problem. A consistent Soap Base and Melt routine gives me bars that clean up sticky work without wrecking my skin, and it keeps my harvest season smoother. The key details are the ones growers already respect: soap base melting temperature, measured additives like hempseed oil in melt-and-pour, and practical steps like a mold release alcohol mist and storage to prevent glycerin dew.
If you keep notes, you will dial in your own version quickly. Start simple, repeat what works, and make the bar that fits your garden.