How Many Hours Are Needed for Indoor Grow to Keep Cannabis in the Vegetative Stage?
Introduction
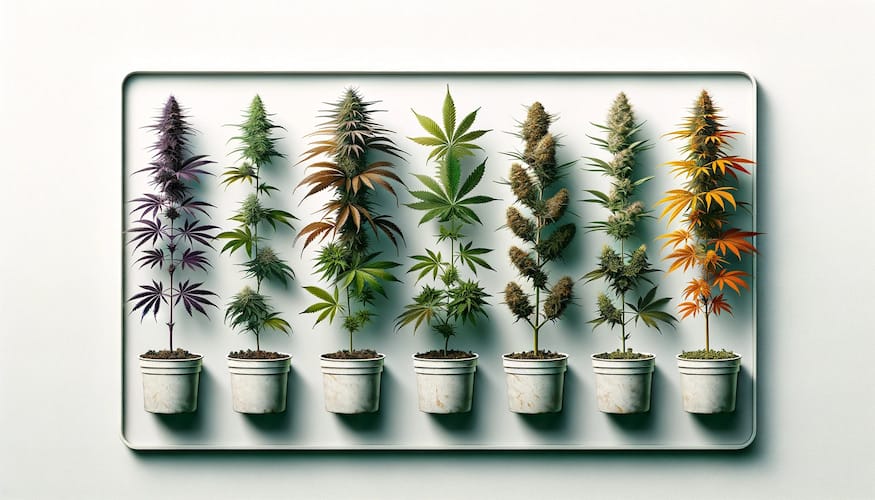
The vegetative stage is a crucial phase in the life cycle of cannabis plants, during which they develop the necessary structure and foliage to support flowering and eventual harvest. For indoor growers, controlling the light cycle is essential to maintaining plants in this stage for as long as desired. This comprehensive guide will delve into the specifics of how many hours of light are needed to keep cannabis in the vegetative stage, the science behind light cycles, and practical tips for optimizing growth.
Understanding the Vegetative Stage
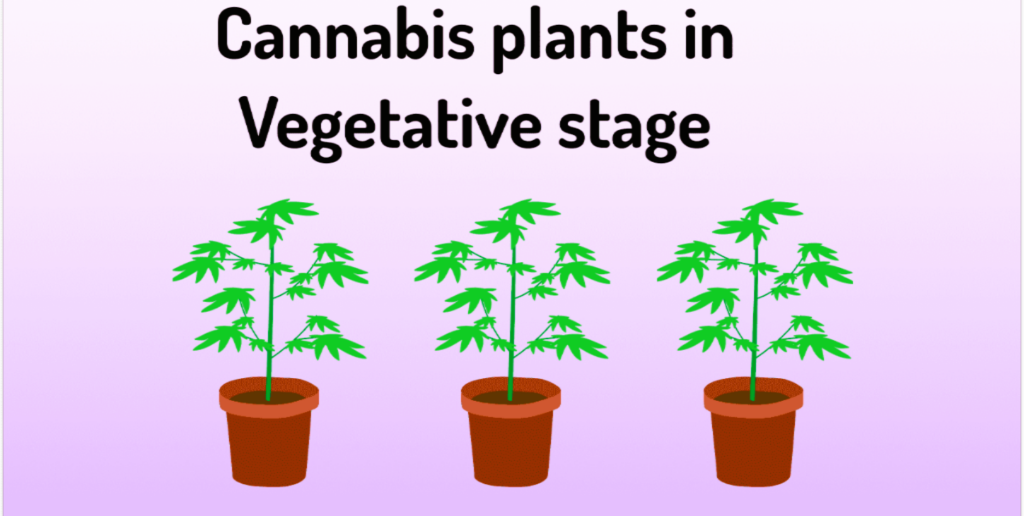
The vegetative stage is the period when cannabis plants focus on growing stems, leaves, and roots but do not produce flowers. This phase follows the seedling stage and precedes the flowering stage. During vegetative growth, plants need ample light, nutrients, and water to develop a robust structure that will support heavy buds later on.
Importance of Light in the Vegetative Stage
Light is the primary driver of photosynthesis, the process by which plants convert light energy into chemical energy to fuel growth. In cannabis cultivation, light exposure directly influences plant development and can be manipulated to control the growth stages.
Photosynthesis and Light Spectrum
Cannabis plants utilize different wavelengths of light for various physiological processes. The blue spectrum (400-500 nm) is particularly important during the vegetative stage, as it promotes leaf and stem growth. Red light (600-700 nm), while more critical during the flowering stage, still plays a role in overall plant health.
Light Cycles for Vegetative Growth
To keep cannabis plants in the vegetative stage, growers must provide an appropriate light cycle. The duration of light exposure each day, known as the photoperiod, signals to the plants whether to remain in vegetative growth or transition to flowering.
Common Light Cycles
18/6 Light Cycle:
- Description:
- Benefits: This cycle sFor vegetative growth, a typical light cycle consists of 18 hours of light and 6 hours of darkness.imulates the long days of summer, signaling the plant to stay in vegetative mode. It provides ample light for photosynthesis while allowing a rest period for metabolic processes.
- Drawbacks: Some growers believe that longer light exposure could lead to faster growth, although this cycle balances growth and energy efficiency well.
24/0 Light Cycle:
- Description: Some growers use a continuous 24-hour light cycle during the vegetative stage, believing that constant light maximizes growth.
- Benefits: This cycle can lead to rapid development and is easy to manage since there is no need to switch lights on and off.
- Drawbacks: Continuous light can cause stress in some plant varieties, and it increases energy costs significantly.
20/4 Light Cycle:
- Description: This cycle provides 20 hours of light and 4 hours of darkness.
- Benefits: It offers a longer photosynthetic period than the 18/6 cycle while still giving plants a brief rest period, potentially leading to slightly faster growth.
- Drawbacks: While more efficient than the 24/0 cycle in terms of energy, it still consumes more power than the 18/6 cycle.
Factors Influencing Light Cycle Choice
Selecting the appropriate light cycle for the vegetative growth stage of cannabis plants is crucial for achieving optimal results. Several factors influence the choice of light cycle, including plant strain, growth goals, energy costs, and grow room conditions. Understanding these factors can help growers make informed decisions that balance growth efficiency, plant health, and resource management.
Plant Strain
Different cannabis strains respond uniquely to light cycles. The genetic background of a strain plays a significant role in determining its ideal light requirements.
- Indica Strains:
- Characteristics: Typically shorter and bushier with broad leaves.
- Light Cycle Preference: Indica strains generally perform well under the 18/6 light cycle. However, some indica-dominant hybrids may benefit from longer light periods, such as the 20/4 cycle, to promote faster vegetative growth.
- Sativa Strains:
- Characteristics: Usually taller with narrower leaves.
- Light Cycle Preference: Sativa strains often thrive under extended light periods. The 20/4 or 24/0 cycles can be beneficial for maximizing their vegetative growth, leading to taller and more robust plants.
- Hybrid Strains:
- Characteristics: A mix of indica and sativa traits.
- Light Cycle Preference: The optimal light cycle for hybrid strains can vary depending on their genetic makeup. Growers should consider the dominant traits of the hybrid and adjust the light cycle accordingly.
Growth Goals
The desired growth rate and final plant size can influence the choice of light cycle. Growers may have different objectives, such as maximizing vegetative growth, managing plant height, or optimizing energy use.
- Maximizing Vegetative Growth:
- Goal: Achieving rapid and extensive vegetative growth.
- Light Cycle: The 24/0 light cycle can be ideal for growers aiming for the fastest possible vegetative growth. Continuous light exposure ensures maximum photosynthesis, leading to accelerated development.
- Managing Plant Height:
- Goal: Controlling plant height to suit specific grow space limitations.
- Light Cycle: The 18/6 or 20/4 light cycles can help manage plant height by providing a balance between growth and rest periods. This approach allows for controlled, steady growth without causing excessive stretching.
- Optimizing Energy Use:
- Goal: Balancing growth efficiency with energy consumption.
- Light Cycle: The 18/6 light cycle is often the most energy-efficient option, providing substantial growth while reducing energy costs compared to 24/0. The 20/4 cycle can also be a good compromise for growers seeking slightly faster growth without significantly increasing energy usage.
Energy Costs
Energy consumption is a crucial consideration for indoor growers, as longer light cycles lead to higher electricity bills. Balancing the benefits of extended light exposure with the associated costs is essential for sustainable cultivation.
- Cost Efficiency:
- Consideration: Reducing energy costs while maintaining healthy plant growth.
- Light Cycle: The 18/6 light cycle is the most energy-efficient, as it provides a significant amount of light for growth while allowing for a rest period, reducing overall energy consumption.
- Investment in Energy-Efficient Lighting:
- Consideration: Investing in energy-efficient lighting systems to offset the costs of longer light cycles.
- Solution: Using LED grow lights can significantly reduce energy consumption compared to traditional HID lights. LEDs are more efficient, produce less heat, and have a longer lifespan, making them a cost-effective choice for extended light cycles like 20/4 or 24/0.
Grow Room Conditions
The overall environment of the grow room, including temperature, humidity, and CO2 levels, can impact how cannabis plants respond to different light cycles. Maintaining optimal grow room conditions is essential for healthy vegetative growth.
- Temperature:
- Consideration: Maintaining a stable temperature range for optimal growth.
- Impact: Longer light cycles, such as 24/0, can increase the heat generated by grow lights. Proper ventilation and cooling systems are necessary to prevent overheating and maintain a temperature range of 70-85°F (21-29°C).
- Humidity:
- Consideration: Managing humidity levels to prevent mold and pests.
- Impact: Higher humidity levels are beneficial for young plants, but as they mature, humidity should be reduced to 40-70% to avoid mold and pest issues. Adjusting humidity levels based on the light cycle and plant stage is crucial.
- CO2 Levels:
- Consideration: Enhancing CO2 levels to boost photosynthesis.
- Impact: Increased CO2 levels can improve plant growth, particularly under longer light cycles. Ensuring adequate CO2 supplementation can maximize the benefits of extended light exposure.
Practical Considerations for Indoor Lighting
Effective indoor lighting is fundamental for successful cannabis cultivation, particularly during the vegetative stage. The choice of grow lights, light intensity, distribution, and environmental factors all play critical roles in ensuring optimal plant growth. This section explores practical considerations for indoor lighting, providing detailed guidance on selecting and managing lighting systems.
Types of Grow Lights
Various types of grow lights are used in indoor cannabis cultivation, each with its advantages and disadvantages. Understanding the different options can help growers choose the best lighting system for their specific needs.
Fluorescent Lights (CFL and T5)
- Compact Fluorescent Lights (CFL)
- Advantages: Cost-effective, energy-efficient, and produce minimal heat.
- Disadvantages: Lower light intensity compared to other types, making them less suitable for large plants or larger grow spaces.
- Best Uses: Ideal for small grow spaces, seedlings, and clones.
- T5 Fluorescent Tubes
- Advantages: Provide more light intensity than CFLs, energy-efficient, and produce minimal heat.
- Disadvantages: Still less intense than HID or LED lights.
- Best Uses: Suitable for vegetative growth of small to medium-sized plants.
High-Intensity Discharge (HID) Lights (MH and HPS)
- Metal Halide (MH) Lights
- Advantages: Emit a blue spectrum ideal for vegetative growth, promoting leaf and stem development.
- Disadvantages: Generate significant heat, requiring proper ventilation and cooling systems. Higher energy consumption compared to fluorescent lights.
- Best Uses: Excellent for vegetative growth in medium to large grow spaces.
- High-Pressure Sodium (HPS) Lights
- Advantages: Emit a red spectrum, making them more suitable for the flowering stage but can be used during vegetative growth.
- Disadvantages: Similar to MH lights, they produce significant heat and consume more energy.
- Best Uses: Often used in combination with MH lights for a complete growth cycle.
Light Emitting Diodes (LEDs)
- Advantages: Highly energy-efficient, produce less heat, have a long lifespan, and can be tailored to emit specific light spectra for different growth stages.
- Disadvantages: Higher initial cost compared to other lighting systems, but this is offset by energy savings and longevity.
- Best Uses: Suitable for all stages of growth, including vegetative and flowering stages. Ideal for growers looking for an efficient and versatile lighting solution.
Light Intensity and Distribution
Ensuring even light distribution and adequate intensity is crucial for optimal plant growth. Here are some practical tips:
Light Placement
- Distance from Canopy
- CFL and T5: Position lights 4-6 inches above the canopy to ensure sufficient light intensity without causing burn.
- MH and HPS: Maintain a distance of 12-24 inches, depending on wattage, to prevent excessive heat and light burn.
- LEDs: Typically placed 12-18 inches above the canopy, but this can vary based on the specific light model and intensity.
- Adjusting Light Height
- Use adjustable light hangers or moveable fixtures to maintain the correct distance from the canopy as plants grow.
- Regularly monitor plant height and adjust lights accordingly to ensure consistent light exposure.
Reflective Surfaces
- Purpose: Reflective materials help maximize light efficiency by bouncing light back onto the plants, ensuring even distribution and reducing shadows.
- Materials: Use Mylar, white paint, or specialized reflective grow tents to line the walls of the grow space.
- Installation: Ensure reflective surfaces are clean and free of wrinkles or obstructions that could block light.
Ensuring Even Coverage
- Multiple Light Sources
- Use multiple light fixtures to cover larger grow spaces, ensuring even light distribution across the entire canopy.
- Arrange lights in a grid pattern or evenly spaced to avoid light concentration in one area.
- Light Movers
- Consider using light movers, which slowly move the light fixture back and forth over the canopy, ensuring even light exposure and reducing hotspots.
Optimizing the Vegetative Stage
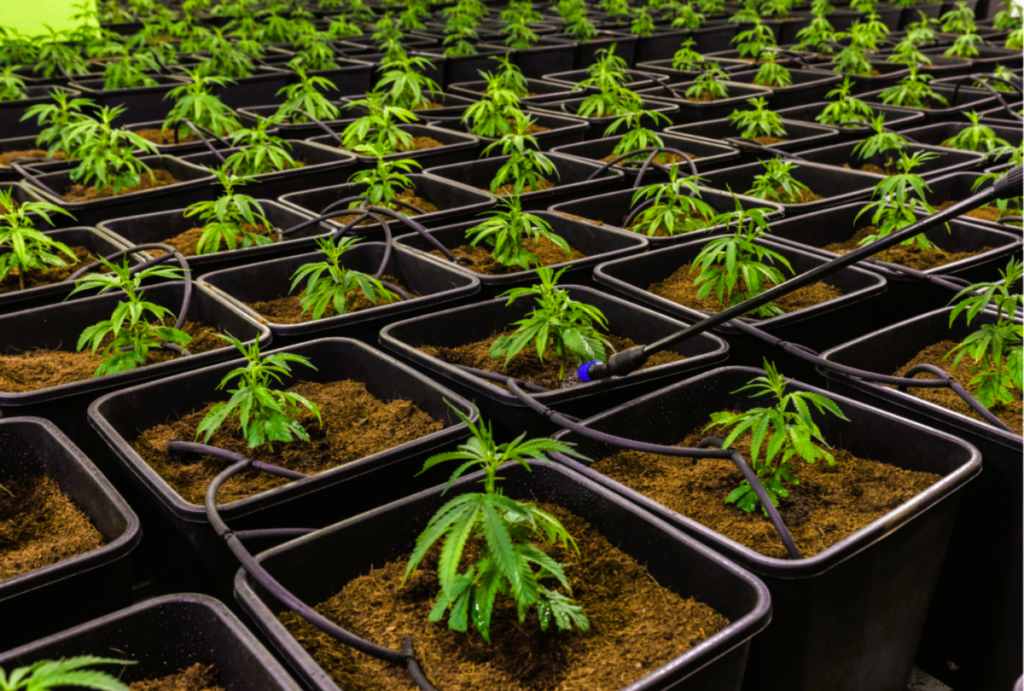
The vegetative stage of cannabis growth is crucial for building the plant’s structure, which will support the weight of buds during the flowering stage. Optimizing this stage involves providing the right nutrients, maintaining proper environmental conditions, and employing effective training techniques to ensure robust and healthy plants. This section delves into the detailed strategies for optimizing the vegetative stage.
Nutrient Management
During the vegetative stage, cannabis plants require a balanced nutrient regimen with a focus on higher levels of nitrogen, which promotes leaf and stem development. A typical vegetative nutrient formula will have a higher N-P-K (Nitrogen-Phosphorus-Potassium) ratio, emphasizing nitrogen over phosphorus and potassium.
Key Nutrients
- Nitrogen (N)
- Role: Essential for chlorophyll production, leaf growth, and overall plant vigor.
- Sources: Common sources include urea, ammonium nitrate, and organic options like blood meal and fish emulsion.
- Phosphorus (P)
- Role: Supports root development and energy transfer processes within the plant.
- Sources: Phosphate fertilizers, bone meal, and rock phosphate.
- Potassium (K)
- Role: Aids in water uptake, enzyme activation, and disease resistance.
- Sources: Potassium sulfate, potassium chloride, and kelp meal.
- Secondary Nutrients and Micronutrients
- Calcium, Magnesium, and Sulfur: Important for cell wall structure, chlorophyll production, and protein synthesis.
- Micronutrients: Add the following: copper, boron, zinc, iron, manganese, molybdenum, and chlorine. Although needed in smaller quantities, they are crucial for a number of physiological processes.
Nutrient Delivery
- Soil-Grown Plants
- Organic Nutrients: To create a nutrient supply that releases nutrients gradually, use organic amendments such as compost, worm castings, and organic fertilizers.
- Synthetic Nutrients: Liquid fertilizers can be applied through watering to provide immediate nutrient availability.
- Hydroponic Systems
- Nutrient Solutions: Use specially formulated hydroponic nutrient solutions to ensure plants receive all necessary nutrients in a soluble form.
- Monitoring and Adjustments: Regularly check and adjust pH and electrical conductivity (EC) levels to ensure optimal nutrient uptake.
Watering Practices
Proper watering practices are essential to prevent overwatering or underwatering, both of which can stress plants and hinder growth. Watering frequency and volume should be adjusted based on plant size, growth rate, and environmental conditions.
Guidelines for Effective Watering
- Soil Moisture Levels
- Consistency: Maintain regular moisture in the soil without becoming soggy. Between waterings, let the top inch of soil dry off.
- Signs of Overwatering: Yellowing leaves, wilting, and slow growth.
- Signs of Underwatering: Wilting, dry soil, and crispy leaves.
- Hydroponic Systems
- Continuous Flow Systems: Ensure a constant flow of nutrient solution to the roots.
- Drip Systems: Adjust the drip rate to maintain adequate moisture levels without oversaturating the root zone.
Environmental Control
Maintaining optimal environmental conditions is crucial for vegetative growth. Key factors include temperature, humidity, and air circulation.
Temperature
- Optimal Range: Maintain daytime temperatures between 70-85°F (21-29°C) and slightly cooler nighttime temperatures.
- Heat Management: Use fans, exhaust systems, and air conditioning units to manage heat levels, especially when using high-intensity lights.
Humidity
- Ideal Levels: Keep relative humidity between 40-70% during the vegetative stage. Higher humidity levels (60-70%) are beneficial for young plants, while mature plants thrive at lower levels (40-60%) to prevent mold and pests.
- Control Methods: Use humidifiers or dehumidifiers to adjust humidity levels as needed. Proper ventilation also helps maintain consistent humidity.
Air Circulation
- Importance: Adequate air circulation is vital for providing fresh CO2, preventing mold and pests, and strengthening plant stems.
- Methods: Use oscillating fans to promote air movement around the plants. Ensure exhaust fans are properly sized to exchange the air in the grow room regularly.
Training and Pruning
Training and pruning techniques help manage plant shape and size, promote even light distribution, and maximize yield potential. Common methods include topping, low-stress training (LST), and defoliation.
Topping
- Technique: Cut the main stem above a node to encourage the growth of multiple colas (main flower sites).
- Timing: Perform topping when the plant has developed at least 4-6 nodes to avoid stunting growth.
- Benefits: Creates a bushier plant with more potential bud sites, improving overall yield.
Low-Stress Training (LST)
- Technique: Gently bend and secure branches to create an even canopy and improve light penetration to lower branches.
- Tools: Use soft plant ties, garden wire, or LST clips to secure branches.
- Benefits: Maximizes light exposure, encourages horizontal growth, and increases bud sites without causing significant stress to the plant.
Defoliation
- Technique: Remove some fan leaves to increase light exposure to lower branches and improve air circulation.
- Timing: Perform defoliation during the vegetative stage and early flowering stage to avoid stressing the plant too much during bud development.
- Benefits: Enhances light penetration, reduces the risk of mold, and focuses plant energy on bud development.
Monitoring Plant Health
It’s crucial to regularly check plant health in order to spot problems early and take quick action. Key aspects to monitor include leaf color and shape, growth rate, and pest and disease management.
Leaf Color and Shape
- Healthy Leaves: Vibrant green color with no signs of discoloration or deformities.
- Signs of Nutrient Deficiencies:
- Signs of Pests or Diseases: Any holes, spots, or other irregularities on leaves could be signs of illness or pest infestation.
Growth Rate
- Normal Growth: Steady increase in height and leaf production.
- Stunted Growth: May indicate environmental stress, nutrient imbalances, or root issues.
Pest and Disease Management
- Inspection: Examine plants on a regular basis for indications of pests including thrips, spider mites, and aphids.
- Preventive Measures: Use neem oil, insecticidal soap, or beneficial insects to control pest populations. Maintain a clean grow room to reduce the risk of infestations.
Transitioning to Flowering
Once plants have reached the desired size and maturity, the light cycle should be adjusted to induce flowering. Typically, this involves switching to a 12/12 light cycle (12 hours of light followed by 12 hours of darkness), simulating the shorter days of late summer and fall.
Pre-Flowering Preparations
- Nutrient Transition: Increase the amounts of phosphate and potassium while decreasing nitrogen as you gradually shift from vegetative to blooming nutrition.
- Pruning and Training: Perform final pruning and training to shape the plant and maximize light exposure before flowering begins.
- Environment Adjustments: Adjust humidity and temperature to optimal levels for flowering (typically lower humidity and slightly cooler temperatures).
Conclusion
Successfully cultivating cannabis requires a comprehensive understanding and careful management of various growth stages, particularly the vegetative stage. The vegetative phase is foundational, setting the stage for a robust flowering period and ultimately determining the quality and quantity of the harvest.
Light Cycles for Vegetative Growth
Controlling the light cycle is crucial to keeping cannabis plants in the vegetative stage. Common light cycles such as 18/6, 20/4, and 24/0 each offer unique benefits and drawbacks. The choice of light cycle depends on factors such as plant strain, growth goals, energy costs, and grow room conditions. Understanding the needs of different cannabis strains and balancing growth efficiency with resource management are key to selecting the optimal light cycle.
Practical Considerations for Indoor Lighting
Choosing the right type of grow lights, ensuring proper light intensity and distribution, and maintaining optimal environmental conditions are essential for maximizing plant growth during the vegetative stage. Various types of grow lights, including fluorescent lights, HID lights, and LEDs, offer different advantages. Proper light placement, the use of reflective surfaces, and ensuring even coverage are critical to achieving optimal results. Additionally, maintaining appropriate temperature, humidity, and air circulation levels helps create a conducive environment for healthy vegetative growth.
Optimizing the Vegetative Stage
Optimizing the vegetative stage involves a combination of nutrient management, effective watering practices, and environmental control. It is essential to supply the proper ratio of nutrients, particularly nitrogen, to encourage the growth of leaves and stems. Proper watering practices prevent overwatering and underwatering, both of which can stress plants. Training and pruning techniques, such as topping, low-stress training (LST), and defoliation, help manage plant shape, promote even light distribution, and maximize yield potential. Regular monitoring of plant health, including checking for signs of nutrient deficiencies, pests, and diseases, ensures early detection and prompt action.
Transitioning to Flowering
Once plants have reached the desired size and maturity, transitioning to the flowering stage involves adjusting the light cycle to 12/12, simulating shorter days. Preparing for flowering includes transitioning nutrients, performing final pruning and training, and adjusting environmental conditions to suit the flowering phase.
Final Thoughts
Successful indoor cannabis cultivation is a meticulous process that requires attention to detail and an understanding of plant biology and environmental control. By carefully managing the vegetative stage through proper light cycles, nutrient management, and environmental optimization, growers can ensure the development of healthy, vigorous plants. These practices not only prepare the plants for a productive flowering stage but also maximize the overall yield and quality of the harvest. Regular monitoring and adjustments based on plant responses are essential to maintaining optimal conditions and achieving successful cultivation outcomes. With these strategies, growers can confidently navigate the complexities of cannabis cultivation and enjoy the rewards of a bountiful and high-quality harvest.