I still remember the first crop I ruined by chopping too early. The buds looked full, the pistils had mostly turned orange, and I was impatient. Once everything dried, the marijuana tasted grassy, the aroma was flat, and the effect felt more jittery than relaxing. It wasn’t until I started evaluating cannabis trichomes up close and timing harvest by their color and maturity that my results finally became repeatable.
In this guide, I’ll break down exactly how I inspect cannabis trichomes on my own plants, how I dial in the late-flower environment and feeding so ripening stays steady, and how I protect those delicate resin heads after the cut. Everything here comes from real grow-room runs, indoors and outdoors, across feminized seeds and autoflower genetics.
Understanding Trichomes Before You Reach for the Shears

What trichomes actually are
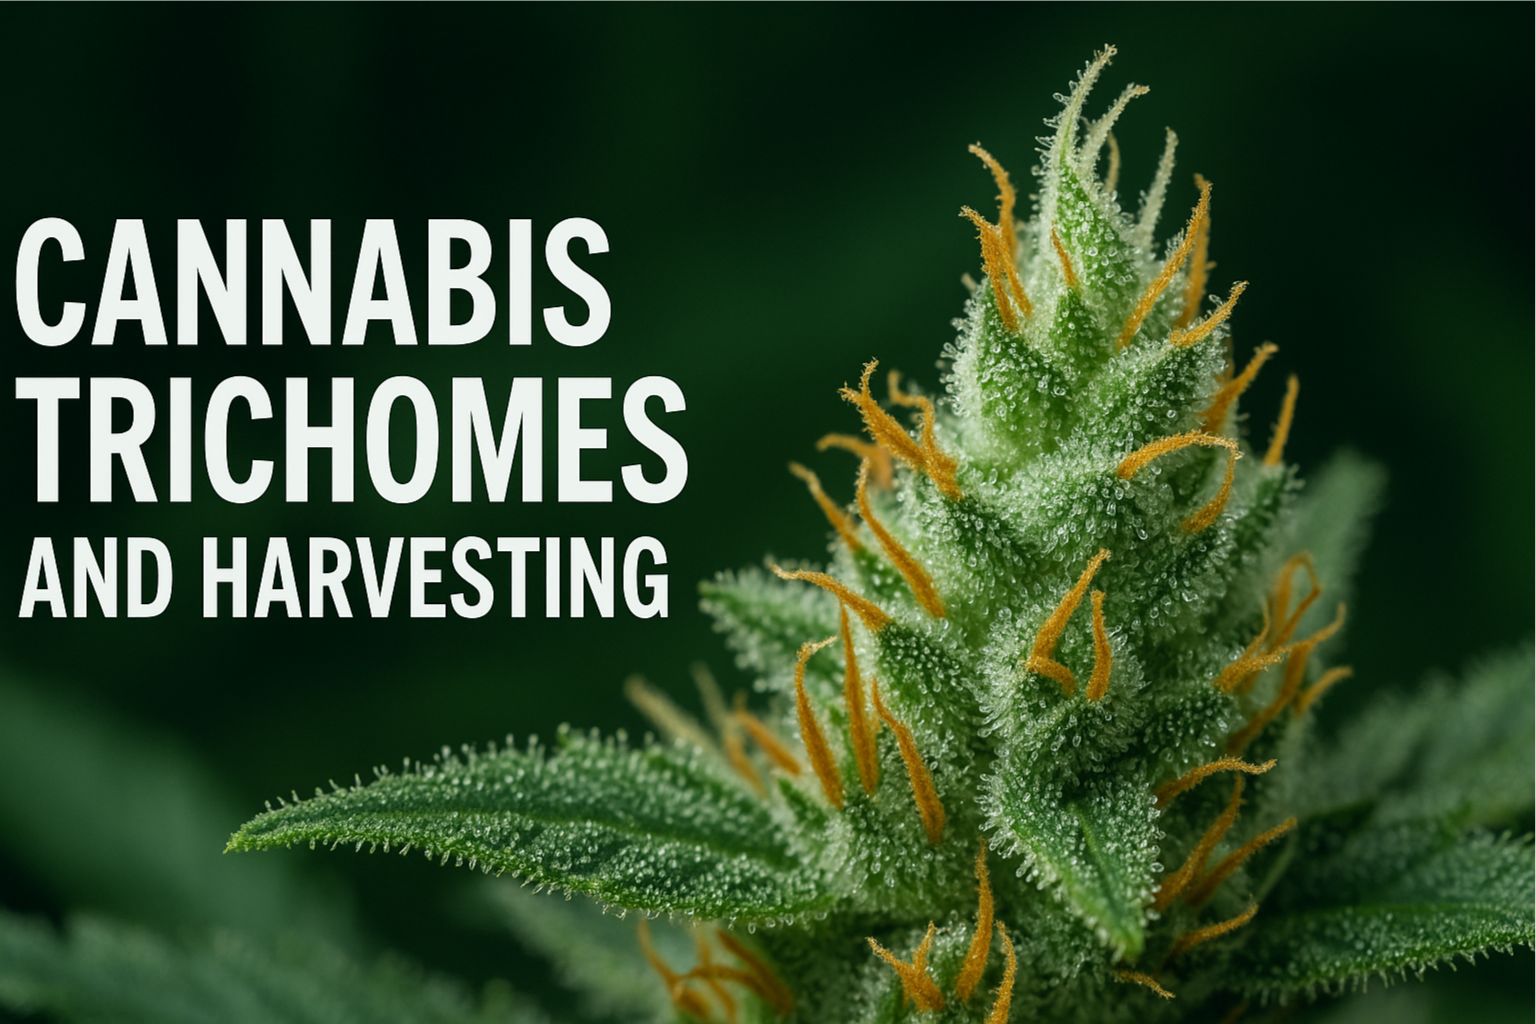
Trichomes are tiny resin glands that coat the flowers and, to a lesser extent, the sugar leaves. Inside those mushroom-shaped heads you’ll find cannabinoids, terpenes, and other compounds that shape the character of the finished weed. When you focus on harvesting cannabis by trichome color, you’re really timing your chop to line up with the chemical maturity inside those heads.
On healthy buds, trichomes progress from clear, to cloudy, to amber. The surface looks like a frost of glassy crystals at first, then turns more opaque, and finally picks up amber or golden hues as the plant ripens.
Milky trichomes vs amber: what the colors tell me
Growers obsess over milky trichomes vs amber for good reason. In my experience, mostly cloudy trichomes correspond to more energetic, cerebral effects, especially on sativa-leaning cultivars. As amber increases, the feeling gradually leans heavier and more sedating.
When I compare milky trichomes vs amber under magnification, I’m looking for a balance that suits how I want that strain to feel. For upbeat daytime jars, I prefer maybe 5–10 percent amber heads. For deeper, night-time jars, I’ll wait until the ratio of milky trichomes vs amber looks closer to 70/30.
There’s no single perfect percentage, but consistently checking trichomes instead of only relying on calendar days has made my harvests far more predictable.
Tools and Cannabis Trichome Microscope Tips
You can’t judge harvesting cannabis by trichome color with the naked eye. Even excellent eyesight won’t separate clear from cloudy on small buds.
Here are the cannabis trichome microscope tips that have helped me most:
- I prefer a 60–100x handheld microscope with LED lighting. Clip-on phone lenses work, but I find a dedicated scope steadier.
- I always stabilize my hand against the stem or tent pole before bringing the lens in; otherwise the image shakes too much.
- I inspect calyxes on the actual flower, not the sugar leaves. Leaves often amber earlier and can trick you into rushing.
- I look at multiple buds from different branches instead of trusting one cola. Top buds may ripen a few days sooner than lower sites.
I keep these cannabis trichome microscope tips taped to the inside of my dry tent door so I don’t cut corners when I’m tired. After a while it becomes automatic, and evaluating trichomes feels as routine as checking reservoir EC.
My Step-by-Step Method for Harvesting Cannabis by Trichome Color
Here’s the process I follow on every photoperiod run:
- Around the start of week six of flower (for an eight- to nine-week strain), I start weekly trichome checks.
- When most heads have turned from clear to cloudy, I note the date and add it to my feminized seed grow diary for that cultivar.
- Once I see the first small patches of amber, I increase checks to every other day.
- When the trichomes match my target ratio, I schedule the chop within 24–48 hours, depending on lights-on timing and my own availability.
Because I track harvesting cannabis by trichome color like this, my notes become more valuable over time. In my feminized seed grow diary I can see, for example, that one particular hybrid always reaches my ideal cloudy-to-amber balance about 10 days after the first visible amber. On the next cycle, this gives me confidence when planning my dry room and trimming schedule.
Indoor Lighting and the Role of PPFD in Flowering
Tuning indoor LED PPFD for flowering
Light intensity directly influences trichome production and ripening speed. When I dial in indoor LED PPFD for flowering, I see tighter, stickier buds and more uniform maturity across the canopy.
For most modern LEDs, I aim for:
- 650–900 µmol/m²/s indoor LED PPFD for flowering over the majority of the canopy on photoperiod strains.
- Slightly lower PPFD (around 600–750 µmol/m²/s) for sensitive or older genetics that show stress easily.
Measuring indoor LED PPFD for flowering with a quantum sensor or a smartphone-based PAR meter app keeps me honest. It’s easy to underestimate intensity with today’s efficient fixtures. If PPFD is pushed too high without matching CO₂ or nutrition, I’ve noticed trichomes can degrade earlier, forcing me to harvest before the flower density really peaks.
When I’m harvesting cannabis by trichome color, proper indoor LED PPFD for flowering also helps synchronize ripening so I’m not chasing different trichome stages across the tent.
Late Flower Nutrient Strategy and Flushing
Designing a late flower nutrient strategy that supports ripening
The way I feed in the last three weeks noticeably affects resin quality and smoke smoothness.
My late flower nutrient strategy looks like this:
- Reduce nitrogen gradually from mid-flower onward to avoid dark, overly leafy buds.
- Maintain moderate phosphorus and potassium, pushing EC to about 1.6–2.0 in coco or hydro, depending on cultivar tolerance.
- Add a little extra magnesium and sulfur (through Epsom salts or a balanced supplement) to support terpene production.
I keep notes in my feminized seed grow diary whenever I tweak this late flower nutrient strategy. Over time I’ve learned which cultivars can handle a higher EC and which respond better to a lighter feed.
By aligning my late flower nutrient strategy with what I’m seeing under the microscope, I can slow down or speed up feeding changes so the plant is still healthy when I reach my target trichome color.
The flush period before harvest: what has worked for me
The phrase flush period before harvest triggers plenty of debate. I can only share what I’ve actually seen in the room.
In coco and soilless mixes:
- I typically run a 7–10 day flush period before harvest, feeding plain, pH-adjusted water or a very light finishing solution.
- EC in the runoff drops from around 1.6–1.8 down to below 0.5 by the final days.
In living soil beds:
- I focus more on tapering off top-dressing and teas, then giving plain water for the last two weeks.
- The biology is doing so much that a dramatic flush period before harvest seems unnecessary; gentle watering is enough.
Whenever I schedule a flush period before harvest, I keep an eye on the trichomes. If I see amber moving faster than expected, I shorten the flush and harvest sooner. The key is staying flexible rather than following rigid calendars.
Environment and Drying Room Targets
Late flower climate and VPD
As buds bulk up, I adjust my late flower nutrient strategy and climate together. Ideal temperature and humidity ranges help keep trichomes intact and mold at bay:
- Day temps: 22–26°C
- Night temps: 19–22°C
- Relative humidity: 40–50 percent in the final two weeks, targeting a VPD around 1.2–1.4 kPa
Keeping a stable climate helps me stick to harvesting cannabis by trichome color rather than reacting to emergency issues like botrytis.
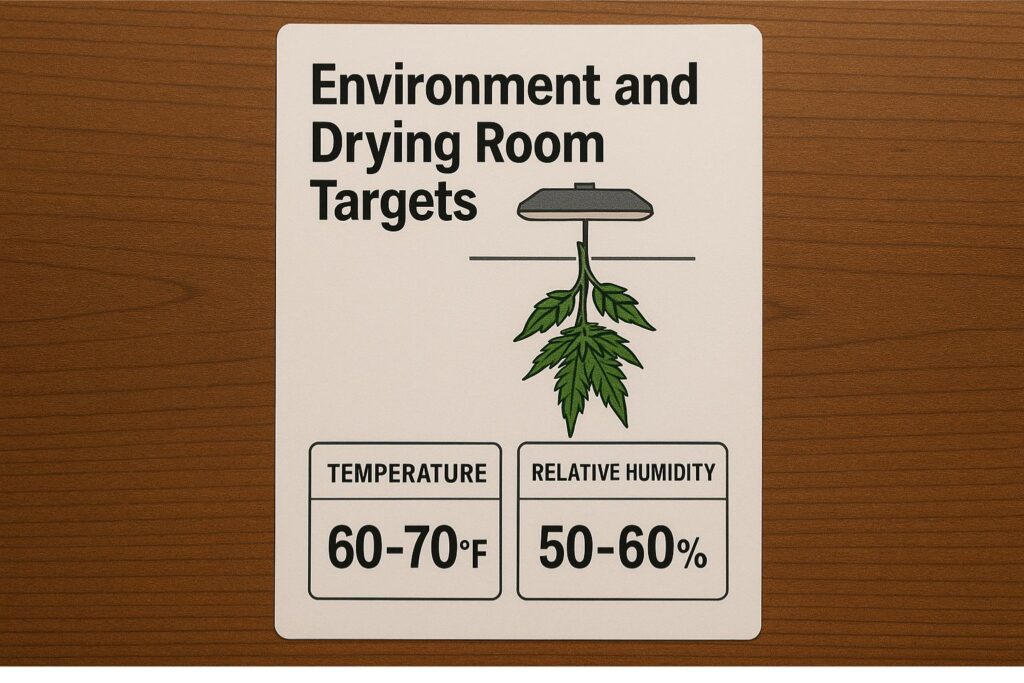
Drying room temperature and humidity
For the dry, I aim for a gentle slow-down instead of a race. Drying room temperature and humidity are just as important as any feed chart:
- Drying room temperature and humidity targets: about 18–21°C and 55–60 percent RH.
- I use clip fans for air circulation, but I never blow directly on the hanging flowers.
- I monitor drying room temperature and humidity with at least two sensors at different heights so I don’t get fooled by a single reading.
With this setup, the weed usually takes 10–14 days to reach stem-snapping dryness, and the trichomes stay intact instead of becoming brittle and falling off during trimming.
Outdoor Plants and Weather: Finding the Best Time to Chop Outdoor Weed
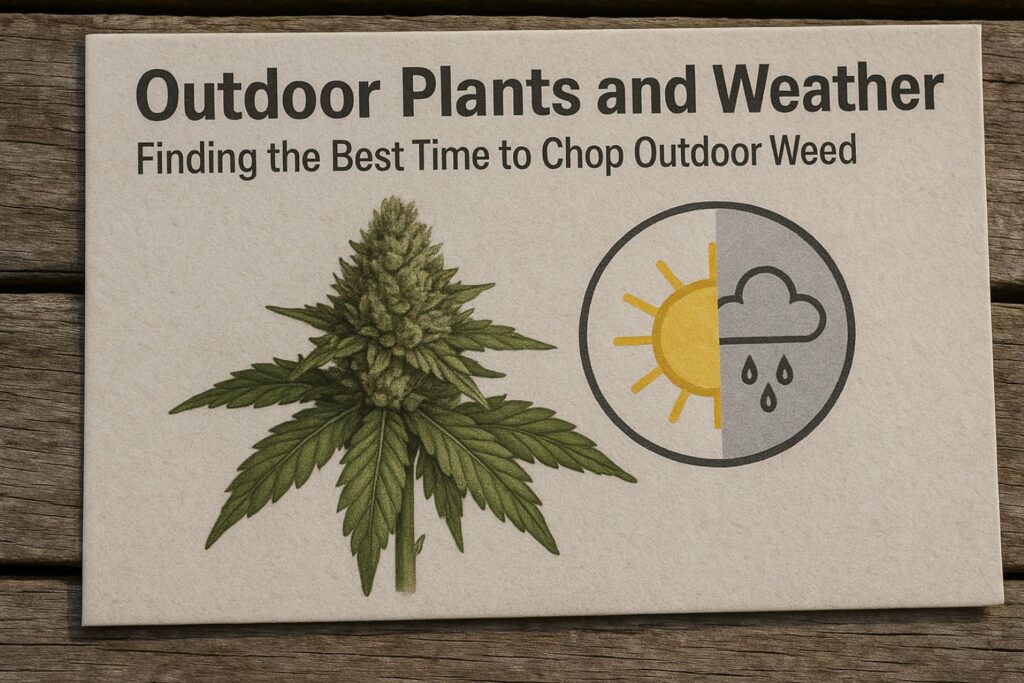
Outdoor runs add a layer of unpredictability. Even if trichomes look perfect, a cold front or week of rain can force your hand.
When I’m deciding on the best time to chop outdoor weed, I weigh three things:
- The trichome stage I’m seeing on multiple buds.
- The medium-range weather forecast.
- How prone that cultivar is to mold.
Sometimes the trichomes say “wait,” but the sky says “move.” In those seasons, I still try to respect harvesting cannabis by trichome color as much as possible, but I’ll favor removing the plants before a long, wet spell hits.
Many growers ask online about the best time to chop outdoor weed when frost is approaching. In my yard, a light frost with clear, dry air doesn’t worry me much, especially if the trichomes aren’t quite ready. A long, cold, wet pattern is another story. My rule of thumb: I’d rather sacrifice a few days of ideal ripening than lose the crop to rot. That balance becomes part of the story in each outdoor feminized seed grow diary entry I write.
Over several seasons, recording the actual best time to chop outdoor weed for each strain helps me choose future planting dates and which cultivars belong in the greenhouse instead of full exposure.
Autoflowers, Photoperiods, and Genetics
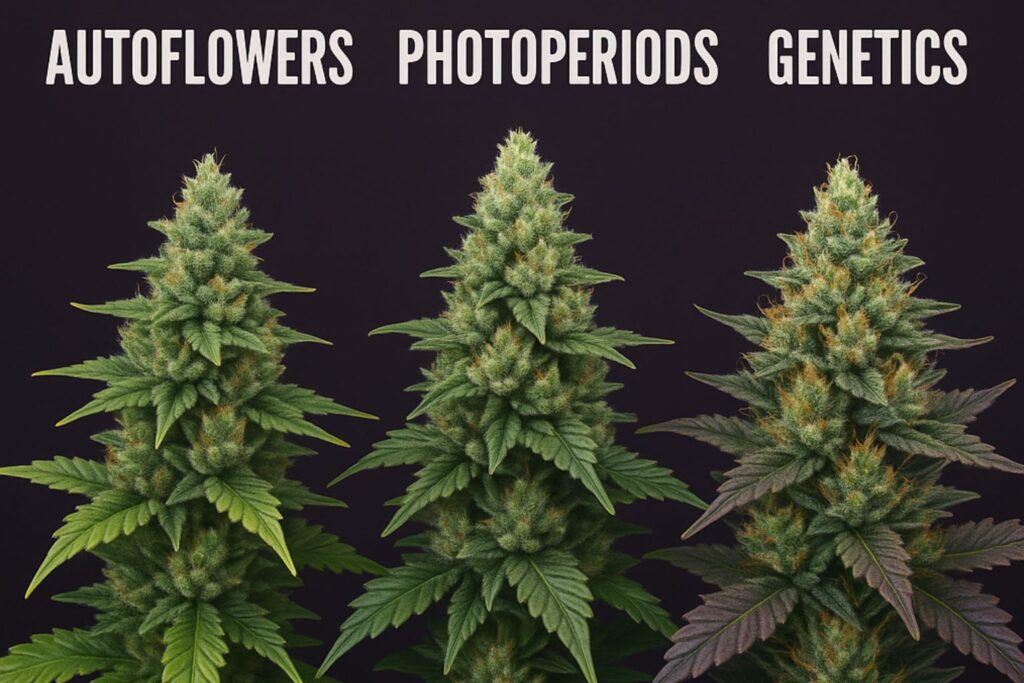
Tracking the autoflower harvest window
Autoflower genetics add another twist: they don’t wait for you to flip to 12/12. The autoflower harvest window is written into their internal clock.
To stay ahead:
- I begin trichome checks shortly after the first pistils appear on the main cola.
- I mark in my notebook when I first notice trichomes clouding up.
- I compare that date to the breeder’s estimated autoflower harvest window but treat the breeder info as guidance, not a rule.
By stacking several side-by-side runs of the same cultivar, I now have a pretty reliable sense of the true autoflower harvest window for my favorite lines. Again, harvesting cannabis by trichome color takes priority, but those patterns help me plan staggered runs for a steady personal supply.
Feminized seed grow diary habits
Whether I’m running autos or photos, keeping a feminized seed grow diary has been one of the most useful habits I’ve developed.
In each feminized seed grow diary entry I log:
- Germination method and date.
- Training decisions (topping, low-stress training, scrogging, or leaving the plant natural).
- Nutrient strengths and any visible issues.
- The exact trichome observations leading up to harvest.
Later, when I pick new packs from an online seed bank or plan another run of an old favorite, I reread that feminized seed grow diary to match the strain with my target effect and harvesting window.
Organic Cannabis Pest Prevention in Late Flower

By the final weeks, I avoid spraying anything onto my buds. That means organic cannabis pest prevention has to start early.
Here’s what has worked for me:
- I introduce beneficial insects (like predatory mites) early in veg, long before flowers develop.
- I keep the grow space clean, vacuuming regularly and wiping up any spilled medium or nutrient salts.
- I quarantine any new clones away from the main room for at least two weeks.
If I do see pests in late flower, organic cannabis pest prevention becomes more about minimizing damage than eliminating every last insect. I’ll prune heavily infested leaves, adjust airflow, and focus on keeping conditions less hospitable to mites or mildew.
Protecting trichomes from sprays is one more reason harvesting cannabis by trichome color matters: the cleaner the resin heads, the more the cured marijuana reflects the plant’s true character.
Repeated practice with organic cannabis pest prevention also helps me avoid panic decisions that could compromise the harvest.
Seeds, Shopping, and Legal Considerations
Whenever I order new genetics, I read the product descriptions closely for clues about trichome behavior: do they mention heavy resin, unusually long flowering times, or particular sensitivity to nutrients? That information influences how I plan my late flower nutrient strategy and my expectations for the autoflower harvest window or photoperiod cycle.
Before buying, I always:
- Confirm that the seed vendor ships to my region.
- Check current regional rules on possession and cultivation using official government sources, since laws change frequently.
- Decide whether I want photoperiod, auto, or fast-flowering hybrids for the space and schedule I have.
Good genetics make harvesting cannabis by trichome color even more rewarding. When the traits are stable, each run becomes an experiment in fine-tuning, not fighting unpredictable behavior.
Post-Harvest: Protecting Trichomes During Cure
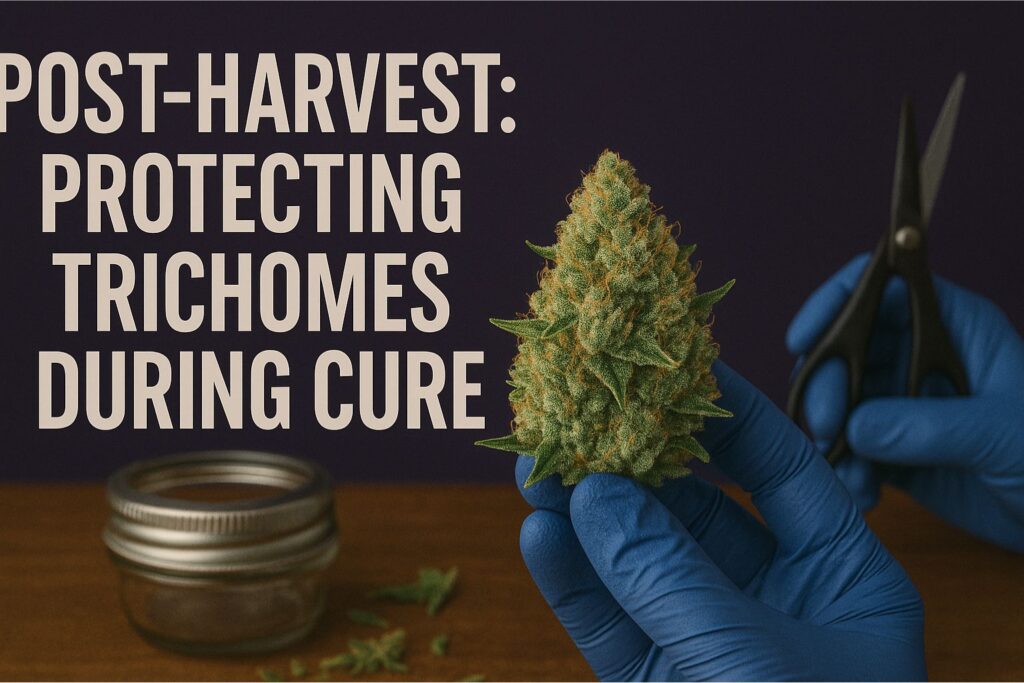
Once the branches come down, my focus shifts from harvesting cannabis by trichome color to preserving what I’ve already grown.
My basic process looks like this:
- Hang whole plants or large branches in a dark space with the drying room temperature and humidity targets mentioned earlier.
- After the stems snap but don’t shatter, I trim the buds and move them into glass jars, filling each about three quarters full.
- For the first two weeks, I “burp” jars daily for 10–15 minutes, watching internal hygrometers aimed around 58–62 percent RH.
- After the first month, I reduce burping to once every few days.
I try not to handle the buds more than necessary. Every time I squeeze or dump a jar, a few trichomes break off. Gentle handling keeps the cannabis, marijuana, or whatever name you prefer for this plant, in top condition.
FAQ: Cannabis Trichomes and Harvesting
How do I know when to start checking trichomes?
I start trichome checks about two weeks before the seed supplier’s earliest estimated harvest date. From there, I monitor the shift from clear to cloudy and keep noting milky trichomes vs amber every few days.
Is the flush period before harvest really necessary?
In my runs, a reasonable flush period before harvest in coco or similar media has made the smoke feel smoother and easier on the throat. In rich living soil, I keep things gentler and focus on plain water instead of an aggressive flush.
What tool should I use to inspect trichomes?
A small scope around 60–100x is ideal. Follow the cannabis trichome microscope tips earlier in this article: brace your hand, inspect calyxes, and check several buds, not just the main top.
What is the best time to chop outdoor plants?
The best time to chop outdoor weed depends on trichome color, weather, and how mold-resistant the variety is. I watch forecasts closely and sometimes harvest a little early rather than risk losing an entire marijuana plant to rot.
Do autoflowers follow the same rules?
The same basic principles apply, but the autoflower harvest window is driven by the plant’s internal timer. I start checking earlier and rely heavily on harvesting cannabis by trichome color instead of counting exact weeks.
The more seasons I spend with this plant, the more I realize that trichomes are a diary written in resin. By paying close attention to those tiny heads, tracking details in a grow log, and refining my environment, I’ve turned guessing games into repeatable harvests. With patience, a good microscope, and some careful notes, you can do the same.