Table of Contents
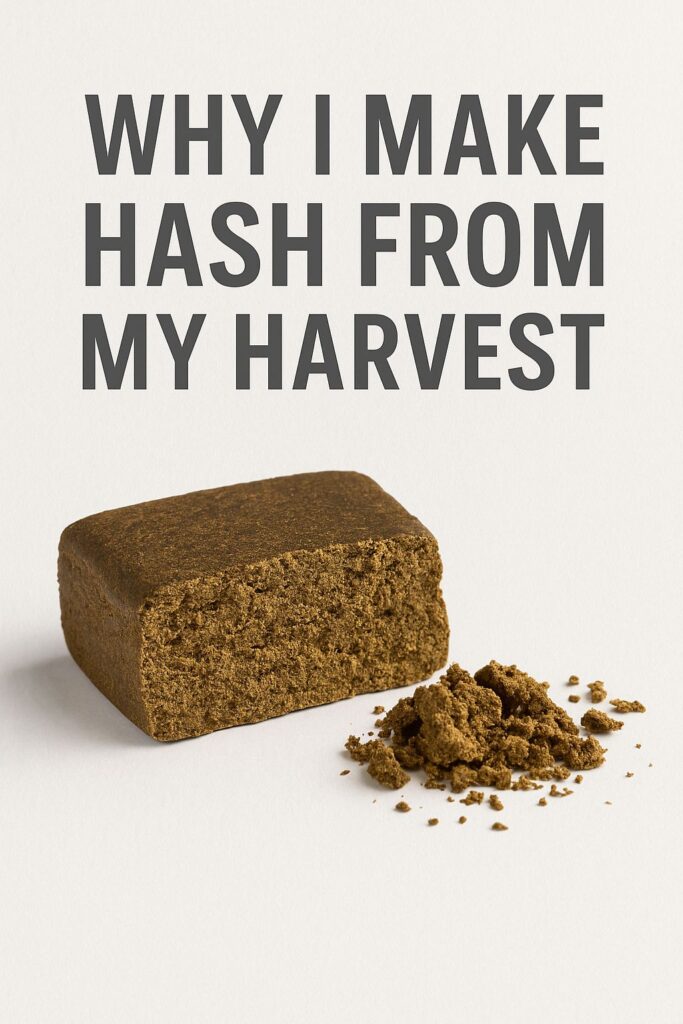
Why I Make Hash From My Harvest
When I first learned how to make hash, it clicked that I wasn’t just harvesting buds—I was harvesting trichomes. Those glassy heads carry aroma, flavor, and the lion’s share of cannabinoids. Turning trim and small buds into hash lets me concentrate that goodness, extend my harvest, and create versatile, solventless concentrates for smoking, vaping, and edibles. I’ve made ice water hash on snowy mornings, dry sift hash in a cold garage with sieves, and even hand-rubbed charas in the field during late-season inspections. Each technique works, and choosing the right one depends on your material, equipment, and patience.
This guide shows exactly how I approach it today. If you’ve been wondering how to make hash without solvents, the steps below reflect what actually works in a real grow and processing room—dialed in through trial, error, and more than a few sticky gloves, and grounded in the broader cannabis cultivation and harvest continuum.
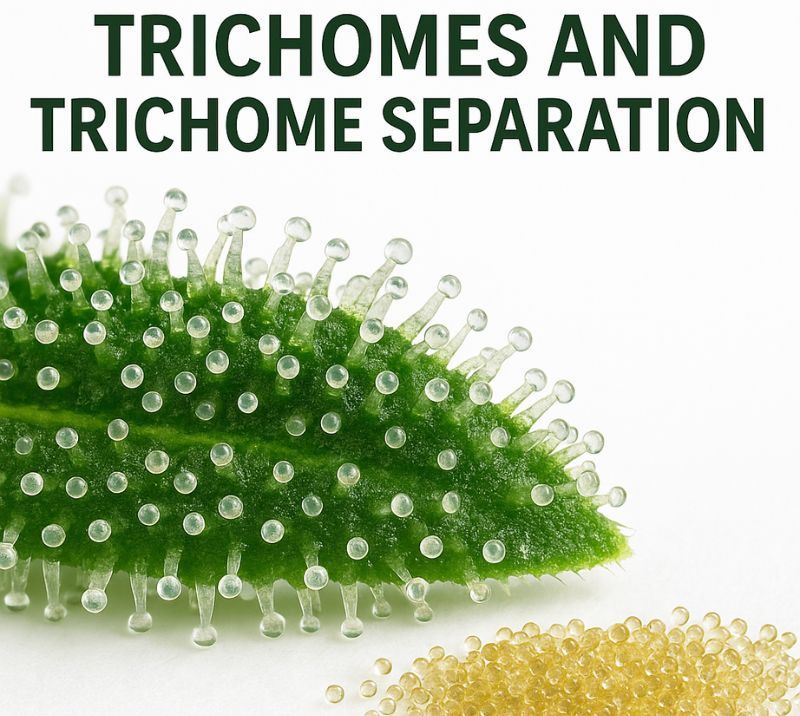
Understanding Trichomes and Trichome Separation
Before you decide how to make hash, it helps to know what you’re chasing. The cloudy, mushroom-shaped trichomes on flowers and sugar leaves are brittle when cold and greasy when warm. Good hash is simply efficient trichome separation—cleanly removing the heads (and as few stalks or plant bits as possible) from the green matter.
Key points I’ve learned:
- Cold equals crisp. Lower temperatures make heads snap off cleanly, which is why ice water hash and chilled screens work so well.
- Gentle, repeated passes beat aggressive beating. Over-agitating drags chlorophyll and micro-leaf into your pool.
- Sieving by micron is quality control. Whether I’m using bubble hash bags or dry screens, the right mesh isolates the best grades.
- Less oxygen, less heat, and less time preserve terpenes. That becomes crucial later for cold cure hash and storage.
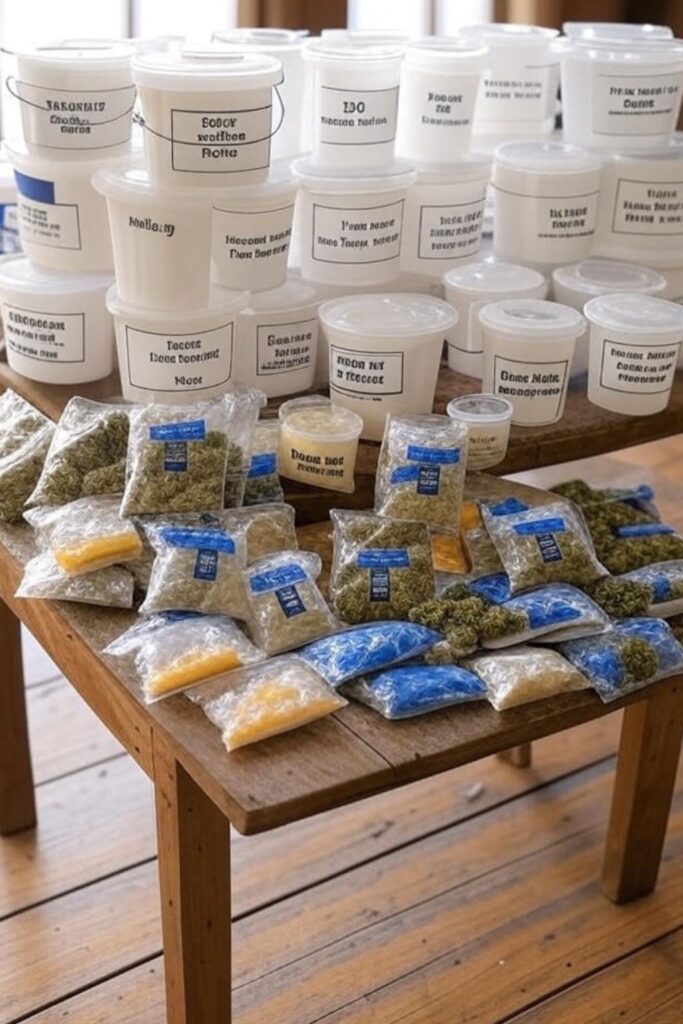
Gear Checklist I Actually Use
You don’t need a lab to learn how to make hash, but the right tools make the difference between sandy, melty goodness and green grit.
- Food-grade buckets (two to four)
- Ice and RO or distilled water (for ice water hash)
- Bubble hash bags in multiple sizes (220, 160, 120, 90, 73, 45, 25 microns)
- A sturdy spoon or paddle for agitation
- Work bag (220 micron) for material
- Catch tub or collection tray
- Fine mesh screens or sieve stack (for dry sift hash)
- Micron filter bags for rosin pressing (25–37 micron for hash pucks)
- Freeze dryer (ideal) or parchment, microplane, and desiccant (air-dry backup)
- Rosin press with accurate temperature plates (for hash rosin and pressing rosin)
- Silicone mats, parchment, and glass jars (for cold cure hash)
I’ll say this plainly: bubble hash bags and micron filter bags aren’t optional accessories; they’re your scalpel set. Quality bags hold shape, drain evenly, and keep micron ratings accurate across sessions.
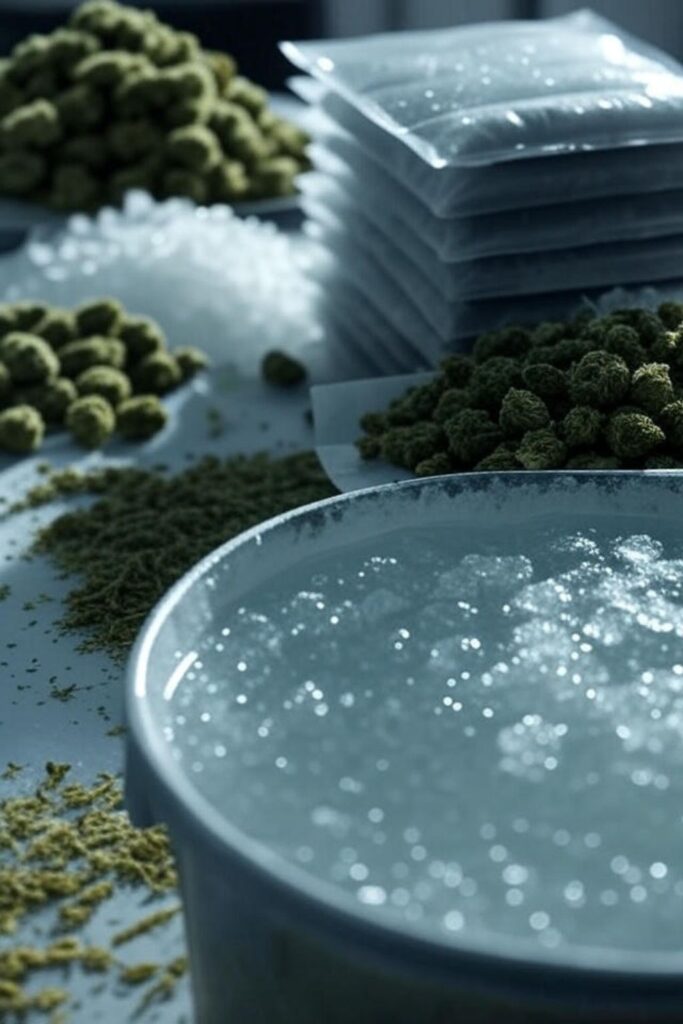
Step-by-Step: Ice Water Hash (My Go-To)
If someone asks me how to make hash for the first time, I point them to ice water hash. It’s forgiving, scalable, and delivers the cleanest grades when done cold and gentle.
Material Prep
- Use fresh frozen (my preference) or well-dried, well-cured trim and popcorn buds.
- If using dried material, chill it sealed in the freezer overnight. Cold aids trichome separation.
- Break up big flowers lightly—don’t grind. Keep the resin heads intact.
Bag Stack and Setup
- Line a clean bucket with a full stack of bubble hash bags from smallest to largest micron (25 at the bottom, 220 at the top). I like: 25, 45, 73, 90, 120, 160, 220.
- Fill with a slurry of ice and RO water. Aim for just enough water to float and roll the material; too much dilutes agitation energy.
- Place your material in a 220-micron work bag. This keeps plant bits contained without sacrificing trichome separation.
Wash and Agitate
- Submerge the work bag, let it soak 10–15 minutes to chill everything.
- Stir gently for 5–10 minutes. Think “slow cake batter,” not “concrete mixer.” Gentle circles, lift-and-drop motions.
- Let the slurry rest for 5 minutes so heads sink. Drain through bubble hash bags into the bucket or collection vessel.
- I prefer three short washes (5–7 minutes each) over one brutal marathon. Each pass yields different grades, and the later washes often favor the 25–73 microns as stubborn heads finally release.
Pulling and Collecting Each Micron
Lift the largest bag (220) first, let it drain naturally. If it catches sticks or foam, set aside. Move down bag by bag (160, 120, 90, 73, 45, 25):
- Use a cold spoon or scoop to collect the sandy resin from each bag.
- If you’re chasing full melt hash, your hero grades often live in the 73–120 range, depending on cultivar.
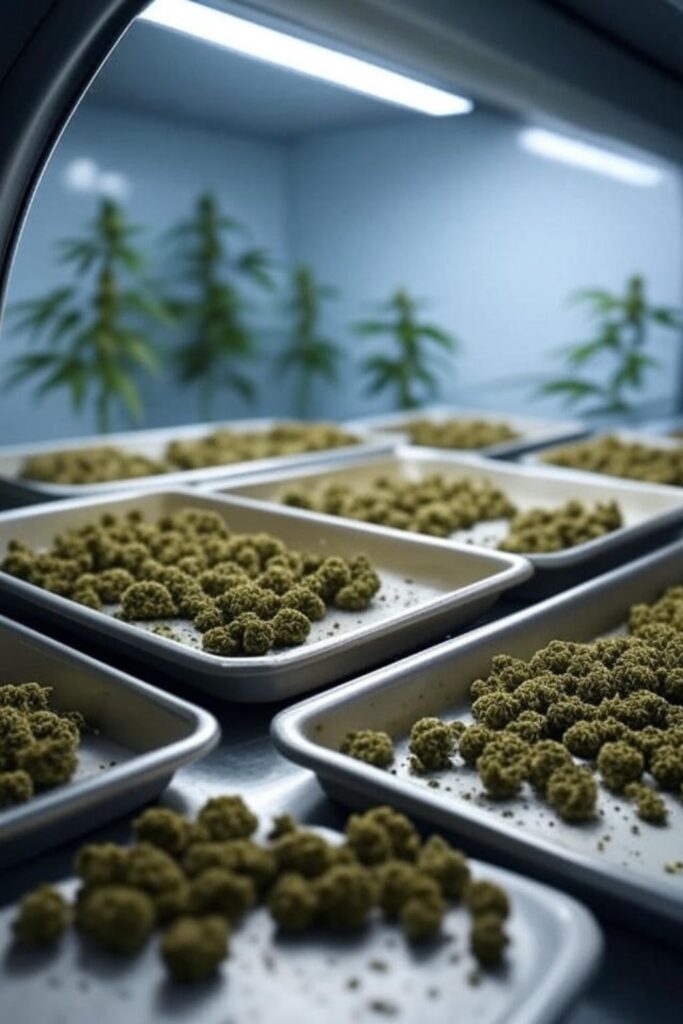
- Place each micron on its own cold, labeled parchment to keep batches separate. This is quality control for later pressing rosin or direct consumption.
You’ll see why good bubble hash bags matter here—consistent drainage and correct micron sizes make collection faster and cleaner.
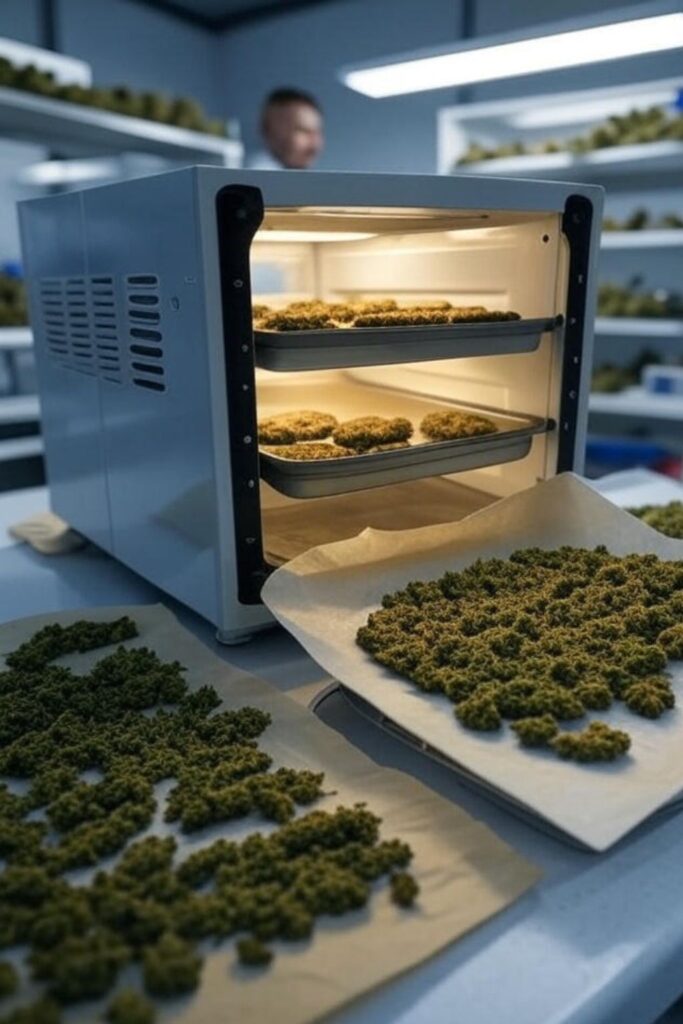
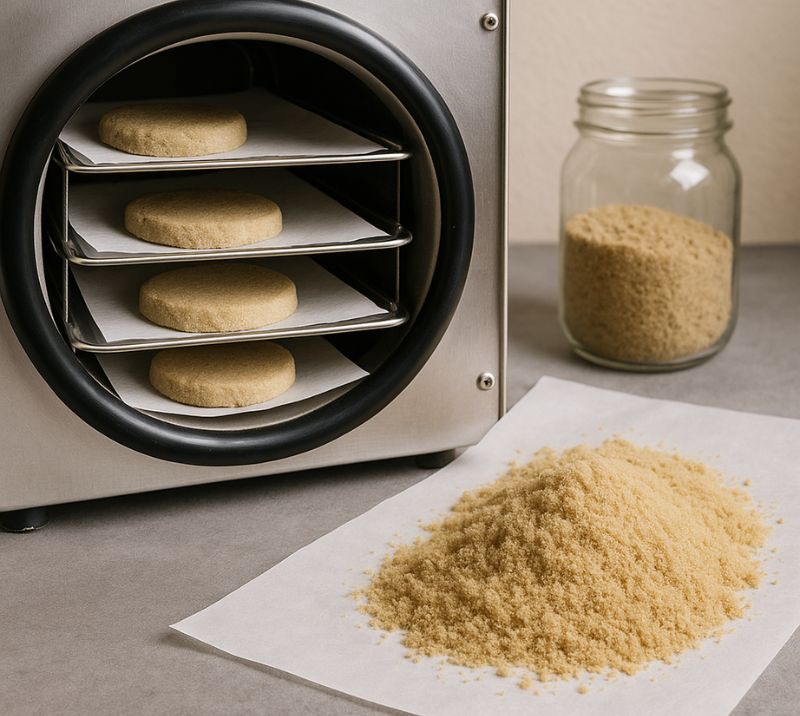
Drying the Hash (Freeze Dryer Wins)
Wet hash wants to clump and trap moisture, which can invite mold. My two approaches:
- Freeze dryer (best): Patties go onto parchment on trays, freeze quickly, then low-temp lyophilize 18–36 hours. This preserves terps and texture.
- Air-dry backup: Freeze the fresh hash. Then microplane or grate onto parchment over a mesh screen so it falls in a fluffy “sand.” Spread thin in a cool, dry room with gentle airflow. Stir daily until bone-dry.
Proper drying sets you up for cold cure hash later—a simple, low-heat cure that keeps terpenes vivid without sugar-out.
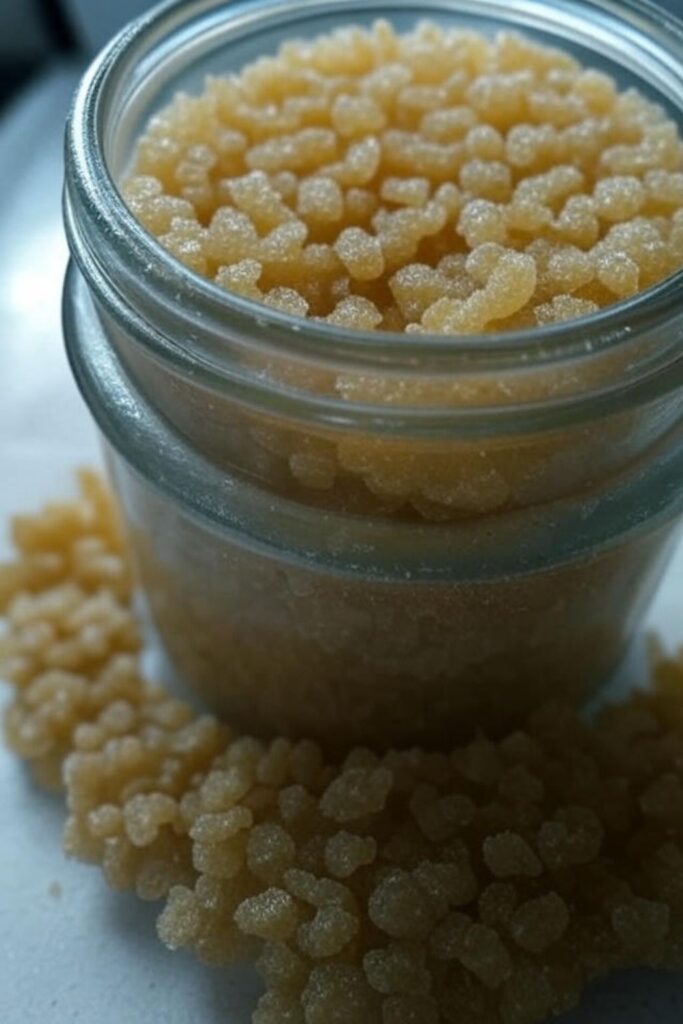
Cure and Storage
For the best flavor and texture, I jar each micron grade separately:
- Cold cure hash method: Place dry hash in a jar at cool room temp (or slightly colder), burp daily for a week, then weekly for a month. No heat cycles, just time and low oxygen.
- Store long-term in vacuum-sealed glass or cold storage. Label strain, date, and micron.
I can taste the difference when I skip this step. Cold cure hash mellows sharp edges, rounds the nose, and gives a more uniform melt on the banger.
Step-by-Step: Dry Sift Hash (Precision on the Screen)
Dry sift hash is elegant: frozen trim, layered screens, and patient sieving. When people ask how to make hash without water, this is my second suggestion—especially if your drying room runs cold.
Screen Stack and Static Tricks
- Build a sieve stack: 150–160 μm up top to catch bigger debris, 120–110 μm, 90–80 μm, then 70–60 μm to polish.
- Keep the room cold and dry. I chill both material and screens.
- Gently card the material across the top screen with a plastic card. Short, light strokes. The goal is clean trichome separation, not pulverized leaf.
Static is your friend. Lightly rubbing a parchment or card can lift plant dust from the sift, making your dry sift hash lighter in color and closer to full melt hash territory.
Quality Passes
I do multiple passes, tightening the screen each time. The more you polish, the more you risk breaking in tiny contaminants. Stop when the color stays blonde and the sift “greases up” between your fingers.
Dry sift hash often becomes my starting material for pressing rosin. It’s easy to bag, presses clean, and carries a soft, pastry-like nose after a short cold cure hash in the jar.

Field Method: Hand-Rubbed Charas
Hand-rubbed charas is the oldest way I learned how to make hash—no tools, just live plants and patience. On late afternoon walks, I’d gently roll flowering tops between my palms, letting resin build in a sticky layer, then scrape it into a ball.
A few notes from experience:
- Use living, resinous flowers—not dried trim.
- Gentle contact only. You’re massaging glands, not grinding leaf.
- Expect chlorophyll notes and a darker color compared to ice water hash or dry sift hash.
I still make small batches of hand-rubbed charas for its unique, incense-like profile. It won’t win a full melt hash contest, but it’s a soulful, low-tech option that keeps me rooted in the plant.
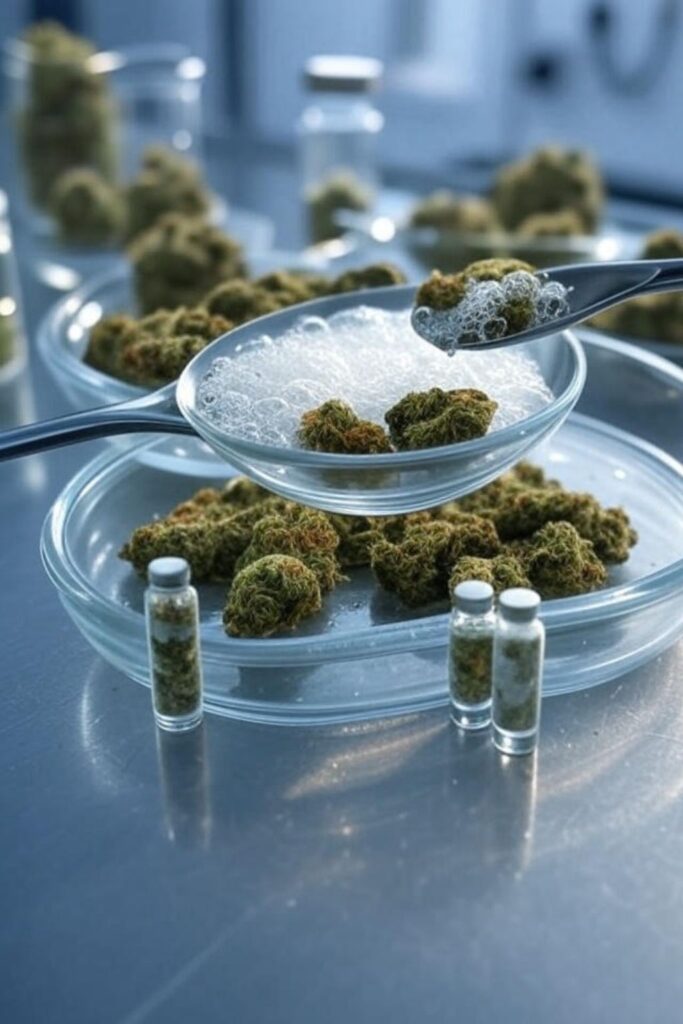
From Hash to Dab: Pressing Rosin the Right Way
When I want dabs without solvents, I turn hash into rosin. Pressing rosin from clean, low-contam grades yields a glassy, terp-rich extract. And yes, hash rosin tastes different—usually brighter and more strain-true—than flower rosin.
Bagging and Temps
- Pack parchment-lined pucks of dry hash into micron filter bags (25–37 μm). These micron filter bags are critical for clean yields and to keep micro-particulates out.
- Plate temps: 160–190°F (71–88°C) for terpy, lighter hash rosin; 190–205°F (88–96°C) for a bit more yield if material can take it.
- Light pressure for 10–20 seconds to warm, then ramp gradually over 45–90 seconds. I watch for steady flow rather than crushing it.
I label each jar with strain, micron source (e.g., 90 μm), and press temp. That record helps me learn how to make hash and rosin better each cycle.
Post-Press Handling and Cold Cure Hash
Fresh hash rosin often “nucleates”—it can sugar or butter. For cold cure hash rosin:
- Jar immediately, cap, and rest at cool room temp for several days.
- Burp gently if pressure builds. Stir with a clean dab tool if you want a uniform badder texture.
- After a week or two, the nose opens up and the texture stabilizes.
Between bag choice, temperatures, and patient curing, pressing rosin turns a good hash into a great concentrate. I’ve found that bubble hash bags upstream and micron filter bags downstream are two halves of the same recipe.
Dialing In Quality: What “Full Melt Hash” Really Means
Full melt hash is the holy grail—hash that vaporizes cleanly on a hot surface with little to no residue. In my room:
- The 73–120 μm range frequently carries the best heads for full melt hash, but cultivar rules.
- A quick spoon test helps: heat a clean spoon, touch a few grains—if it bubbles and disappears with minimal char, you’re in full melt hash territory.
- Over-agitation, warm rooms, and poor drying sabotage melt. Keep it cold, keep it gentle, and dry it fully.
I keep samples of each micron in tiny vials. Side-by-side taste tests teach me more about how to make hash than any chart ever did.
Troubleshooting: Common Issues and Real Fixes
Green or harsh taste
Likely too much plant matter made it through. Use gentler agitation, colder water, and verify your bubble hash bags aren’t stretched out. In dry sift hash, reduce carding pressure and polish on a tighter screen.
Low yield
Material too dry or too warm. Pre-soak longer for ice water hash, freeze dried trim overnight for dry sift hash. Check that your trichome separation is efficient—not too timid, not too rough.
Wet, clumpy patties
Incomplete drying. Either invest in a freeze dryer or microplane thinner and extend air-dry time. Moisture ruins cold cure hash later and can dull flavor in hash rosin.
Dark, sticky rosin
Pressing rosin too hot or for too long, or starting material had micro-contaminants. Drop plate temps 10°F and try a fresh micron filter bag at 25–37 μm. Cleaner in, brighter out.
Inconsistent grades
Keep each wash separate and label by micron. Over time, you’ll learn which microns deliver your full melt hash for a given cultivar.

Workflow Examples (What I Actually Do)
Small home batch (fresh frozen trim, terp-heavy cultivar):
- Ice water hash with three short washes.
- Collect 120/90/73/45/25 separately using a full stack of bubble hash bags.
- Freeze dry, then jar and cold cure hash a week.
- Choose the 90 μm for pressing rosin at 175°F in 25 μm micron filter bags; keep 73 μm as scoop-able full melt hash.
Dry room sifter (older cured trim, delicate nose):
- Chill trim and screens, make dry sift hash on 120→90→70 μm stack.
- Minimal carding, then static cleanup.
- Jar a portion to cold cure hash as loose sift; press the rest into hash rosin at 180°F, short press.
Field day (late season inspection):
- Select a few resin-greasy tops and make hand-rubbed charas in place.
- Roll into a snake and let it dry slowly.
- Enjoy the old-world profile—no machines, no fuss.
Legal, Safety, and Hygiene
- Know your local laws before you learn how to make hash. Regulations vary widely.
- Keep everything food-grade and sanitized. I treat hash like a kitchen product—clean tools, clean hands, and clean surfaces.
- Cold storage and labeling matter for safety and repeatability. If you want trustworthy results, handle your concentrates like perishable goods.
Advanced Notes: Microns, Water, and Agitation
- Micron choices: I rarely skip 73, 90, and 120 because they consistently deliver my best full melt hash. The 45 and 25 can surprise you with certain cultivars—more flavor, sometimes less melt.
- Water quality: RO or distilled water keeps minerals out and preserves clarity in ice water hash. It’s a small cost for a big return.
- Agitation cadence: Gentle 5–7 minute sets with a rest lets heads sink while you prep the next wash. If you’re new to how to make hash this way, err on the side of less force and more passes.
Frequently Asked Questions (From My DMs and Grow Room Door)
What’s the easiest way to start if I’ve never made hash?
Begin with ice water hash. It’s forgiving, uses simple gear, and bubble hash bags do the sorting for you. Once you see clean trichome separation in the bags, you’ll understand the fundamentals of how to make hash.
Can I make great hash from trim alone?
Yes. I’ve pulled award-caliber grades from sugar trim. Fresh frozen trim is perfect for ice water hash. For dry sift hash, make sure the trim is brittle-dry and cold.
What bag sizes should I buy first?
A budget set: 220 (work), 160, 120, 90, 73, 45, 25. That lets you target full melt hash and still collect flavorful lower microns. Don’t skimp—durable bubble hash bags drain truer and last longer.
How do I avoid that grassy flavor?
Colder room, shorter agitation, and complete drying. Then give it a week of cold cure hash in a jar. For pressing rosin, use 25–37 μm micron filter bags and keep temps 160–185°F to protect terps.
Is hand-rubbed charas worth the effort?
For me, yes—when I want that classic, spicy profile and I’m walking the garden anyway. Hand-rubbed charas isn’t as clean as ice water hash or dry sift hash, but it’s intimate, immediate, and requires zero tools.
What makes hash rosin different from flower rosin?
Starting with purified resin heads means fewer plant lipids and chlorophyll, so hash rosin usually tastes brighter and feels lighter on the lungs. Pressing rosin from well-cleaned hash is my favorite way to showcase a cultivar.
Putting It All Together
If you only remember three things about how to make hash, let it be these:
- Keep it cold and gentle—whether that’s ice water hash or dry sift hash in a chilly room.
- Let the tools work—bubble hash bags and micron filter bags are your main quality filters, and they reward patience.
- Respect the finish—proper dry, a simple cold cure hash, and careful storage separate good from unforgettable.
I’ve ruined batches by rushing, and I’ve made some of my best full melt hash on quiet mornings when I took my time. That’s the real craft: slow hands, clean gear, and a steady focus on trichome separation. From there, pressing rosin is just the cherry on top—a way to turn your careful work into jars of glossy, aromatic hash rosin that truly reflects your garden.
And that, in a nutshell, is how I learned how to make hash you’ll be proud to share.