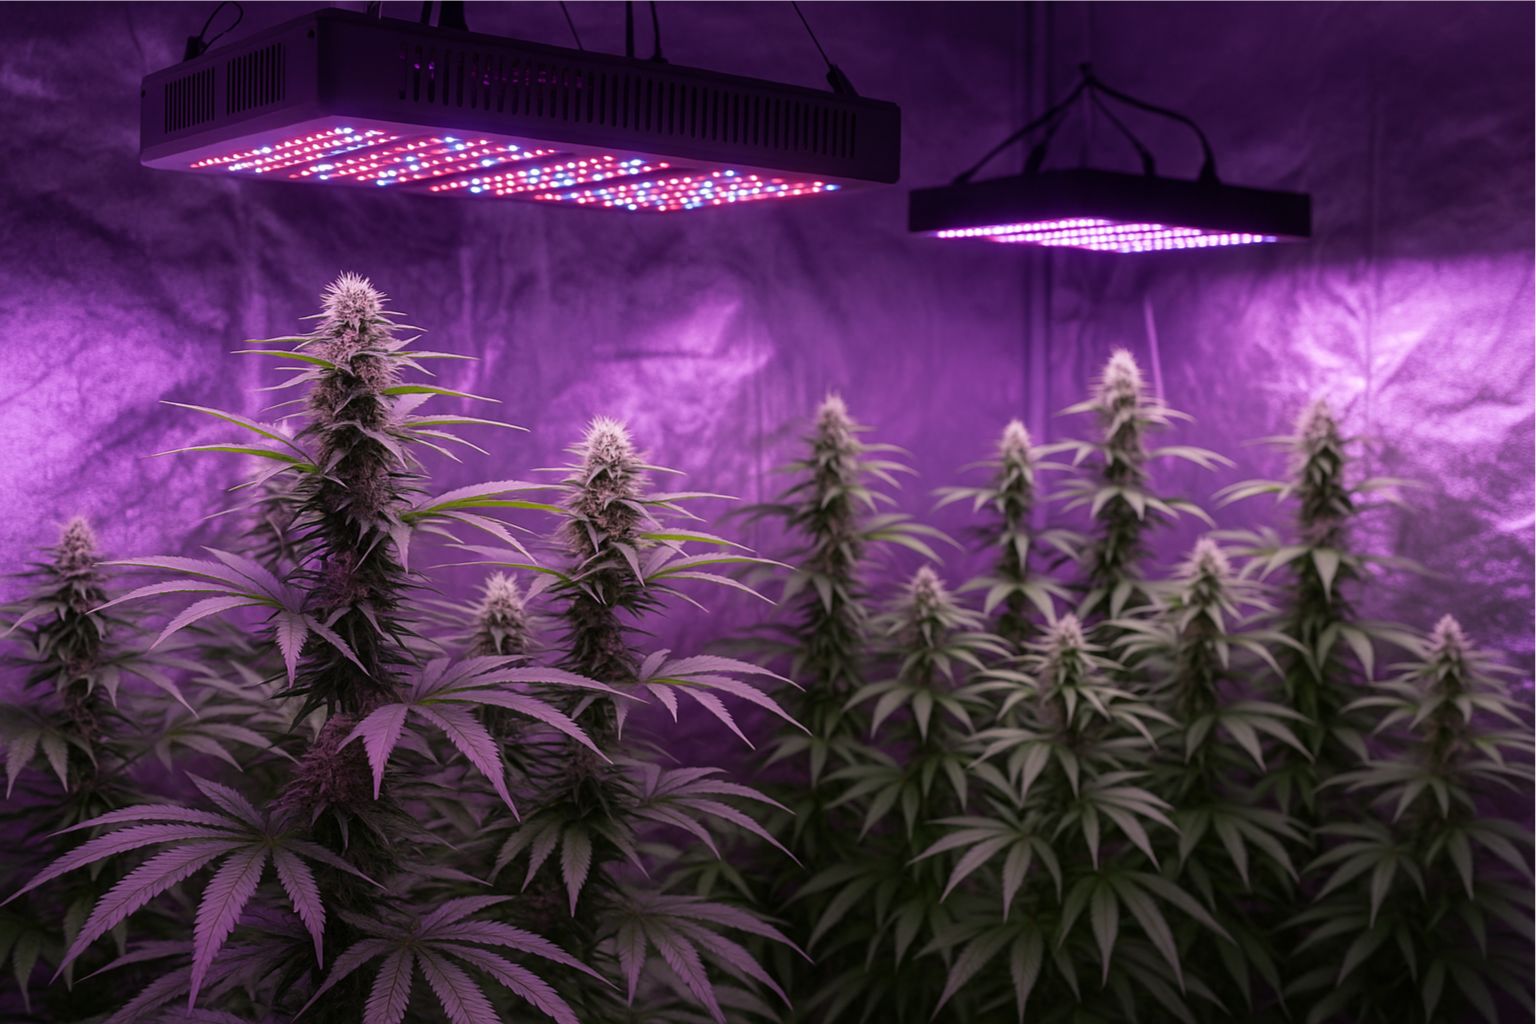
When I first started growing weed indoors, I thought lights were just about wattage and hanging height. After a few stretchy, weak harvests, I realized I was missing the bigger picture: Cannabis Growing Lights and Phases have to work together like a choreographed routine. The right spectrum, intensity, and schedule at the wrong phase can hurt yields just as much as the wrong light altogether.
In this article, I’m sharing how I approach Cannabis Growing Lights and Phases from seed to harvest, using real numbers I’ve tested in my own grow rooms. Think of this as a practical indoor cannabis lighting guide built from experience, not theory or marketing claims. I’ll walk through each growth stage, the weed light cycle for beginners and more advanced growers, and the exact adjustments I make to keep plants happy, efficient, and productive.
Why Matching Lights To Growth Phases Matters
Cannabis doesn’t need the same light at every stage of life. Seedlings, vegging plants, and flowering colas all respond differently to intensity, spectrum, and timing. When I first aligned my Cannabis Growing Lights and Phases intentionally, I noticed:
- Tighter internodal spacing in veg
- Less stress and droop in young seedlings
- More consistent bud development from top to bottom
- Fewer heat and humidity swings, once I paired light intensity with a sensible VPD chart for weed plants
Instead of just asking “How strong should my light be?”, I now ask, “What phase are my plants in, and what are they trying to do right now?” That mindset shift changed everything and became the backbone of my indoor cannabis lighting guide.
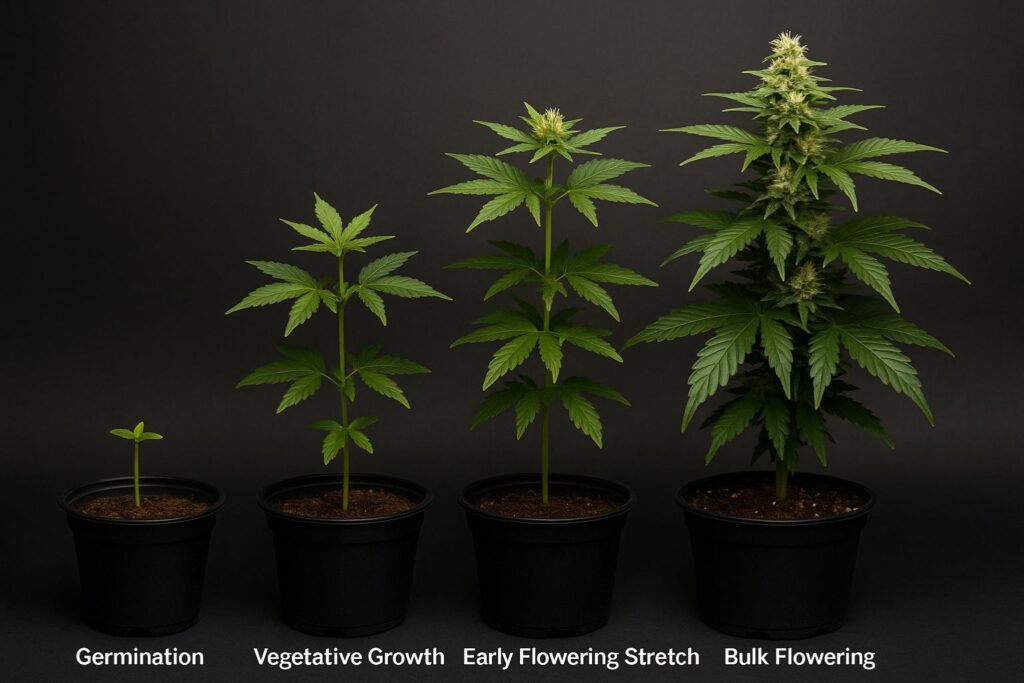
The Main Cannabis Growth Phases I Plan Around
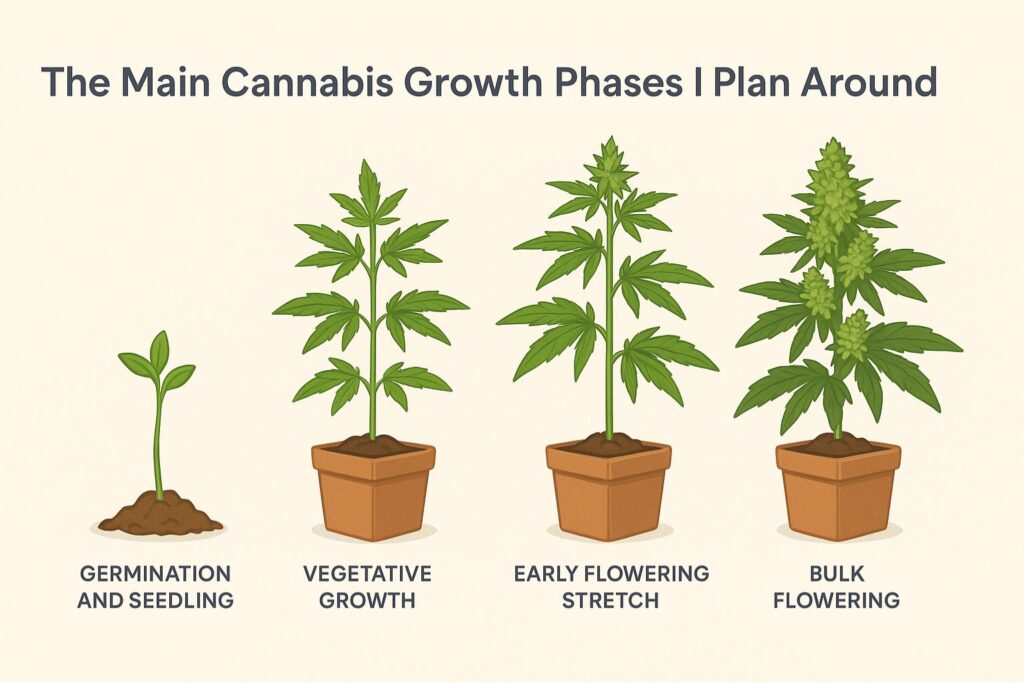
Every grower labels the stages a bit differently, but here’s how I break down Cannabis Growing Lights and Phases in my room:
- Germination and seedling
- Vegetative growth
- Early flowering stretch
- Bulk flowering
- Late flower and pre-harvest
Each one uses a different light schedule and intensity. I’ll include some of the real numbers I use, plus how I adjust environment, nutrients, and light in sync with each flowering stage light cycle or veg schedule.
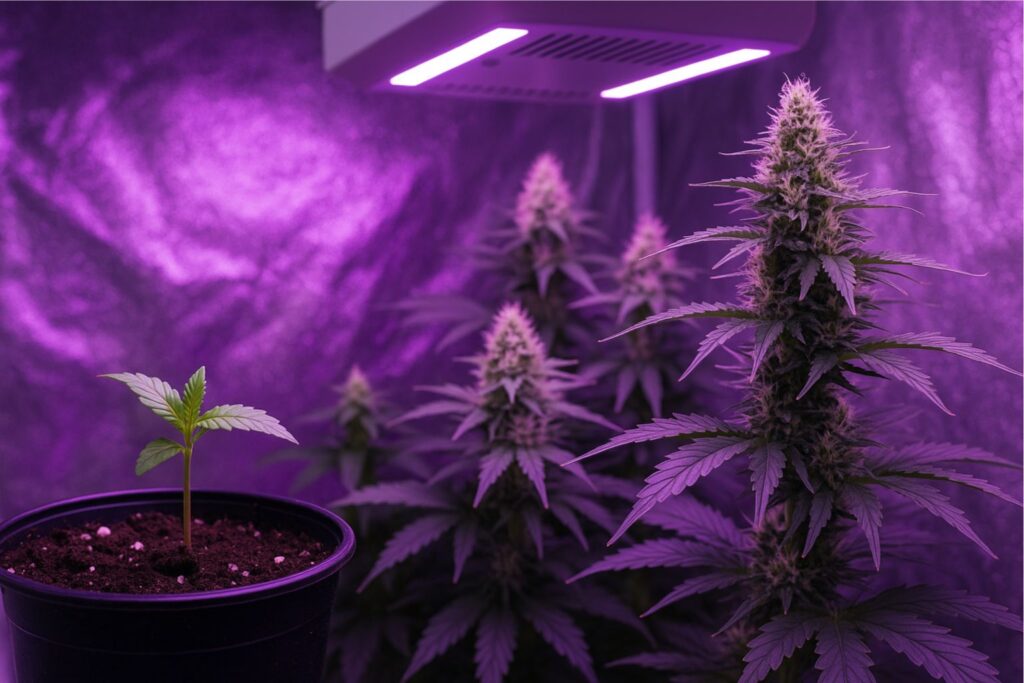
Seedlings – Gentle Light And Careful Distance
If I had to pick the most fragile phase, it would be seedlings. They don’t need much PPFD for indoor cannabis at this point; they need stability. Burning them with overly strong LEDs is one of the most common mistakes I see.
Here’s what works for me with young plants:
- PPFD: Around 150–250 µmol/m²/s at canopy level
- Schedule: 18–24 hours of light, depending on strain and room heat
- Temperature: 24–26°C
- Humidity: 65–75%
The biggest factor for me is cannabis seedling light distance. I always start my fixtures higher than I think I need, then slowly lower them based on how the seedlings respond. If I see any canoeing, bleaching, or overly tight nodes right from the start, it usually means my cannabis seedling light distance is too short. I’d rather raise the light and give them an extra day or two of gentle growth than push them too hard.
Because this phase is so sensitive, I think of it as the foundation of my indoor cannabis lighting guide. If I get the cannabis seedling light distance and environment right here, everything after becomes easier and the rest of my Cannabis Growing Lights and Phases plan has a strong start.
Vegetative Phase – Building A Strong Frame
Once roots are established, plants move into vegetative growth. Here, lighting is about building structure: branches, leaves, and enough frame to support future buds. This is where I really start to pay attention to my marijuana vegetative light schedule and PPFD.
My typical veg targets:
- PPFD for indoor cannabis in veg: 350–550 µmol/m²/s
- Schedule: 18/6 light/dark (some growers run 20/4; 18/6 works great for me)
- Temperature: 24–28°C
- Humidity: 55–65%
I’ve experimented with a few different setups, but I keep coming back to a simple marijuana vegetative light schedule: 18 hours on, 6 off. That gives the plants a clear rhythm and keeps power costs reasonable. When I recommend a weed light cycle for beginners, this is usually the first one I suggest for photoperiod strains.
During veg, I also layer in:
- Training methods like topping, LST, and sometimes SCROG
- Monitoring a basic VPD chart for weed plants to keep transpiration in check
- Gradually increasing PPFD for indoor cannabis as plants harden off and fill the space
When I treat veg as the “structural” phase and dial in the marijuana vegetative light schedule accordingly, plants enter flower with a strong, balanced canopy that actually fits under the lights and responds well to the upcoming flowering stage light cycle.
Flowering Phase – Managing Stretch And Bud Development
Flower is where lighting really shows its influence. This is where I align my flowering stage light cycle, PPFD, and spectrum to squeeze out density and resin without over-stressing the plants.
For photoperiod strains, I flip to:
- Flowering stage light cycle: 12/12 light/dark
- Early flower PPFD: 500–650 µmol/m²/s
- Mid flower PPFD: 650–850 µmol/m²/s (sometimes up to 900 if CO₂ is supplemented)
- Temperature: 22–26°C
- Humidity: 40–50%
The flowering stage light cycle has two jobs in my room:
- Trigger the hormonal change that moves plants from veg to flower
- Keep them in a predictable rhythm so they stack buds consistently
When I experimented with slightly longer or shorter nights, I always came back to a simple 12/12 flowering stage light cycle. It’s reliable, easy to plan around, and gives me the most consistent results across a wide range of genetics.
As buds swell, I adjust the light height to maintain even PPFD for indoor cannabis across the canopy. I use a meter, but even before I had one, I walked the room and looked for clues:
- Pale tops compared to mid-lower buds usually meant too much intensity
- Dark green leaves with droopy posture sometimes meant light plus overfeeding
- Fox-tailing under extremely intense full spectrum LED grow lights told me to back off
I treat this part of the grow like a fine-tuning stage. The more attention I pay to how plants respond to both the flowering stage light cycle and intensity, the more dialed-in my harvests become and the more predictable my Cannabis Growing Lights and Phases system feels.
Choosing The Right Fixtures For Each Phase

I’ve run everything from old-school HID bulbs to modern full spectrum LED grow lights. Today, all my primary fixtures are LEDs because I can control spectrum, intensity, and heat more precisely.
Here’s how I think about my setup:
- Seedlings and clones: Smaller full spectrum LED grow lights or dimmed bars that can deliver gentle intensity without hot spots
- Veg tents: Medium-sized fixtures that give me flexibility with height and spread, perfect for an indoor cannabis lighting guide focused on even canopy development
- Flower rooms: More powerful full spectrum LED grow lights with enough punch to maintain density deep into the canopy
LEDs make it much easier to hit the right PPFD for indoor cannabis without cooking the room, especially in summer. But they also make it easier to overdo it, which brings me back to checking a VPD chart for weed plants and watching how leaves respond day to day.
Instead of chasing brand names, I look for:
- Uniform light distribution over my entire canopy
- Reliable dimming controls
- Realistic PPFD maps (not just marketing diagrams)
- Solid driver and diode warranties
When fixtures support my plan for Cannabis Growing Lights and Phases, it feels like the whole room is working with me instead of against me.
My Practical Light Schedules By Phase
To make this more concrete, here’s how I usually schedule lights through a full photoperiod run. This is the framework I’d hand anyone asking for a weed light cycle for beginners, with room to grow more advanced over time.
Seedling Stage (Weeks 1–2)
- Schedule: 20/4 or 18/6
- PPFD: 150–250 µmol/m²/s
- Notes: Start with generous cannabis seedling light distance, then gradually lower as they strengthen
If I were writing the first chapter of an indoor cannabis lighting guide, this is where I’d stress patience. Seedlings need gentle, consistent light more than anything, and getting cannabis seedling light distance right makes the rest of the run smoother.
Vegetative Stage (Weeks 3–6+)
- Schedule: 18/6
- PPFD: 350–550 µmol/m²/s
- Notes: Keep a stable marijuana vegetative light schedule, increase intensity as training progresses
This is where I fully lean into a stable weed light cycle for beginners and experienced growers alike. Veg is forgiving, but a consistent marijuana vegetative light schedule keeps plants from getting confused or stressed and sets them up to handle a stronger flowering stage light cycle later.
Flowering Stage (Weeks 7–14, strain dependent)
- Schedule: 12/12 flowering stage light cycle
- PPFD: 500–850 µmol/m²/s
- Notes: Increase PPFD gradually after the flip, then taper slightly in late flower if plants show stress
I plan the entire flowering stage light cycle before I even pop seeds. That way, I know how I’ll handle the stretch, where I’ll hang lights, and how much headroom I have above the tallest tops. This planning is part of my larger Cannabis Growing Lights and Phases strategy that keeps every run intentional.
This whole flow—from seedling distance to structured veg to a disciplined flowering stage light cycle—is the backbone of how I execute Cannabis Growing Lights and Phases in every run.
What About Autoflowers?
Autoflowers add another layer to planning. They don’t depend on the flip to 12/12, so my cannabis autoflower light schedule looks different from my photoperiod rooms.
Here’s what has worked well for me:
- Schedule: 18/6 from seed to harvest
- Seedlings: 150–250 µmol/m²/s
- Early growth: 350–450 µmol/m²/s
- Flower: 500–700 µmol/m²/s
I keep the cannabis autoflower light schedule simple: one schedule the entire run. Because autos are on a biological timer, I avoid heavy training and early stress. The cannabis autoflower light schedule focuses on providing enough energy while leaving room for error.
If someone wants a weed light cycle for beginners and doesn’t want to worry about flipping to 12/12, I often suggest trying a couple of autoflower cannabis seeds under an 18/6 schedule. It is a gentle way to learn room behavior, basic Cannabis Growing Lights and Phases, and environmental control.
Environment, Nutrients, And Light – Working As A System
Lights don’t work in isolation. When I push intensity, I have to tighten up the rest of the environment. This is where I lean heavily on my VPD chart for weed plants to keep everything in balance. High PPFD without proper humidity and airflow usually leads to stress, not bigger yields.
Here’s how I connect the dots:
- More light intensity means plants drink more, so I adjust feed frequency.
- Warmer temps require humidity tuning, guided by a VPD chart for weed plants.
- Stronger lighting means I often moderate EC so I don’t burn tips.
On the nutrient side, I prefer running organic nutrients for cannabis indoors when possible. They’re slower to correct, but they buffer against minor mistakes and pair nicely with living soils or amended media.
My experience has been:
- Under strong full spectrum LED grow lights, organic nutrients for cannabis indoors help prevent sudden salt buildup
- If VPD is in range, plants respond with steady growth instead of bursts followed by stalls
- Pairing a stable marijuana vegetative light schedule with organic nutrients for cannabis indoors makes veg almost autopilot once dialed in
When Cannabis Growing Lights and Phases, nutrition, and climate are aligned, you can feel it in the room. Plant posture is upright, leaves pray gently, and growth is steady instead of explosive and crashy.
Planning Your Grow Around Seeds And Space
Lighting decisions start before I ever germinate cannabis seeds. Different strains and seed types respond differently to the same environment, and I plan my approach to Cannabis Growing Lights and Phases around that.
Here’s how I think about it:
- Feminized cannabis seeds: Great when I want to fill a tent with uniform photoperiod plants on a classic marijuana vegetative light schedule and 12/12 flip.
- Autoflower cannabis seeds: Ideal when I want faster runs under a simple cannabis autoflower light schedule, especially in shared spaces where I can’t light-seal perfectly.
- Hybrids and stretch-prone genetics: I give them extra headroom and plan my flowering stage light cycle so I’m ready to dim or raise fixtures during the stretch.
When I plan seeds, pots, and training around my indoor space, it’s much easier to build a realistic indoor cannabis lighting guide for that specific room. That’s also when I decide how strict I need to be with PPFD for indoor cannabis and whether the run will be more experimental or strictly conservative.
Practical Checklists For Each Stage
To make this easier to apply, here are the quick lists I run through each time I adjust lights.
Seedling Lighting Checklist
- Confirm cannabis seedling light distance is generous and evenly distributed
- Check PPFD for indoor cannabis at seedling height (or use the “hand test” if you don’t have a meter)
- Verify humidity and temps match your VPD chart for weed plants for this stage
- Keep the schedule simple: a consistent weed light cycle for beginners works fine here
Veg Lighting Checklist
- Confirm marijuana vegetative light schedule is locked in at 18/6
- Maintain PPFD for indoor cannabis between 350–550 µmol/m²/s across the canopy
- Walk the room and look for uneven stretch or dark corners
- Keep feeding and organic nutrients for cannabis indoors in balance with increased growth
Flower Lighting Checklist
- Double-check timers for a strict 12/12 flowering stage light cycle
- Measure tops during stretch and keep enough distance from full spectrum LED grow lights
- Compare leaf posture to your VPD chart for weed plants to catch issues early
- Adjust dimmers or light height instead of letting plants grow too close to the diodes
These simple systems have helped me fine-tune Cannabis Growing Lights and Phases in a way that’s repeatable, even when I change strains or layouts.
FAQ: Real Questions I Hear From New Growers
What is the best weed light cycle for beginners indoors?
For photoperiod plants, I usually recommend an 18/6 schedule in veg and a 12/12 flowering stage light cycle. That weed light cycle for beginners is easy to remember, works with most genetics, and fits how I use PPFD for indoor cannabis across the run.
How close should my light be to seedlings?
There’s no single number, because fixtures vary, but I start with a higher cannabis seedling light distance than I think I need, then slowly lower it. I watch the plants: if they stretch excessively, I lower the light a bit; if they curl or bleach, I raise it. Over time, you’ll learn the sweet spot for each fixture and see how it fits into your Cannabis Growing Lights and Phases plan.
Do I really need to worry about PPFD and VPD?
You can grow weed without ever looking at a VPD chart for weed plants or measuring PPFD. But if you want consistent, repeatable results, understanding PPFD for indoor cannabis and using a simple chart for temperature and humidity is a huge advantage. I treat these tools as guidance, not strict rules, and adjust based on what I see in the canopy.
How should I light autoflowers compared to photoperiods?
With autos, I prefer a single cannabis autoflower light schedule of 18/6 from seed to harvest. I keep intensity moderate early on, then ramp it up carefully during flower. It’s simpler than managing a flip and works well when I run autoflower cannabis seeds next to vegging photoperiods.
Do nutrients change with stronger lights?
Yes. When I push full spectrum LED grow lights harder, plants drink and eat more. That’s why I like using organic nutrients for cannabis indoors: they give me some buffer against overfeeding. I still watch runoff, leaf color, and tip burn, but I find it easier to stay in the safe zone when light, feed, and environment are aligned.
Bringing It All Together
After years of trial and error, I’ve learned that Cannabis Growing Lights and Phases aren’t separate topics; they’re two sides of the same coin. The intensity and spectrum you choose only really make sense when you pair them with the plant’s current stage, your environment, and your goals for that run.
By planning an indoor cannabis lighting guide around:
- A clear weed light cycle for beginners or advanced growers
- A reliable marijuana vegetative light schedule
- A disciplined flowering stage light cycle
- Smart use of PPFD for indoor cannabis and a basic VPD chart for weed plants
- Thoughtful use of full spectrum LED grow lights and organic nutrients for cannabis indoors
you give your plants every chance to perform.
Each grow becomes another data point. I tweak my cannabis seedling light distance, refine my cannabis autoflower light schedule, and adjust the way I execute Cannabis Growing Lights and Phases based on what I see and harvest. Over time, that loop of observation and adjustment is what turns a simple room with a few lights into a reliable, productive indoor garden.
8bitmonstr
The Seedlings – Gentle Light and Careful Distance (Section/Paragraph) is 100% true.