Table of Contents
I’ve run American Haze in an indoor tent and in a recirculating setup. This American Haze Strain Review is written from that hands-on experience: what the plant did in veg, how it stretched after the flip, how it smelled while drying, and how the smoke changed after a real cure. I’m keeping the language practical so you can copy the process into your own grow, whether you call it cannabis, marijuana, or weed.
A reality check before we start. “American Haze” can vary by breeder. Even in the same pack, you can see American Haze phenotype variation. That’s normal for seed-grown plants. My goal here is to share an approach that works across that variation.
Genetics and plant behavior in my room
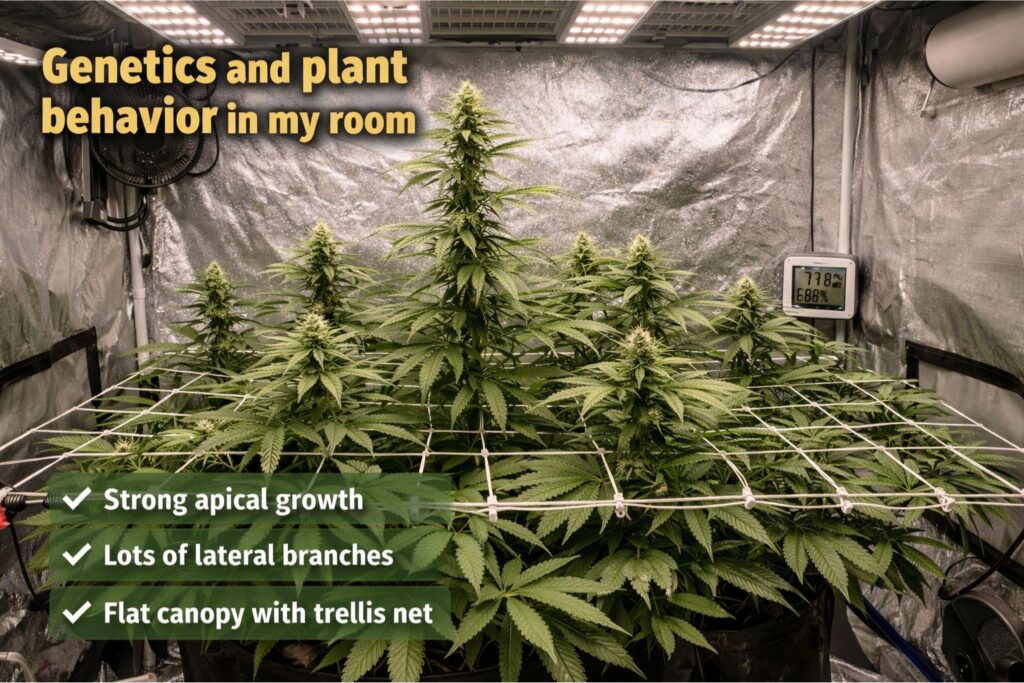
I’m not going to pretend there’s only one official lineage. In my runs, the shared traits were classic haze-style growth: fast early vigor, longer spacing between nodes, and a strong stretch after switching to flower. I ran it as a photoperiod plant, and the structure responded well to training, especially when I set the canopy early.
Here are my American Haze indoor grow notes on structure:
- Strong apical growth in veg, which means topping helps.
- Lots of lateral branching if the light is even.
- Bud sites stack better when the canopy stays flat.
If you’re shopping seeds, plan for height. If you have a short tent, choose training-friendly genetics and don’t flip late.
Effects: what I felt and how timing changed it
My American Haze smoke report starts with a clear head lift. For me, it’s bright and focused at low to moderate doses. If I took too much too fast, it could feel edgy, similar to drinking strong coffee on an empty stomach. That’s not a medical statement, just an honest description of the ride.
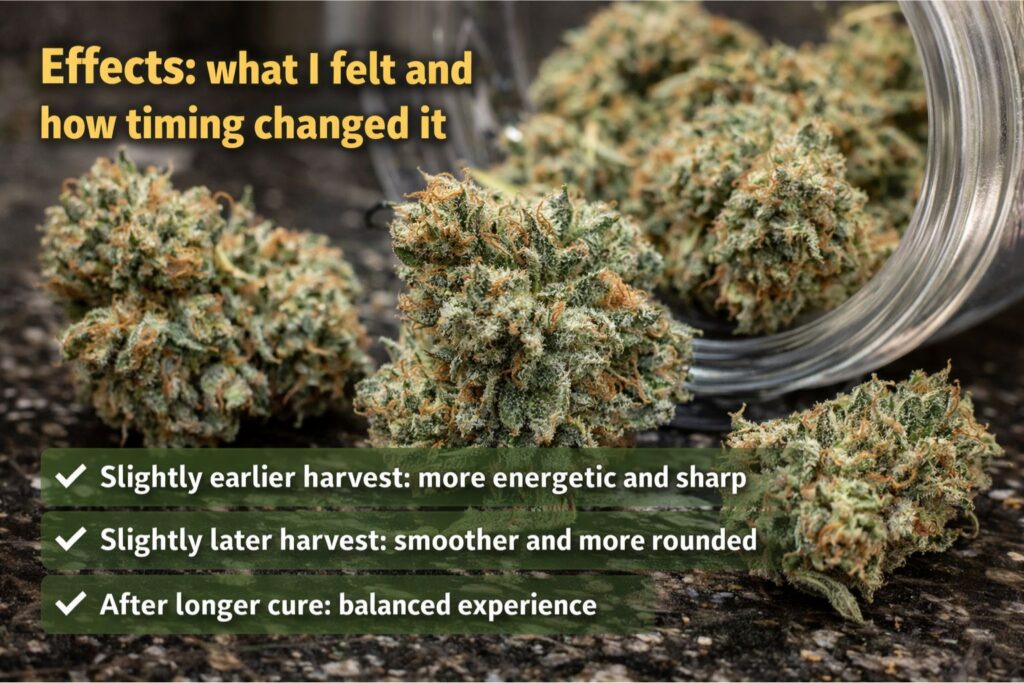
I also noticed harvest timing changed the character:
- Slightly earlier harvest leaned more energetic and sharp.
- Slightly later harvest felt smoother and more rounded.
- After a longer cure, the experience felt more even.
This American Haze Strain Review is not medical advice, and I’m not claiming any treatment effects. People react differently to marijuana depending on tolerance, mood, and setting.
Aroma and flavor: what the jar actually delivered
Most people searching American Haze flavor and aroma want something grounded. In my jars, the profile leaned citrus peel, pine, and dry wood, with a peppery finish. It wasn’t candy-sweet. It was bright and outdoorsy, and it got cleaner the longer I cured it.
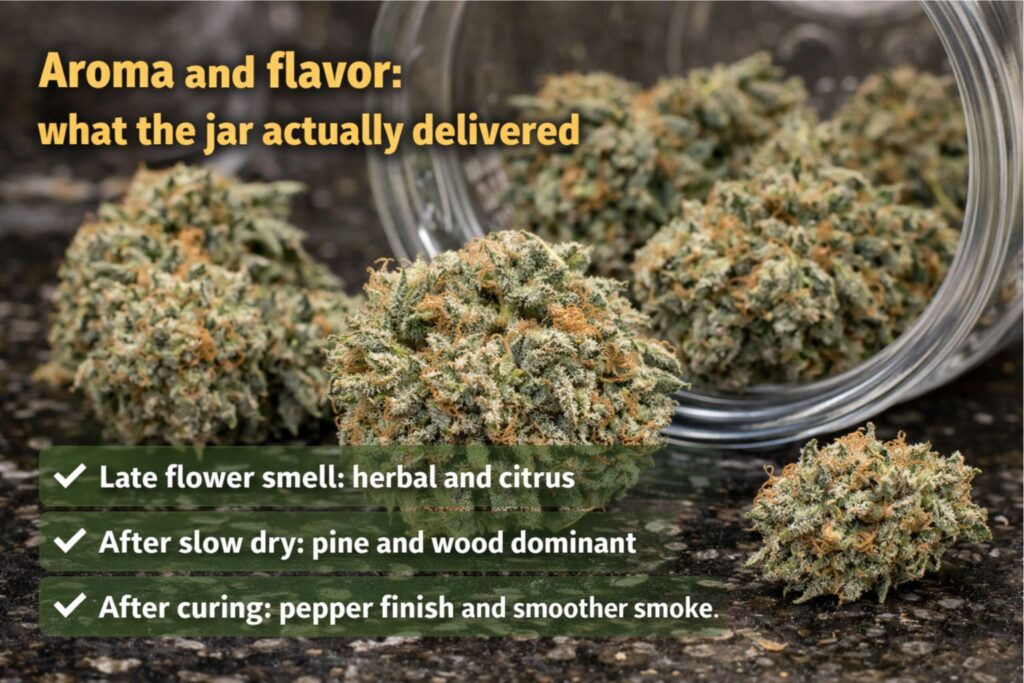
My American Haze flavor and aroma observations by stage:
- Late flower: sharp herbal notes, with citrus starting to pop.
- Drying: the “green” smell faded if I dried slow.
- Curing: pine and wood became clearer and the smoke got smoother.
If you only take one tip from this review, take this one: drying and curing decides the final quality more than any bottle.
Environment targets I used
I don’t chase perfection. I chase stability. These are the ranges that kept my plants healthy.
Light, PPFD, and photoperiod
Veg schedule: 18/6
Flower schedule: 12/12
PPFD at canopy:
- Veg: 300–500
- Flower: 650–900 once the plant is established
My American Haze PPFD and VPD targets worked best when the canopy was even and the room had air exchange. When I pushed PPFD high without respecting American Haze PPFD and VPD targets, the leaves showed stress first.
Temperature, humidity, and VPD
Typical bands that worked for me:
- Veg: 24–28°C and 60–70% RH
- Early flower: 23–27°C and 50–60% RH
- Late flower: 20–25°C and 40–50% RH
These numbers tie directly to American Haze PPFD and VPD targets, and I keep notes when I change either variable. If humidity runs high late in flower, you’re increasing your risk of mold, especially on denser tops.
Medium choice: soil vs hydro
I’ve run American Haze soil vs hydro, and both can produce great weed. Soil was more forgiving when I made small mistakes. Hydro grew faster, but it required tighter pH and reservoir hygiene.
My simple breakdown of American Haze soil vs hydro:
- Soil: easier learning curve, fewer daily adjustments.
- Hydro: faster response, but swings show up quickly.
- Both: airflow and canopy control matter more than the medium.
Germination and early growth
I keep germination boring. A simple method beats complicated tricks.
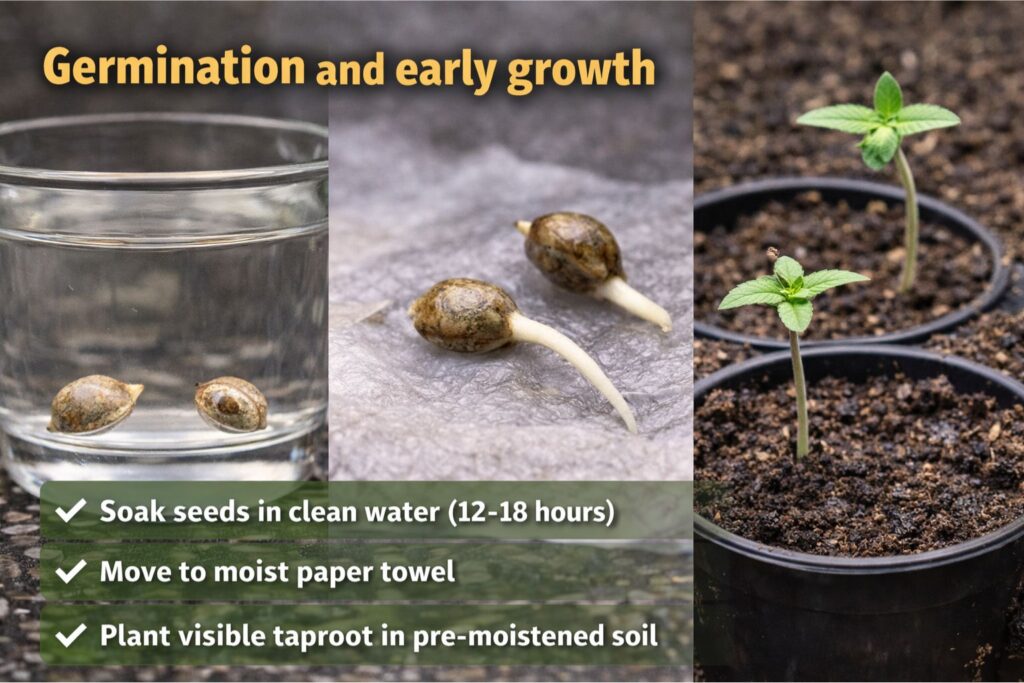
My process:
- Soak seeds in clean water for 12–18 hours.
- Move to a moist paper towel in warmth and darkness.
- Plant once the taproot is visible and avoid overwatering.
That’s the core of my American Haze indoor grow notes for seedlings.
Feeding plan and how I avoided burn
I prefer a steady base feed and small changes. Overfeeding haze-style plants is easy because they grow fast and you assume they want maximum nutrients. I learned to increase slowly and watch the leaf tips.
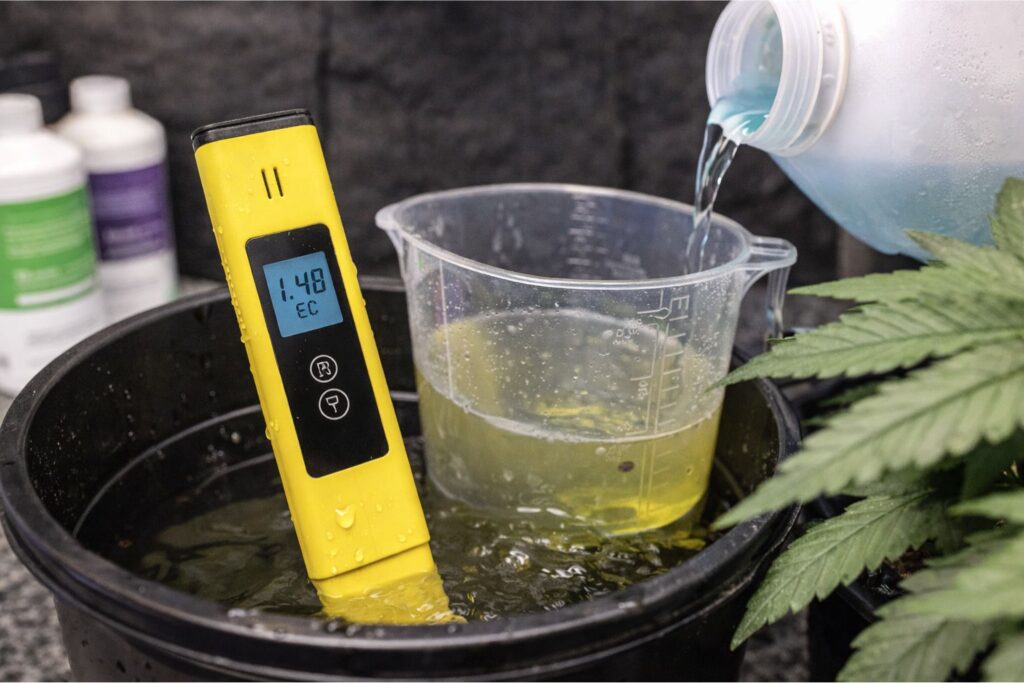
Here is the American Haze feeding EC range that worked for me:
- Early veg: EC 1.0–1.2
- Mid veg: EC 1.2–1.6
- Early flower: EC 1.5–1.8
- Mid flower: EC 1.7–2.0
- Late flower: taper down for smoother smoke
I’m repeating American Haze feeding EC range because it’s a useful anchor. When I ignored it and jumped EC quickly, I got tip burn. When I kept the American Haze feeding EC range stable, the plant stayed glossy and steady.
pH targets I stick to:
- Soil: 6.2–6.8
- Hydro: 5.7–6.1
Common issues I saw and what I did:
- Burnt tips: reduce EC, keep watering consistent, avoid big swings.
- Pale older leaves under high light: check pH and magnesium, then adjust lightly.
- Slow growth in early veg: let the medium dry a bit more between irrigations.
Training: how I controlled stretch and improved buds

American Haze stretch management was the main challenge. The plant wanted to rise fast in the first two weeks after the flip. If you wait until the stretch is underway, you’re reacting instead of steering.
My American Haze stretch management checklist:
- Top once in veg after the plant is established.
- Start spreading branches early with soft ties.
- Flip sooner than you would with a short indica.
- Keep the canopy even so PPFD is consistent.
I also rely on netting. American Haze trellis training made the difference between a messy jungle and a productive canopy. I put the first net on before flip or right after, while branches are still flexible. Then I tuck tops for about 10–14 days. That’s the heart of my American Haze trellis training approach.
I’ll say it again because it matters: American Haze trellis training is not just for big rooms. Even in a tent, a simple net helps manage height and keeps bud sites in good light.
Defoliation is moderate. I remove leaves that block airflow or shade real bud sites. I do a light cleanup around day 18–24 of flower, then I let the plant focus on bulking.
Flowering time and yield expectations
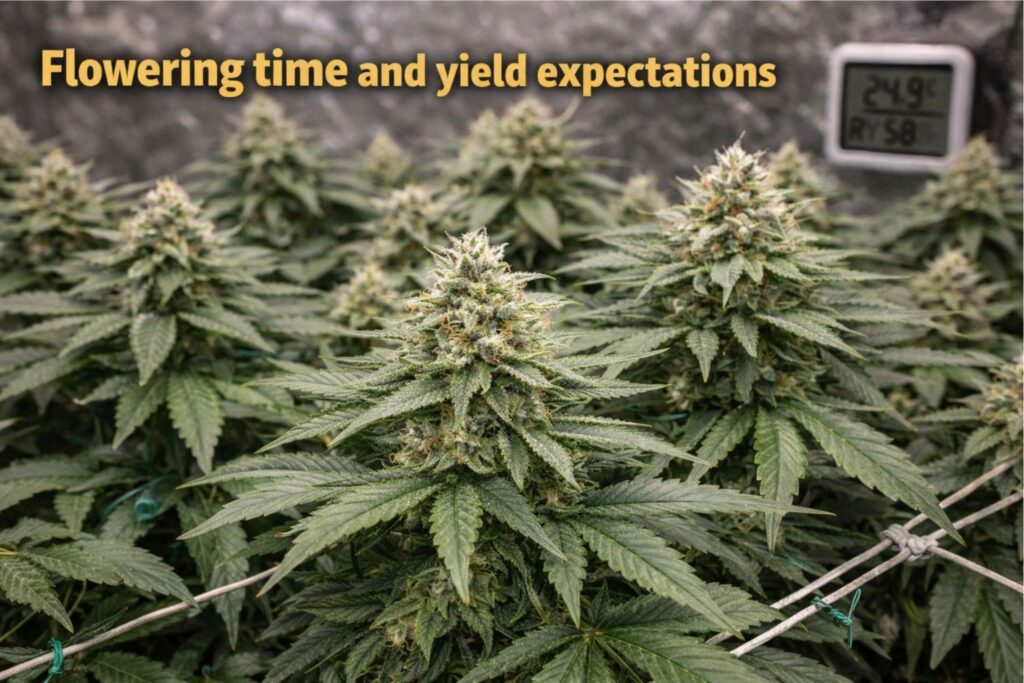
In my room, finish time varied, which is why seed-grown haze can surprise you. Most plants landed around 9–11 weeks after the flip. That range is what I use when people ask about indoor timing.
American Haze yield expectations were strong when I kept:
- Even canopy height
- Late-flower humidity under control
- Stable feeding
- Good airflow through the center
When I ignored airflow and let humidity rise, the buds stayed wetter and the risk went up. If you want consistent results, treat environment control like part of your nutrient plan.
Choosing the harvest moment
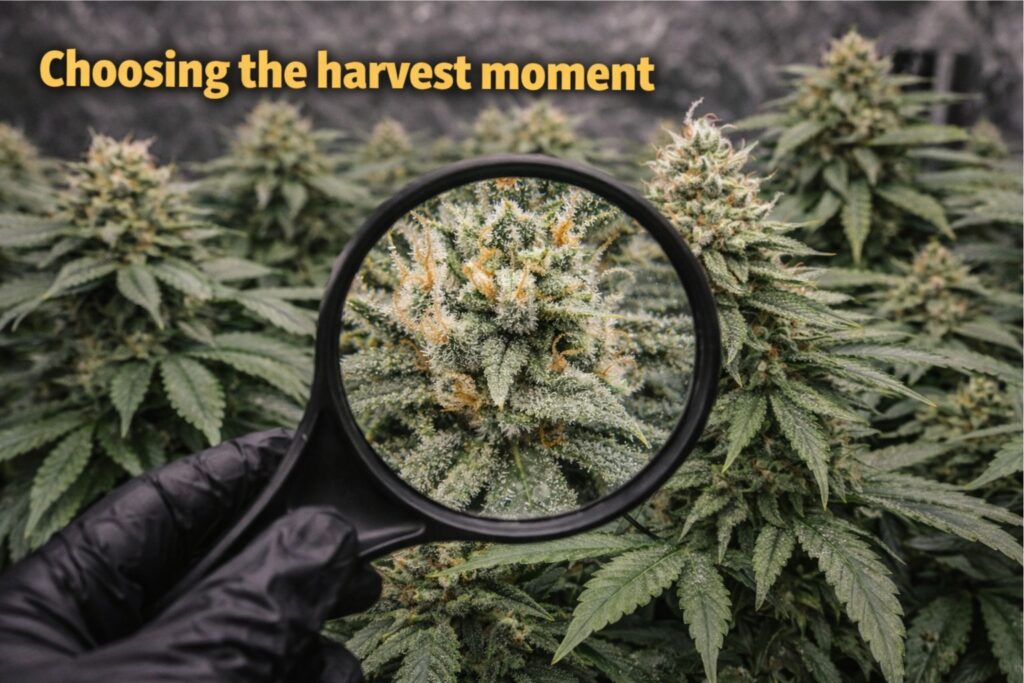
American Haze harvest window is where patience pays off. I use a loupe and I check trichomes on the bud, not the sugar leaves. I aim for mostly cloudy with some amber. That timing gave me a balanced smoke and the best flavor.
My American Haze harvest window notes:
- Early cuts were more electric but less deep.
- Slightly later cuts were smoother and more rounded.
- If the room is humid, don’t gamble; protect the crop.
This is a big part of why I wrote this American Haze Strain Review, and why I track the American Haze harvest window carefully. A great grow can still end in harsh smoke if the finish is rushed.
Drying and curing: how I got clean smoke
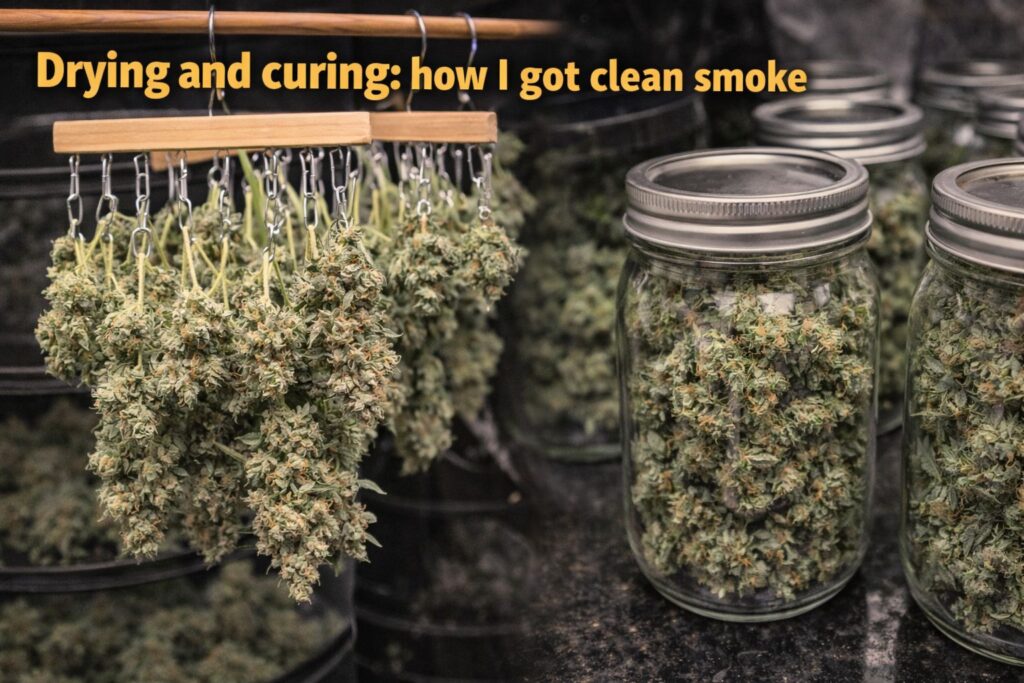
Drying is where harshness often starts. I dry in darkness with gentle airflow, never blasting buds directly with a fan.
Targets that worked for me:
- 18–20°C
- 50–55% RH
- 10–14 days, depending on branch size
After drying, American Haze cure in glass jars is my standard. I fill clean jars about two-thirds full, store them cool and dark, and burp them on a schedule.
My American Haze cure in glass jars routine:
- Days 1–7: open daily for a few minutes
- Weeks 2–3: open every 2–3 days
- Weeks 4+: open weekly or as needed
By week 4, my American Haze smoke report was noticeably smoother, and the flavor had more pine and citrus clarity. American Haze cure in glass jars is slow, but it’s the easiest way I know to turn decent buds into great buds.
Seed buying and planning the grow (not legal advice)
People search for “buy cannabis seeds online” or “best seed bank” because they want consistency and discreet delivery. I can’t give legal advice about your region, so check your local rules before you order, germinate, or grow.
Here are my American Haze feminized seed tips for choosing a pack, plus one more set of American Haze feminized seed tips I use when comparing breeders:
- Look for clear details on flowering time and stretch.
- Avoid listings with only marketing text and no grow info.
- If you have limited space, feminized seeds reduce wasted time; that’s one of my American Haze feminized seed tips.
- Decide early if you want photoperiod control or an autoflowering timeline.
Common seed-shopping queries I hear:
- “feminized seeds vs regular seeds”
- “lighting schedule for flowering marijuana”
- “how long to cure cannabis buds”
Troubleshooting notes from my run
If something goes wrong, change one variable at a time. Haze plants often punish chaotic adjustments.
Quick checks I use:
- Leaves too dark and clawing: back off nitrogen, improve dryback and airflow.
- Pale tops under strong light: raise the light a bit and confirm pH.
- Buds airy: improve canopy lighting and avoid heavy stress late in flower.
These American Haze indoor grow notes save crops because they focus on basics first.
FAQ
Is this American Haze Strain Review useful if my phenotype is different?
Yes. The principles still apply, and American Haze phenotype variation is normal. Use the targets as a starting point, then let the plant guide the final adjustments.
What is the biggest challenge indoors?
American Haze stretch management. Plan height, train early, and flip on time.
Should I use a net?
If you want an even canopy, American Haze trellis training helps a lot. It improves light distribution and makes support easier.
What feeding mistake should I avoid?
Big jumps. Keep the American Haze feeding EC range steady and change slowly.
How do I get better flavor?
Dry slow and commit to American Haze cure in glass jars. Most flavor complaints come from rushed drying or a short cure.
What should I expect for taste?
My American Haze flavor and aroma leaned citrus peel, pine, wood, and pepper. It got cleaner as the cure progressed.
Closing thoughts
I wrote this American Haze Strain Review to be useful for growers who want results, not hype. If you control the environment, keep nutrition steady, and treat drying and curing like part of the grow, American Haze can produce a bright, flavorful jar that holds up over time; that’s the final note in my American Haze smoke report. Keep a simple log and you’ll build reliable American Haze indoor grow notes run after run.
For a complete directory of cultivars, visit our Cannabis Strain Reviews.